

Seven steps to Stage furniture to Sell
First, Why Stage Furniture to Sell?
Refinishing furniture can be a labour of love, and once you’ve transformed a worn-out piece into a work of art, you’ll undoubtedly want to share it with the world. The best way to do so is through captivating photographs that highlight the beauty and craftsmanship of your creation. In this blog post, we’ll explore the best ways to stage furniture to sell, using techniques that showcase your refinished furniture, helping you attract attention from potential buyers, admirers, or fellow artisans.
When you stage furniture to sell, you aren’t just staging your furniture and snapping a few pictures. You set the stage, and the camera, lighting, and angles need also be correct. Once you take the photos, you then edit them in photo-editing software. The next article covers the best photo editing software, and the following article covers the top 7 YouTube photo editing tutorial channels.
And stick around for some bonus tips on editing at the end of this article.
1. stage your Furniture to sell
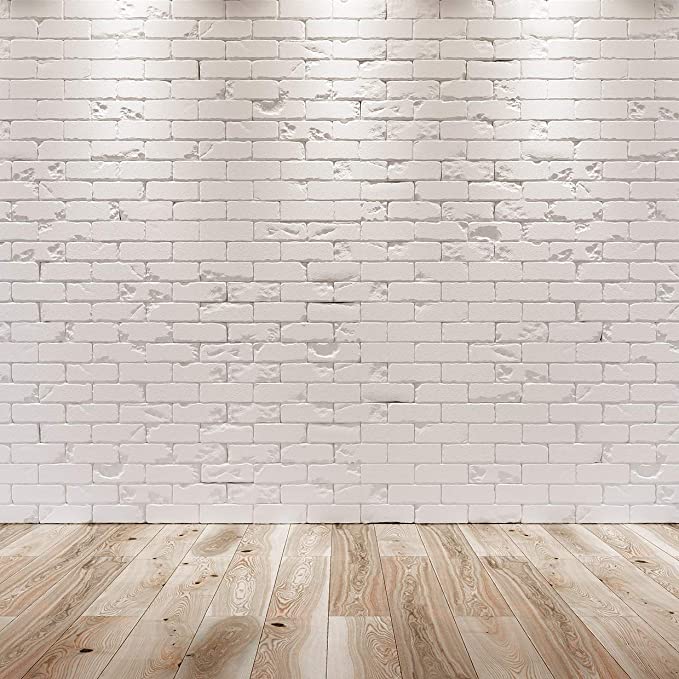
This is the number one point – you must get this step right when you stage your furniture to sell. Before snapping pictures, prepare the perfect backdrop for your freshly refinished furniture. Choose a clean, uncluttered location with plenty of natural light. A well-lit room or an outdoor setting with soft, diffused sunlight can work wonders. Keep the background simple and complementary to avoid distracting viewers from the furniture’s charm.
Don’t have the perfect backdrop location? Check out this article on the best apps to remove and replace a photo background or this article on the top YouTube channels to learn to remove and replace backgrounds realistically.
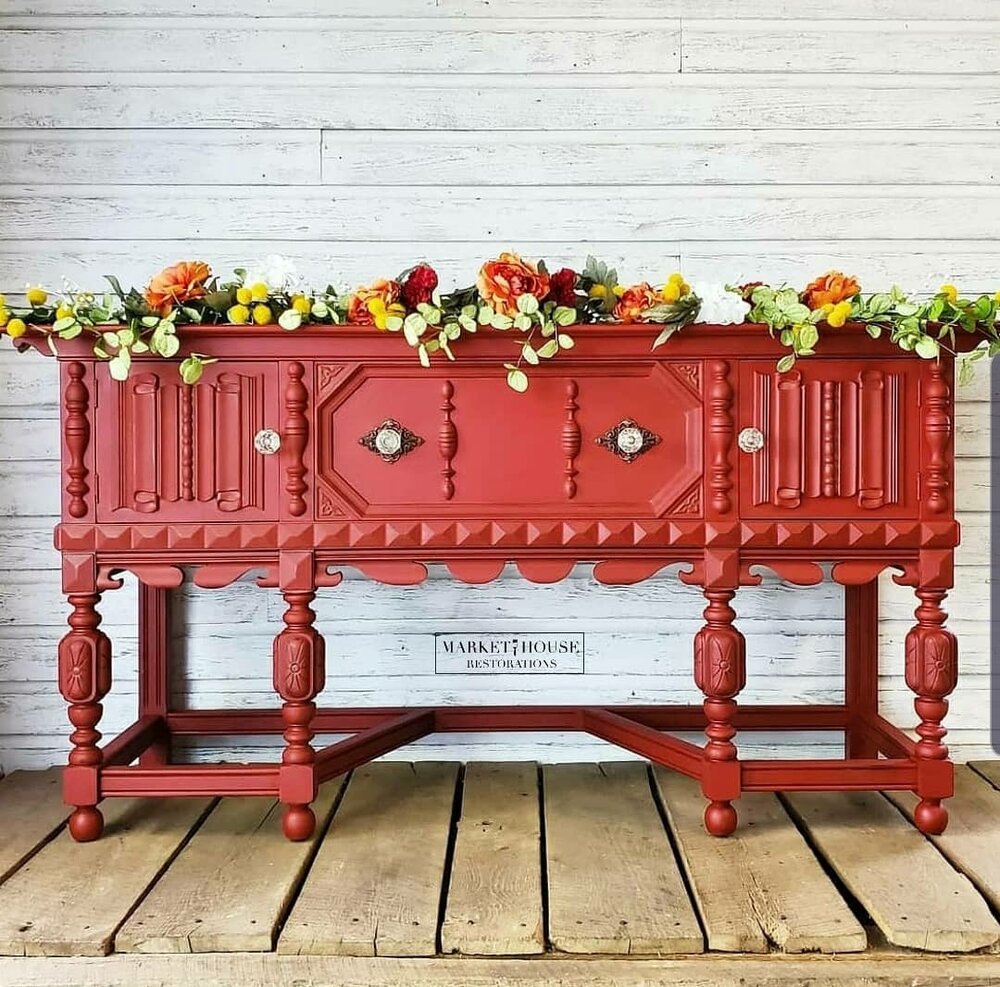
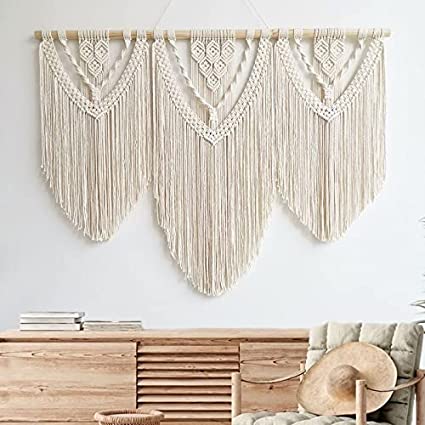
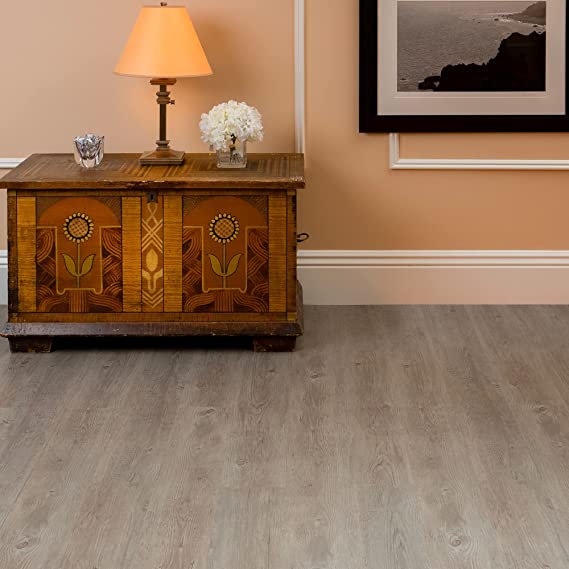
It’s important to stage furniture to sell in a natural way – don’t clutter the photo with kitschy knickknacks and follow design techniques such as the rule of three to create an alluring setting. Use simple, fresh photography props, like greenery/houseplants and simple wall hangings.
To stage furniture to sell your photos should convey to the viewer how the piece could look in their home. While many of us do suffer from a lot of clutter, we don’t necessarily want to buy pieces that will add to it – often we buy furniture to hide clutter. Rather, showcase the storage of the piece so they can imagine all the items it can hold.
Clutter kills the photo’s flow and will detract from the focal point – your hard work! You don’t need shelves of props, a few quality, timeless pieces will do the job. And shop the secondhand stores for more bargains – you may even pick up a new piece to refinish!
Some simple staging products:

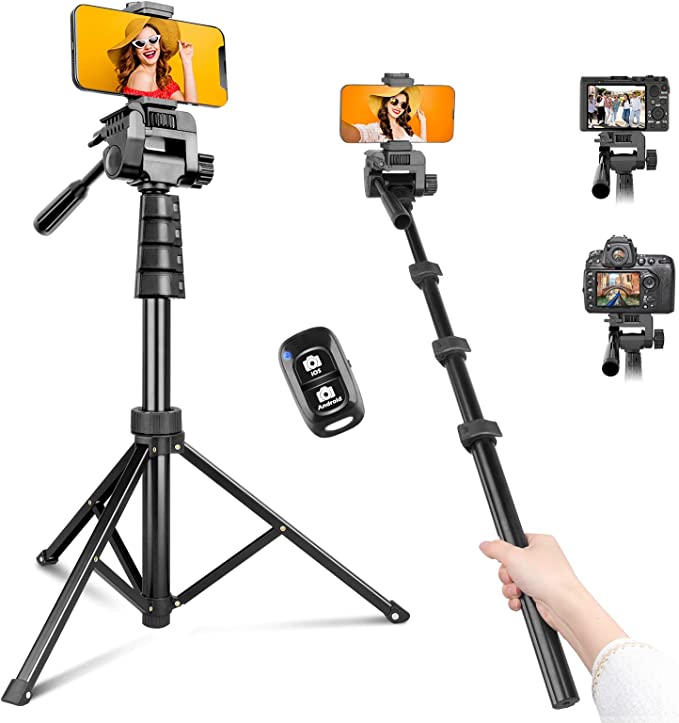
2. Use a Quality Camera or Smartphone and tripod
If you want to stage furniture to sell, you need to take professional-quality photographs. The quality of your photos will come down to the quality and features of your camera. A tripod will steady the shot, reducing blurry images, especially in low-light situations where the shutter remains open longer.
While professional cameras are ideal, modern smartphones often boast impressive camera capabilities. Choose a device with a high-resolution camera and manual settings, allowing you to control exposure, focus, and white balance. Use a tripod or stabilizer to prevent shaky shots and ensure maximum sharpness.
I prefer using a DSLR (digital single-lens reflex) camera for the best quality photos. (If I could afford a full-frame camera, I would definitely own one…) However, I have found that a cellphone allows more light – you can take better photos in lower-light conditions.
So, if you only have a cellphone, don’t worry about using it to take photos – it will likely take very good pictures. The higher-end cellphones allow you to adjust exposure, white balance and focal point, but you will not get as good a photo as those taken with a DSLR or full-frame camera.
Choose quality cameras and tripods

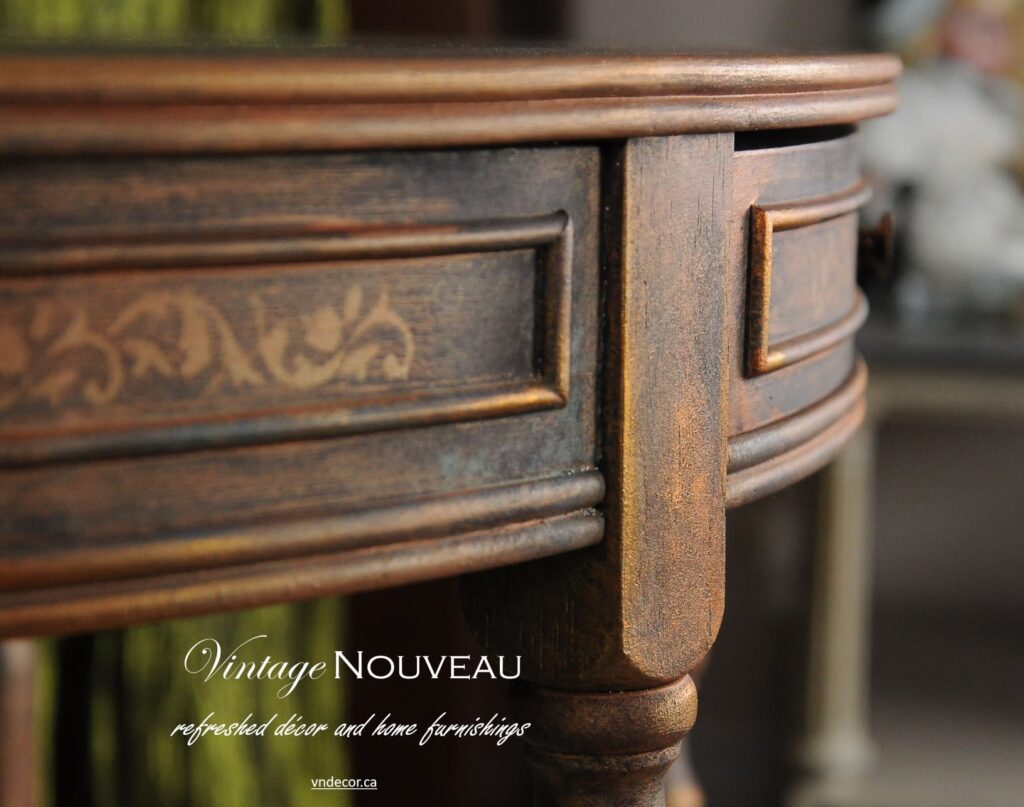
3. Focus on the Details in Your Photos
Stage furniture to sell by showcasing the intricate details of your refinished furniture through close-up shots. Highlight unique wood grain patterns, carved designs, or any special features you’ve added. Zoom in on handles, legs, and corners to draw attention to the craftsmanship. If your camera is capable, use a shallow depth of field with a low aperture setting to create a blurry background and a professional-looking shot. Try using a close-up shot of the details as the main photo in your advertising. This can draw in the buyer as you get their attention and make them want to see more.
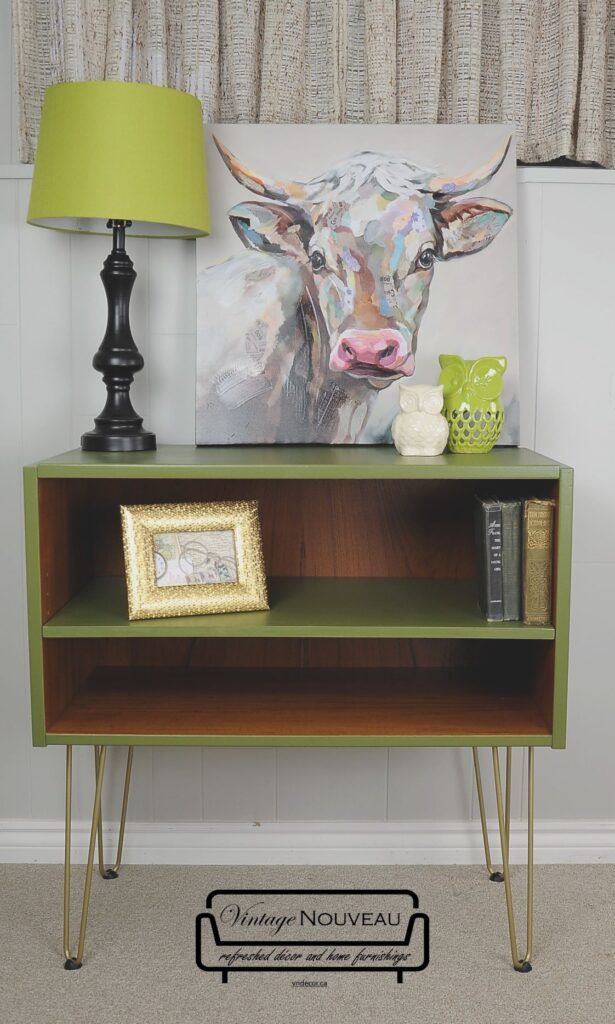
4. Angles and Perspectives - Flatter your Furniture
Not all photos should be close-ups. Remember, when you stage furniture to sell, you want to ensure the potential customer knows what they are buying and can see the whole piece.
Take a step back and get the entire piece in the picture. Experiment with different angles and perspectives to find the most flattering shots. A frontal view can provide a classic look, while a slightly elevated angle can add depth and dimension. For larger pieces, capture shots from different sides to offer a comprehensive view.
While shooting at an angle is good, a crooked shot is not. Keep your camera square to the horizon. You can also fix crooked photos in your photo editor, so long as there is enough room around the staged piece of furniture to allow for the adjustment.
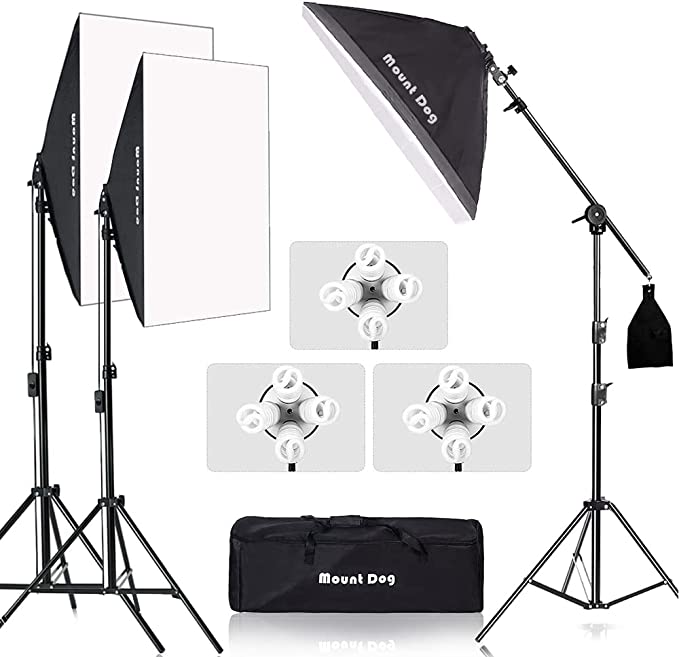
5. Natural Lighting is key to Stage Furniture to Sell
Whenever possible, use natural light to stage furniture to sell. Avoid harsh midday sunlight that can cast strong shadows. Instead, aim for the golden hour (early morning or late afternoon), when the sunlight is soft and warm, beautifully enhancing the textures of the furniture. Be careful with the warm afternoon sun though, it can add too much red or yellow to your photos. You can fix this balance in post-editing.
If you don’t have a location with good natural lighting, then invest in lights – three separate stands are best. The cost to add lighting is minimal and will significantly improve your photography. A good camera flash can also help focus light on your subject. You can also edit out the background and add in lighting using a photo editing app. Check out this article on the best ones.
Good lighting is critical
6. Be consistent When you Edit your photos
When you stage photos to sell, maintain a consistent editing style across all your photos to create a cohesive and professional look. Whether you prefer bright and airy or warm and moody, choose a style that complements the aesthetic of your furniture. Keep your backdrop the same or in the same style. If you change it up, ensure you remain within your brand’s marketing strategy. Editing apps like Adobe Lightroom offer powerful tools to enhance your images.
7. Branding
Don’t forget to add your business name or brand. Create a brand and save it as a png file with a transparent background. Add this image to all your photos to ensure you both receive recognition for your photos (no one will be able to use your photos without editing out the brand) and create a cohesive, consistent style.
Summary
Photographing your refinished furniture can be an art form in itself. By following these best practices for capturing and editing images when you stage furniture to sell, you can present your creations in the best possible light and garner the attention they deserve. Remember to showcase the fine details, pay attention to lighting and composition, and maintain a consistent editing style. Your photography skills will improve with time and practice, and your furniture pieces will continue to captivate audiences worldwide.
Bonus Content: Quick photo editing tips to Stage Furniture to sell
Now that you understand how to stage furniture to sell, you need to understand how to edit those photos. While there is no quick way to learn to edit photos, there are some basics that you should understand. The following settings are universal skills you will need to learn to stage furniture to sell and edit those photos. Check out the next articles on the best photo editing software and the top YouTube Channels to teach you how to remove your photo background realistically.
Adjusting Exposure and Contrast
Adjust the exposure and contrast to ensure your furniture is well-lit and visually appealing. Be cautious not to overexpose or underexpose the photos, as it can lead to loss of details or dark, muddy images. Shooting photos in a dark environment can make the photos grainy and the exposure hard to correct. Use your photo editing software to fine-tune the details.
Colour Balance and White Balance
Achieving accurate colour representation is crucial. Correct any colour imbalances to ensure your furniture’s colours appear as close to reality as possible. Also, pay attention to white balance settings, especially when shooting indoors under artificial lighting. Cool lighting (bluer) will return a truer colour than yellow or warm lighting.
One of the most significant errors I see when people ask what they can do to improve their photos is colour balance. If your room’s lighting is too warm, your photos will appear yellow or misrepresent the actual colour. Since accurately representing the piece’s colour is important, pay attention to setting the colour balance.
Also, your monitor can change the colour of your images – I have two monitors and often drag my application between them to make sure that the edits look good in both. Remember when you stage furniture for sale, that everyone’s monitor or phone screen and home lighting temperature do this and may not accurately reflect the true colour of the furniture. You can include a disclaimer in your description if you are concerned about this.
Crop and Frame
Crop your images to eliminate unnecessary elements that might divert attention from your furniture. Earlier, in the staging section, I mentioned the rule of threes. Additionally, experiment with framing techniques, such as the rule of thirds or center composition, when taking a photo to create visually striking images.
Avoid over editing
While editing can enhance photos, it’s essential not to go overboard. Keep the photos looking natural and true to life. Over-processed images can make your furniture appear unrealistic and deter potential buyers. Pay attention to saturation and contrast – these two settings can affect how real a piece appears.