fbpx
Furniture Flipping 101
Learn to Earn

Article Category: Products & Tools

*As an Amazon Associate, I earn a small amount from qualifying Amazon purchases at no additional cost to you.

Affiliate links are provided throughout the website and provide me a small measure of income when you make a purchase using those links.

best glues for furniture repairs cover photo

Let’s talk about choosing the best glue for furniture repairs. Whether using glue to reattach a loose piece of trim or veneer, adding a new piece of wood to your project, or creating a patch with sawdust, you need to understand glue and choose the right one for the job. You may wonder, what is the best glue for furniture repairs?

And knowing what glue to use isn’t much use if you don’t know how to use it, so after we look at the best glues for furniture repairs, we will look at four common furniture repairs done with glue. 

The Best Glues For Furniture Repair

There are a lot of different glues and formulations, which can make it tricky to choose the right glue for the job. There isn’t one best glue that works for every furniture repair, but there are several glues you can use to repair furniture. Each glue has its advantages and disadvantages.

Let’s look at some of the most commonly used and best glues for furniture repairs.

The best glues for furniture repairs
Wood glue, CA glue, and Hide Glue

Wood Glue

Wood glue is a must for any woodworker. Depending on your need, you can choose different formulations, such as waterproof or water-resistant, fast-setting or slow-setting.

I would say, if you had to pick just one glue, wood glue is the best glue for furniture repairs. It sets quite fast but stays open long enough to adjust your clamps and get things right. Wood glue is stronger than the wood itself, so it will hold up. You can use it with dowelling to repair broken legs, too.

CA or Cyanoacrylate Glue

You’re likely familiar with this glue but didn’t know its generic name. Most people refer to CA as KrazyGlue ™, but that is a brand name. You can use an accelerator with CA glue to help speed up curing if you don’t feel it’s fast enough with just the glue. CA glue comes in thin, medium, and gel formulations.

A lot of people might avoid this glue, worrying that it isn’t strong enough or that it will set too fast. You do have to move quickly and precisely, especially if you use the accelerator. The advantage of the fast set is you can work faster – less waiting time for the glue to set. CA glue is very strong, provided you use enough and allow it time to set before moving the piece. When the glue is between two larger pieces, it takes longer since there isn’t as much air movement to allow the solvents to evaporate.

So, while this isn’t the best glue for furniture repair, I would say it is a must to have on hand for small repairs, attaching resin moulds, and those that require several pieces put together in complicated shapes.

This is my go-to CA glue for quick repairs and attaching resin moulds. 

Hide Glue

While not as commonly used as many years ago, antique refinishers still use hide glue to match the original glue and make future repairs easier. You can reverse a hide glue repair by steaming it. You can also use hide glue to create a crackle finish. See the Decorative Finishes module for this and many other decorative techniques.

Hide glue has a relatively short shelf life, so don’t buy too much at a time.

This is the best glue for antique repairs.

Other Glues

A selection of different glues I use when repairing furniture or adding deocrative finishes.

Epoxy Glues

Epoxy or two-part glues are great for difficult repairs but are permanent and nearly impossible to reverse. I use epoxy glues on areas you won’t see or to fill knot holes in drawers or other areas where filler might fall out. You can sand, prime and paint epoxy glues, but don’t use them on the surface of a piece of furniture since they won’t leave as nice or durable a surface. 

Miscellaneous Glues

While we are looking at the best glues for furniture repairs, we should also look at some other glues you might want to have on hand for decorative finishes.

There are many different types of glue with different purposes. If you apply metallic foils, you need to use sizing, a type of glue. Sizing stays tacky for longer to allow the foils to stick. 

A spray adhesive like this one is good for sticking down fabric sheets.

Then there are the decoupage and white (PVA) glues, or you can even use a water-based topcoat to decoupage. So many options… 

Gluing and Clamping Basics

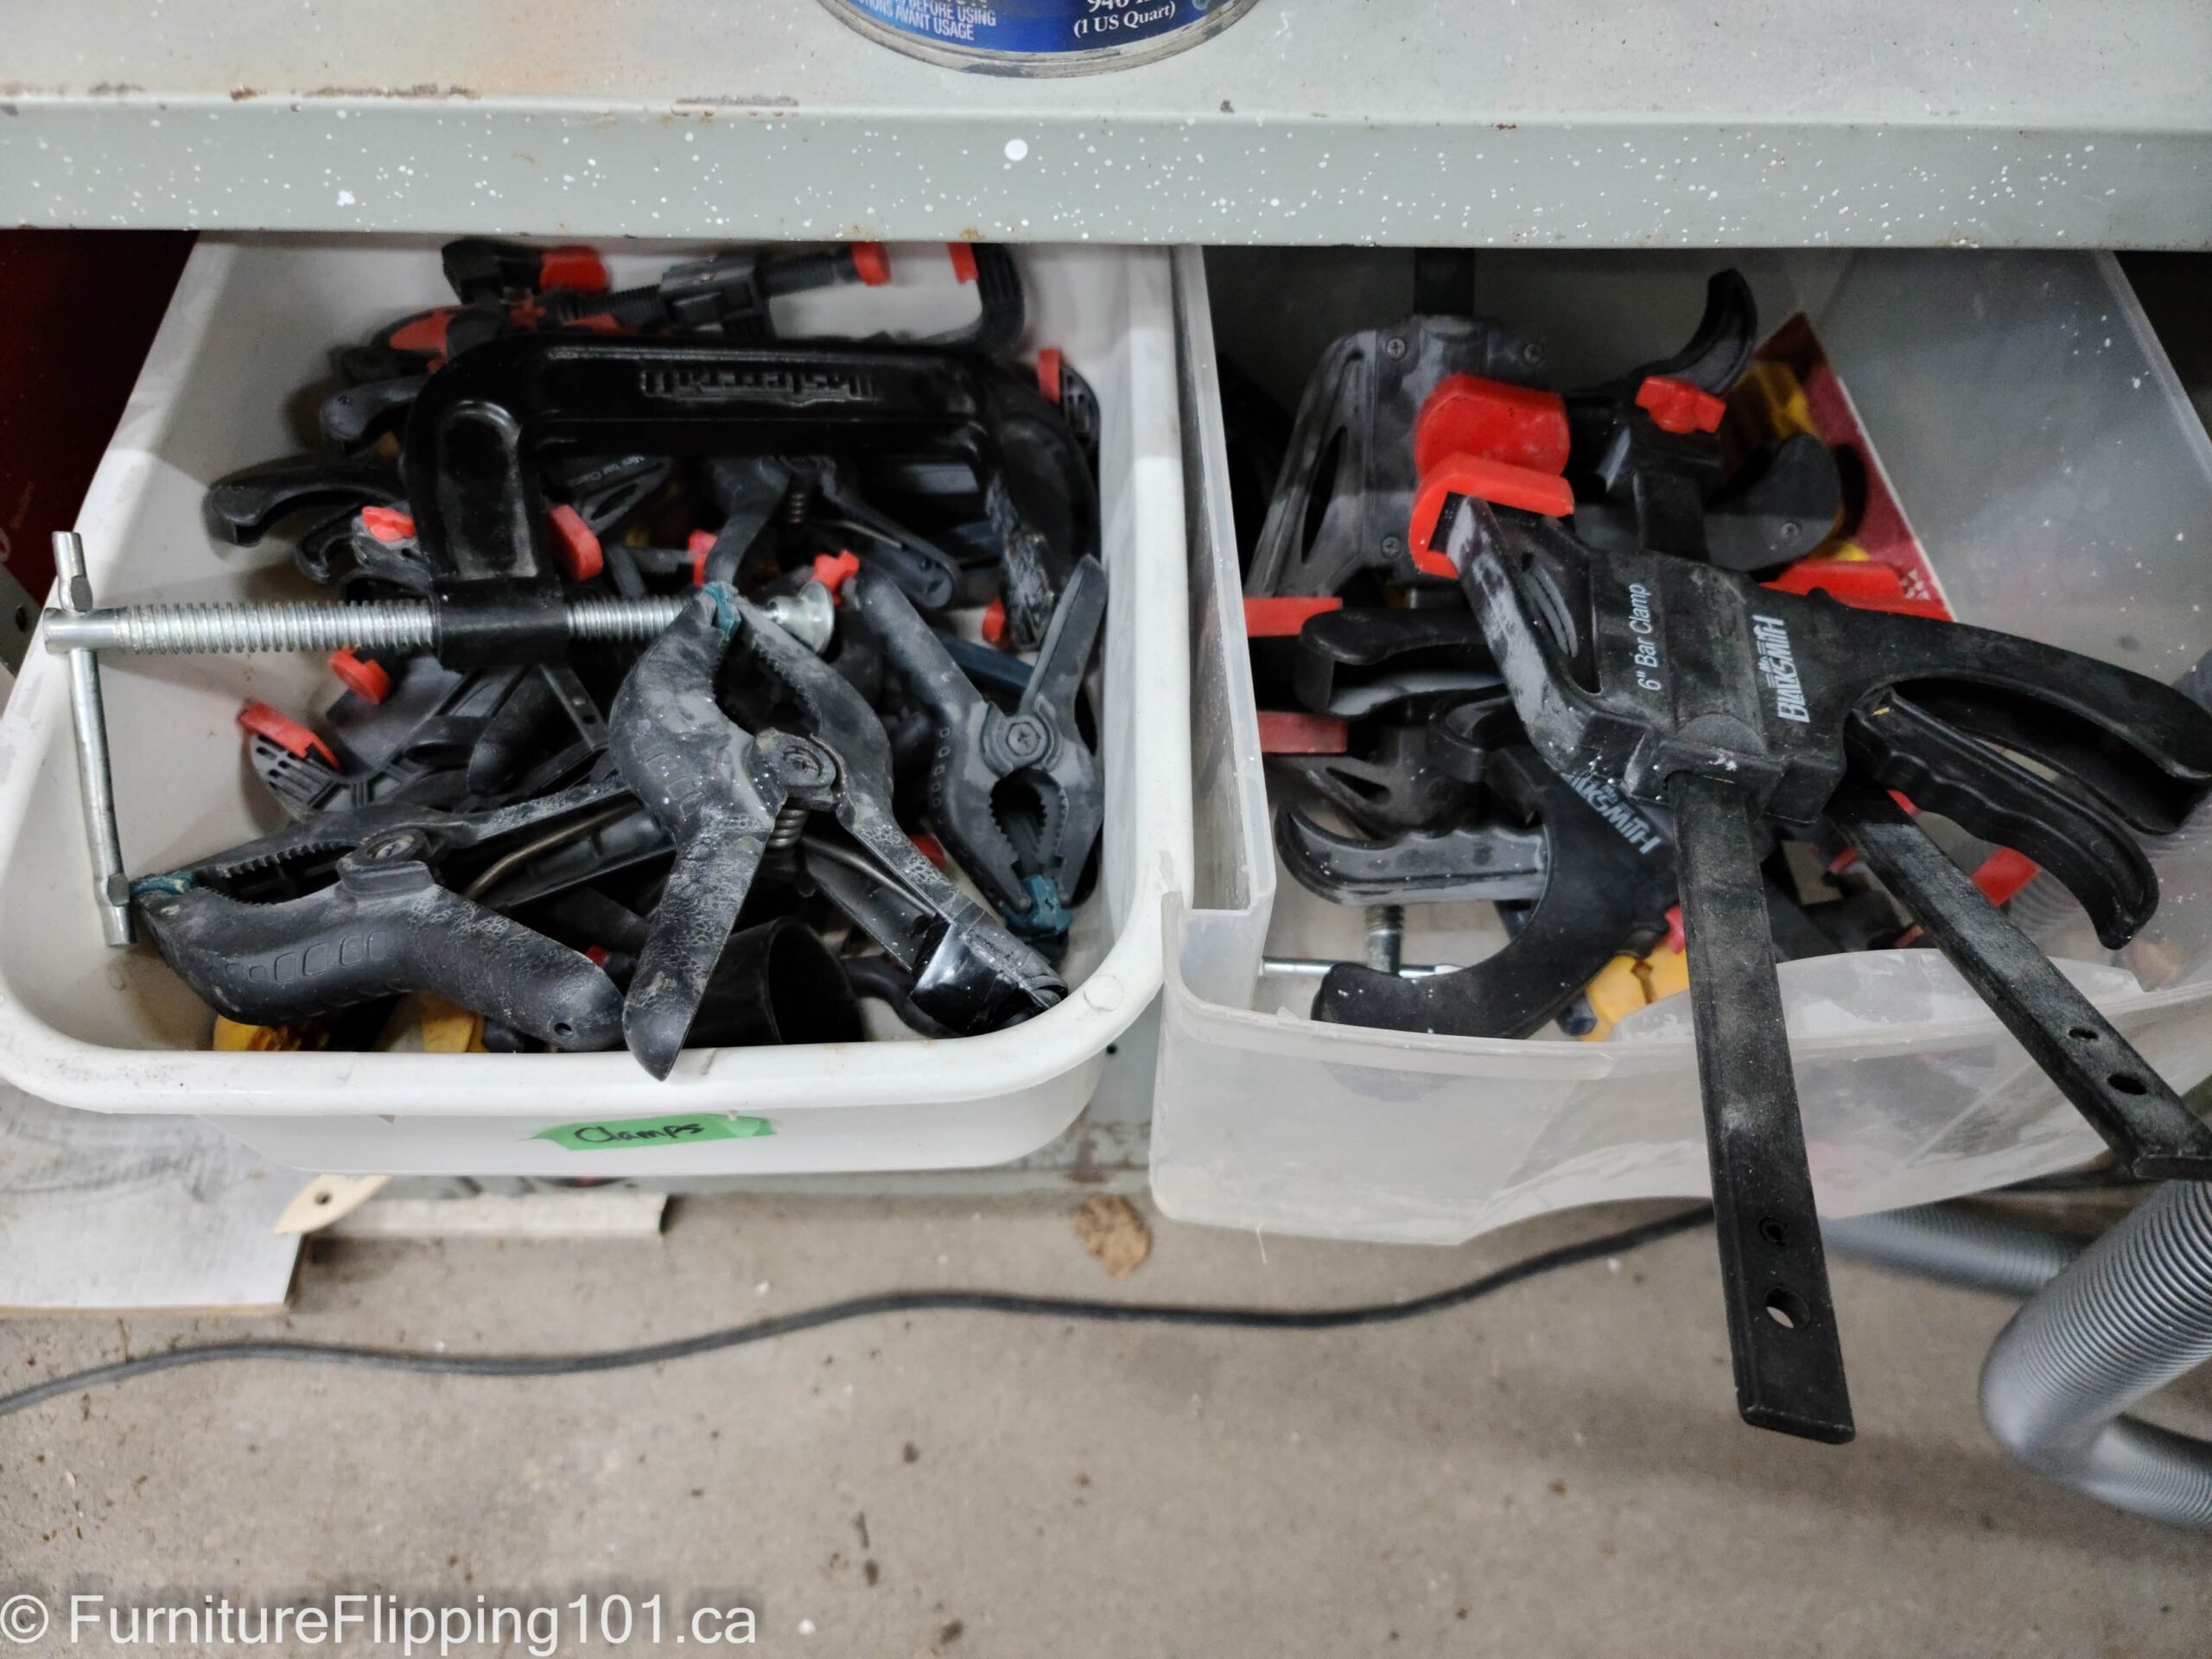
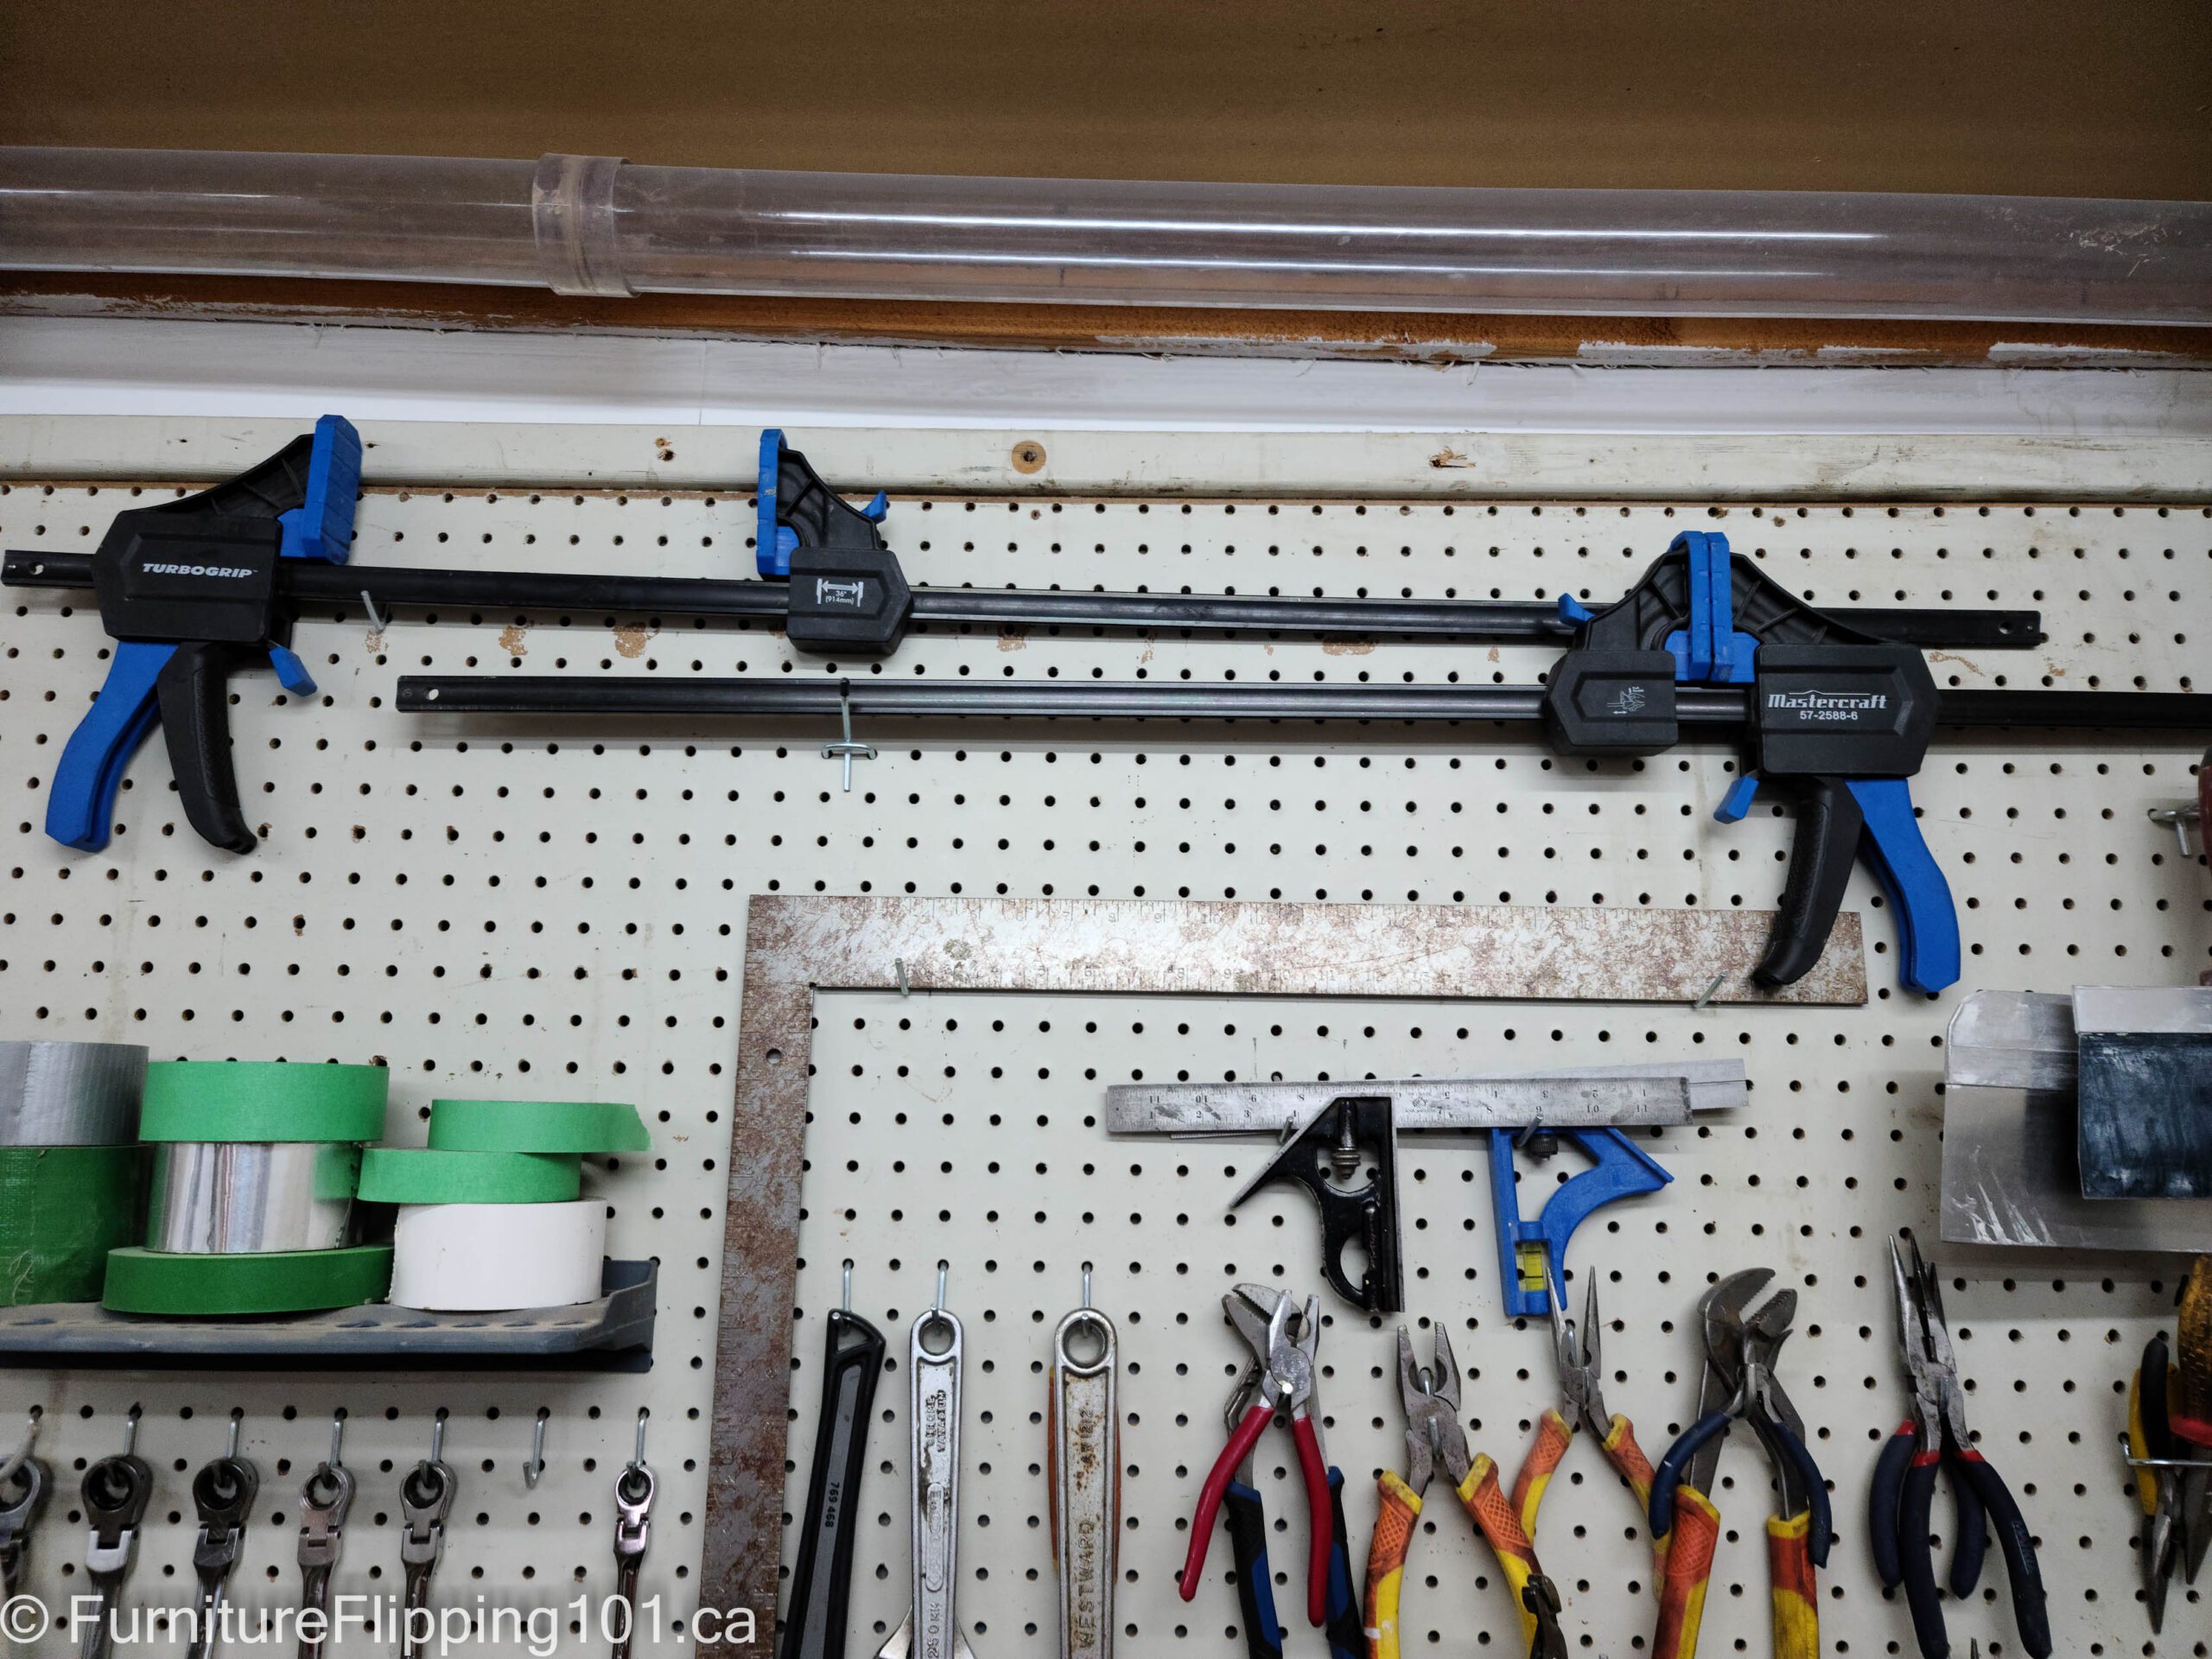
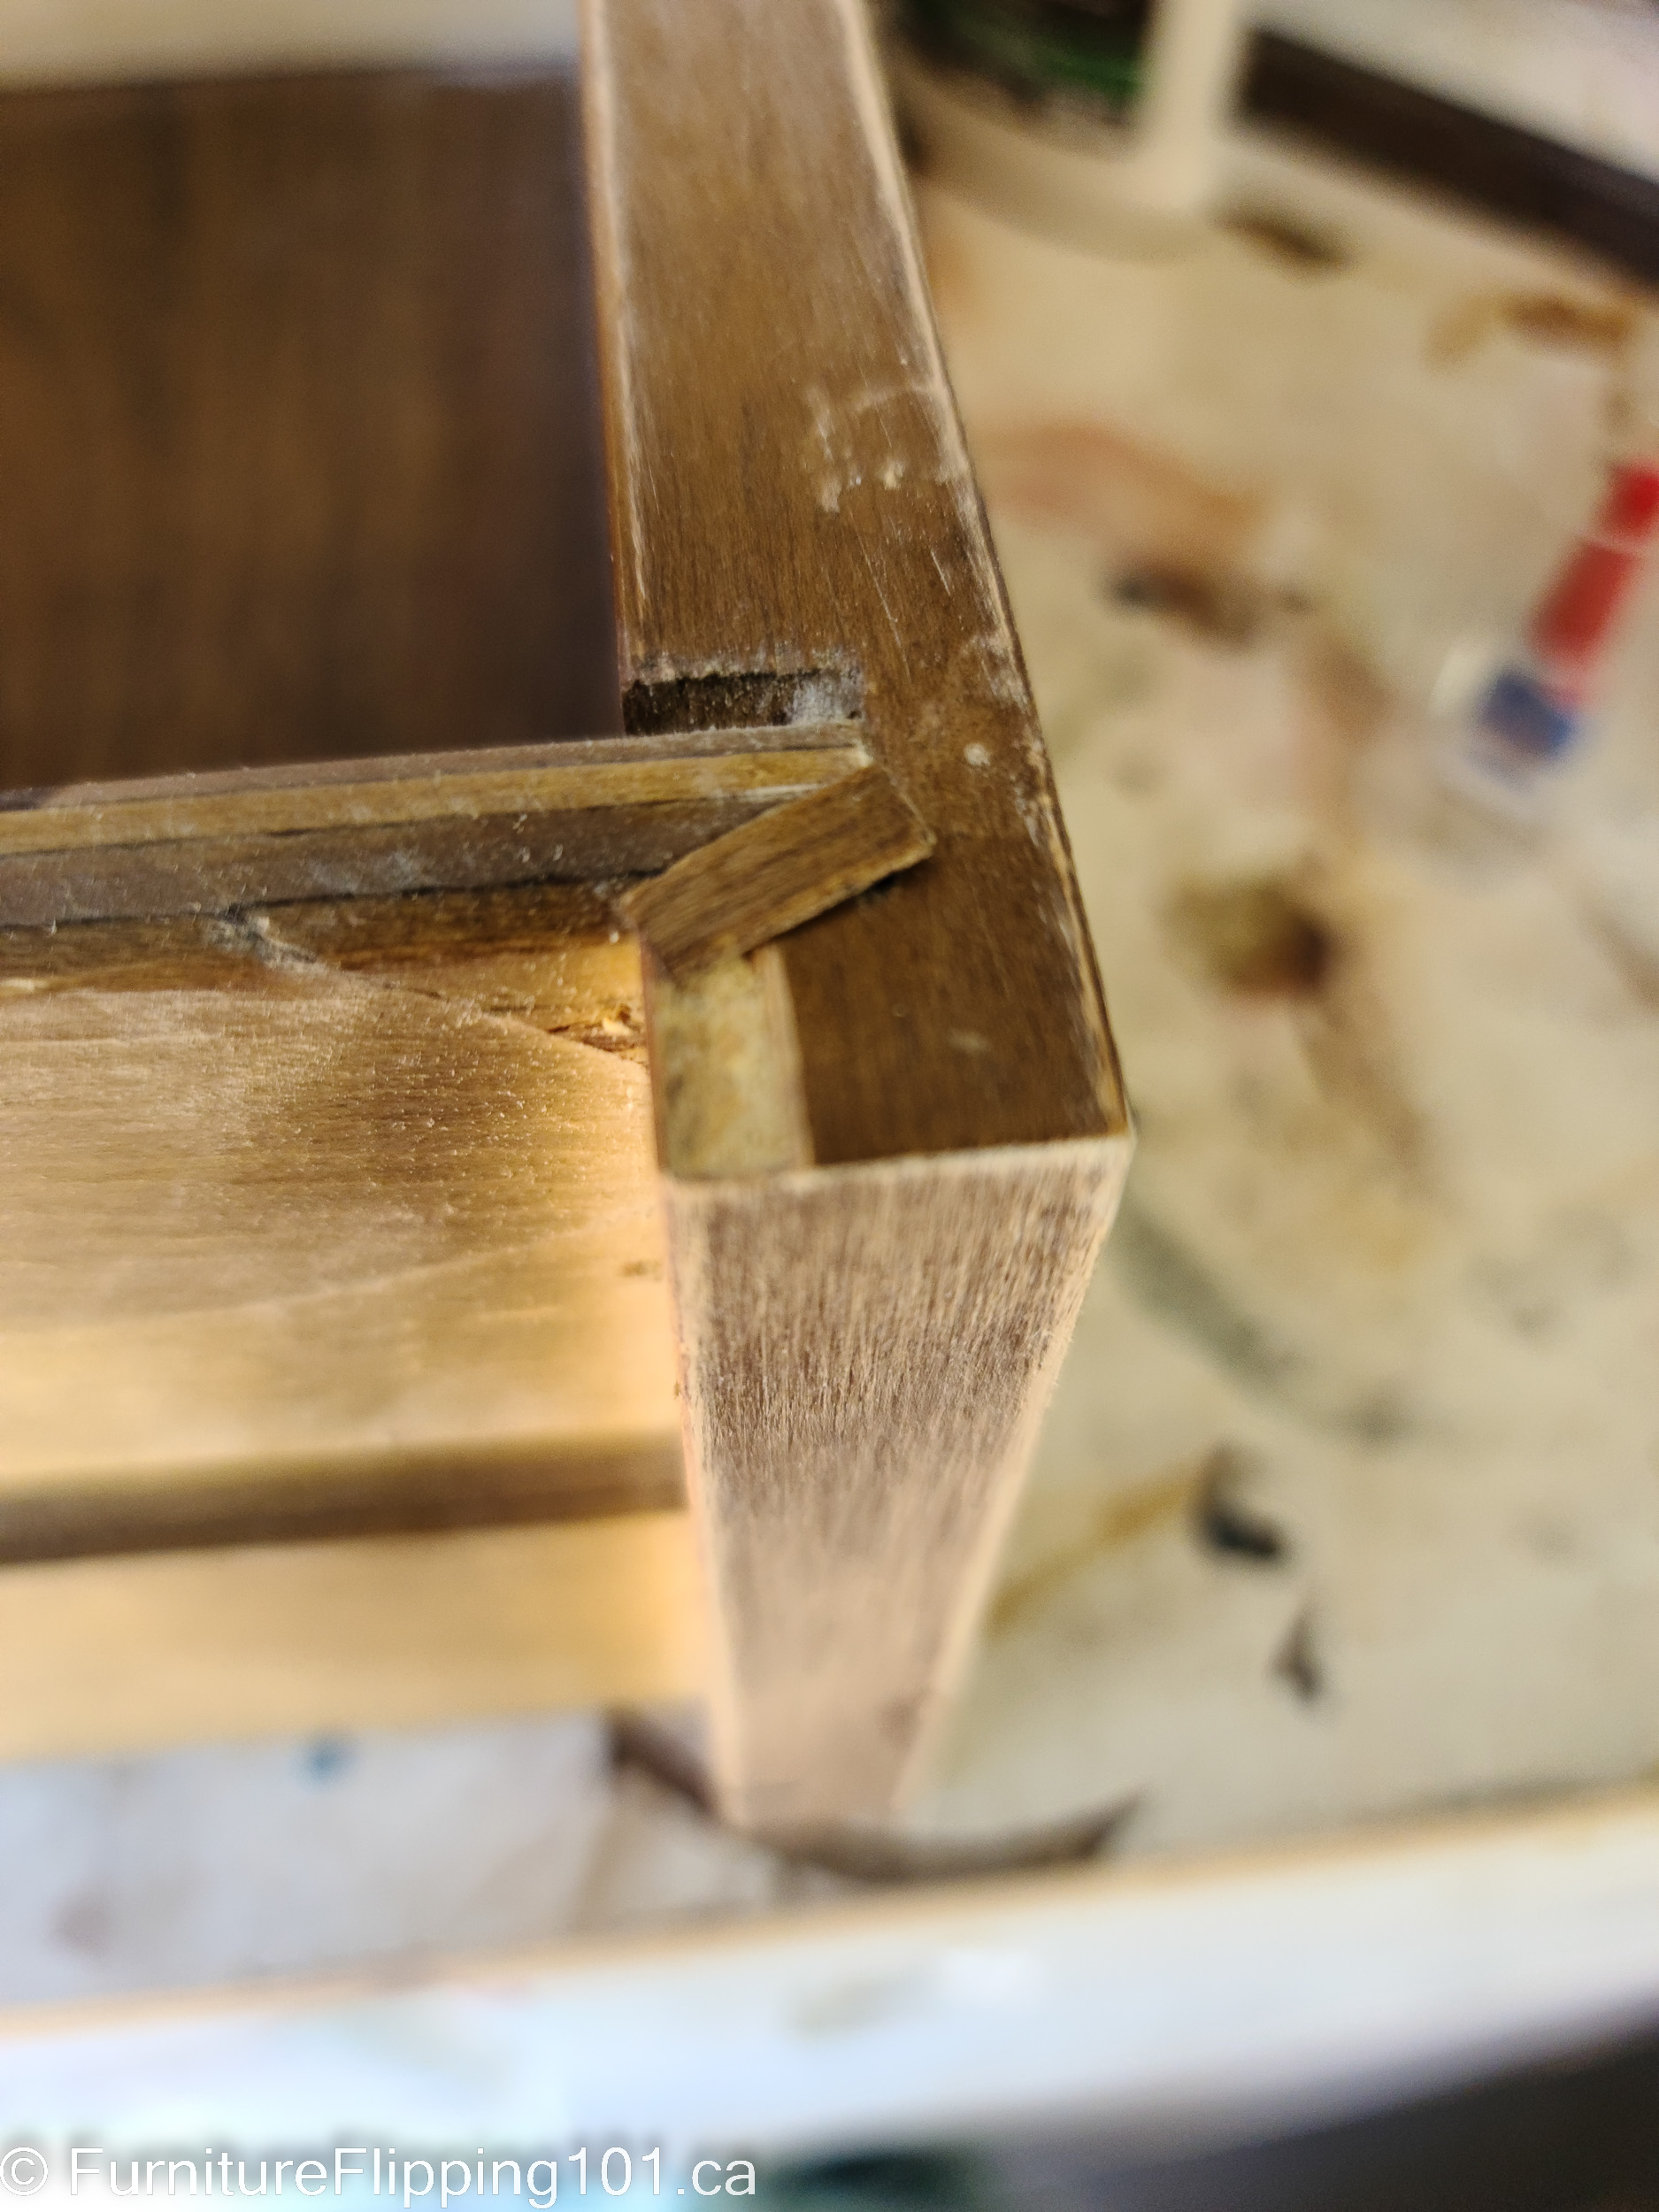
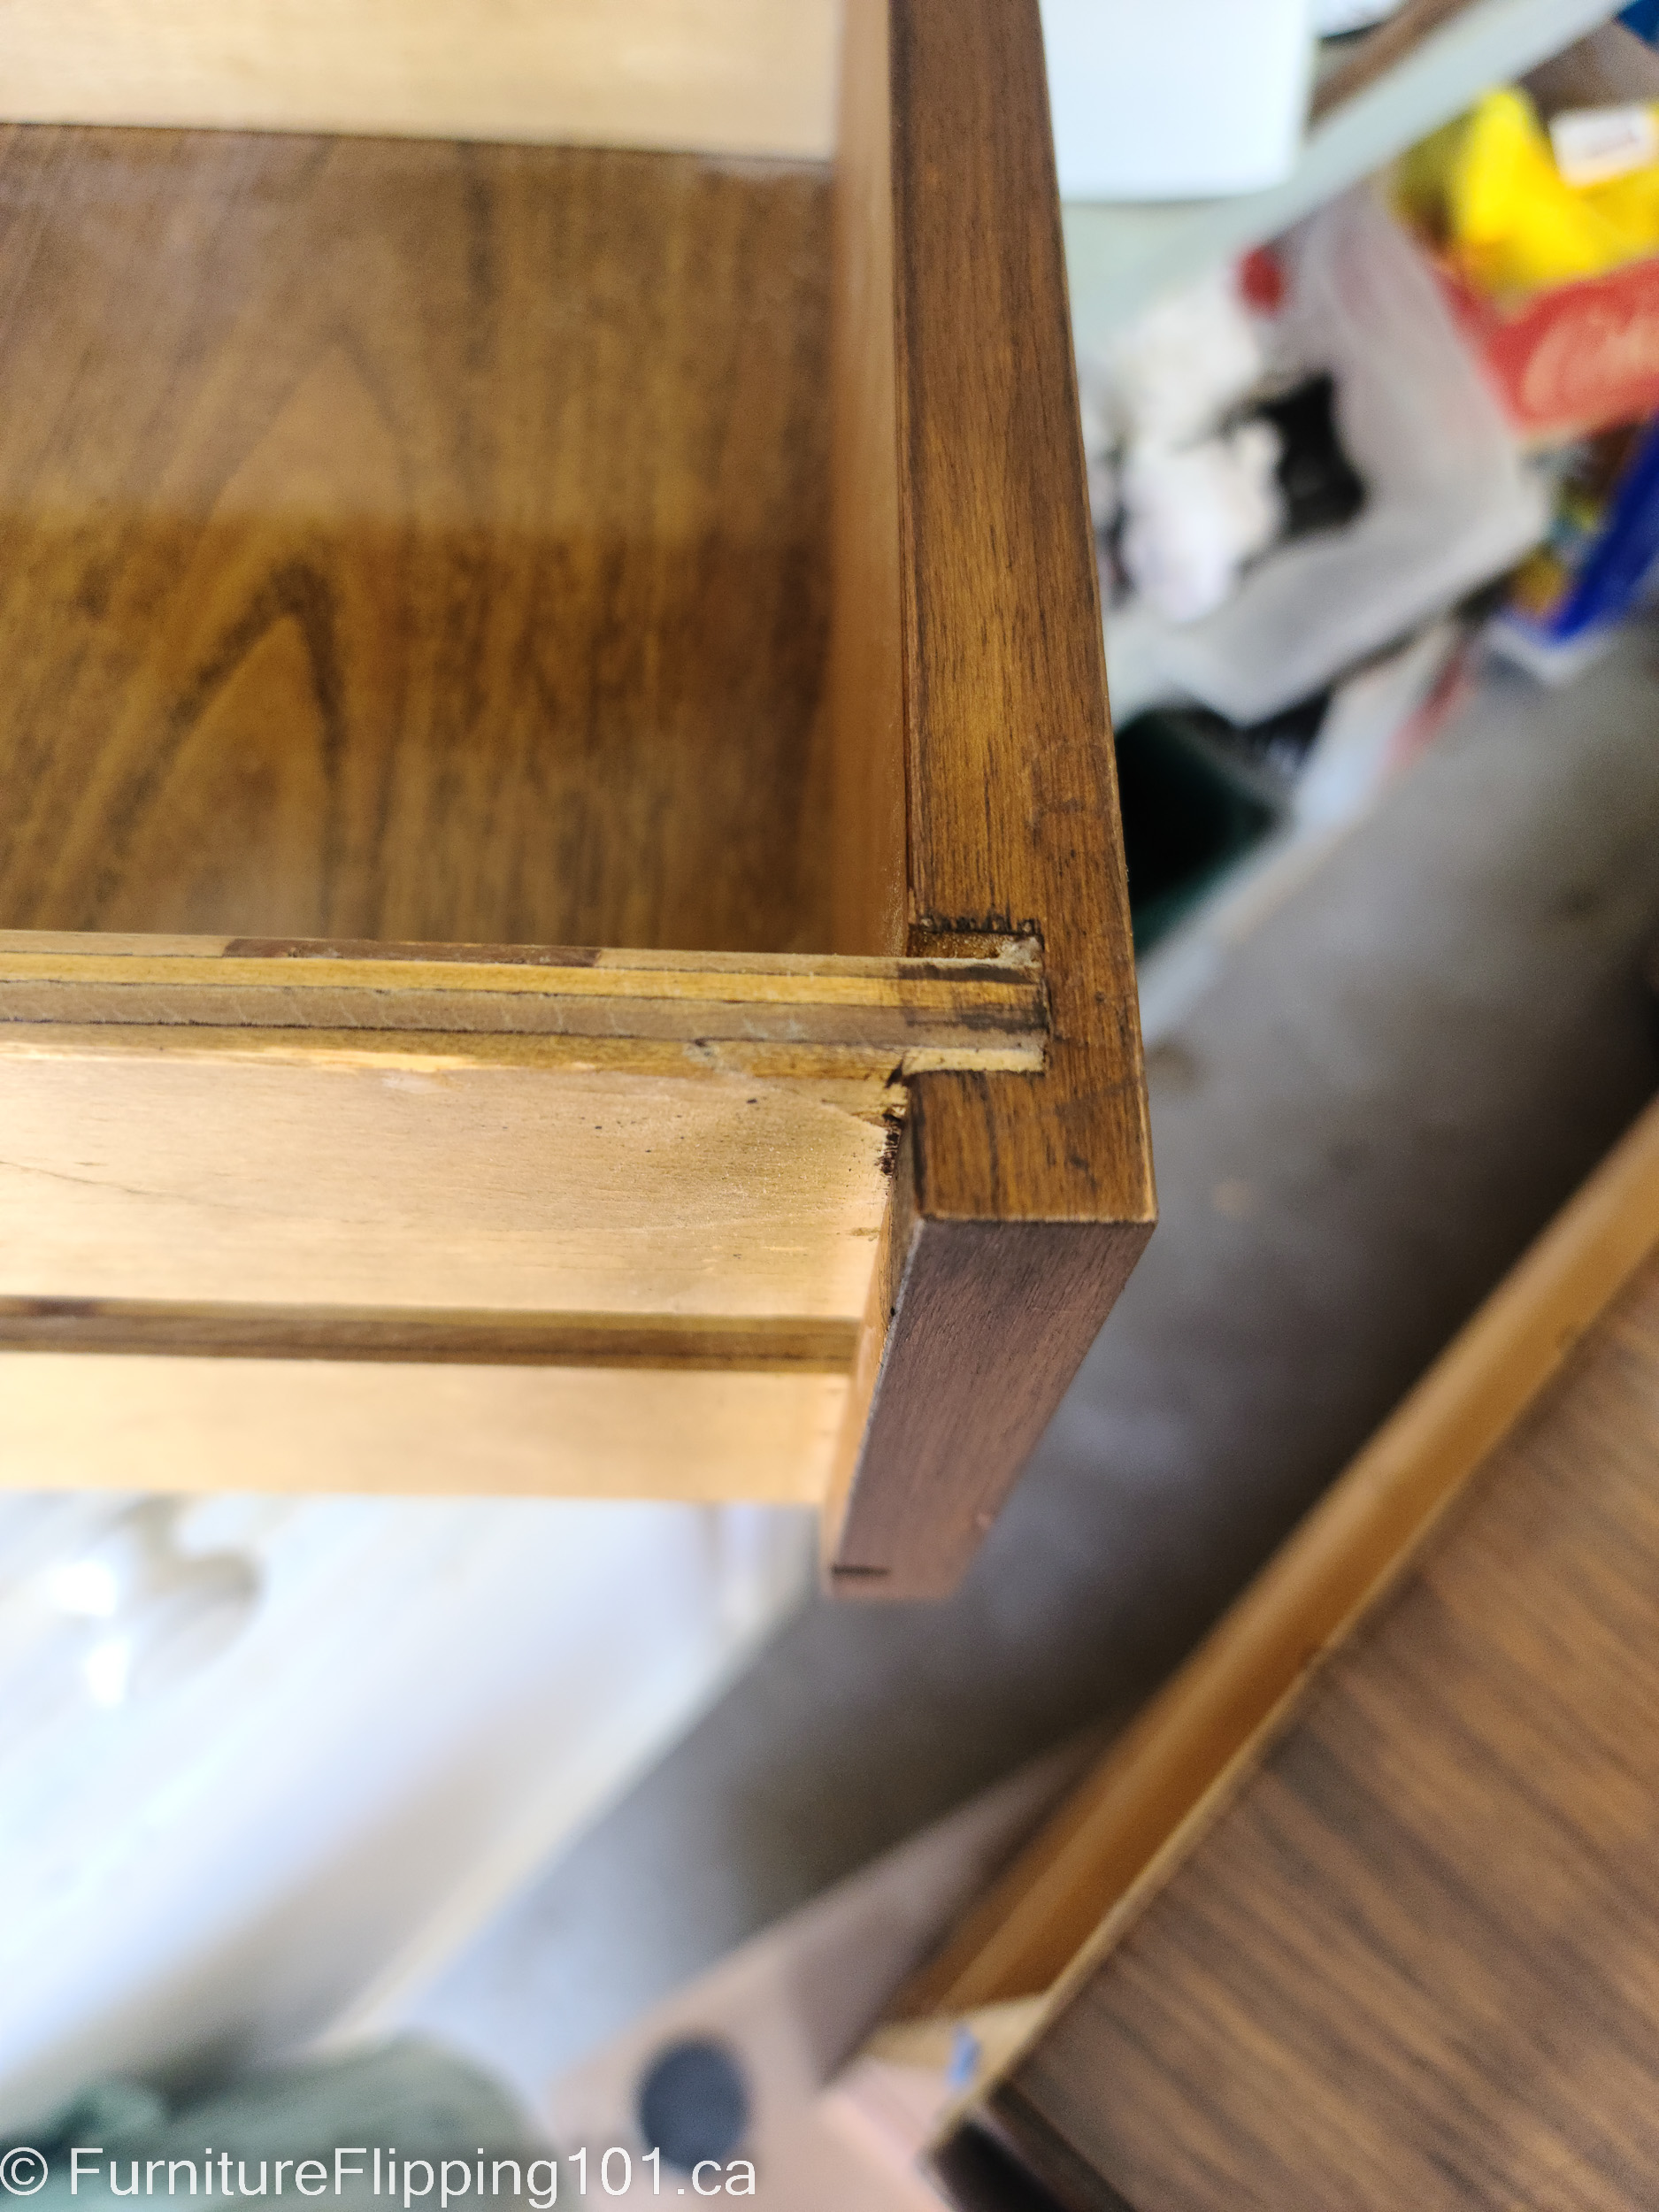
Anytime you use glue to hold two pieces of wood together, you need to apply pressure – usually this is done with clamps. The more clamps you own, the better, because every clamp-up will use a lot and the more clamps you have, the more repairs you can do at one time.

Always do a dry run with your clamps when gluing to ensure you have a good plan before adding the glue. Clamping can be challenging on irregularly shaped surfaces. Using boards and blocks to create a level surface helps. 

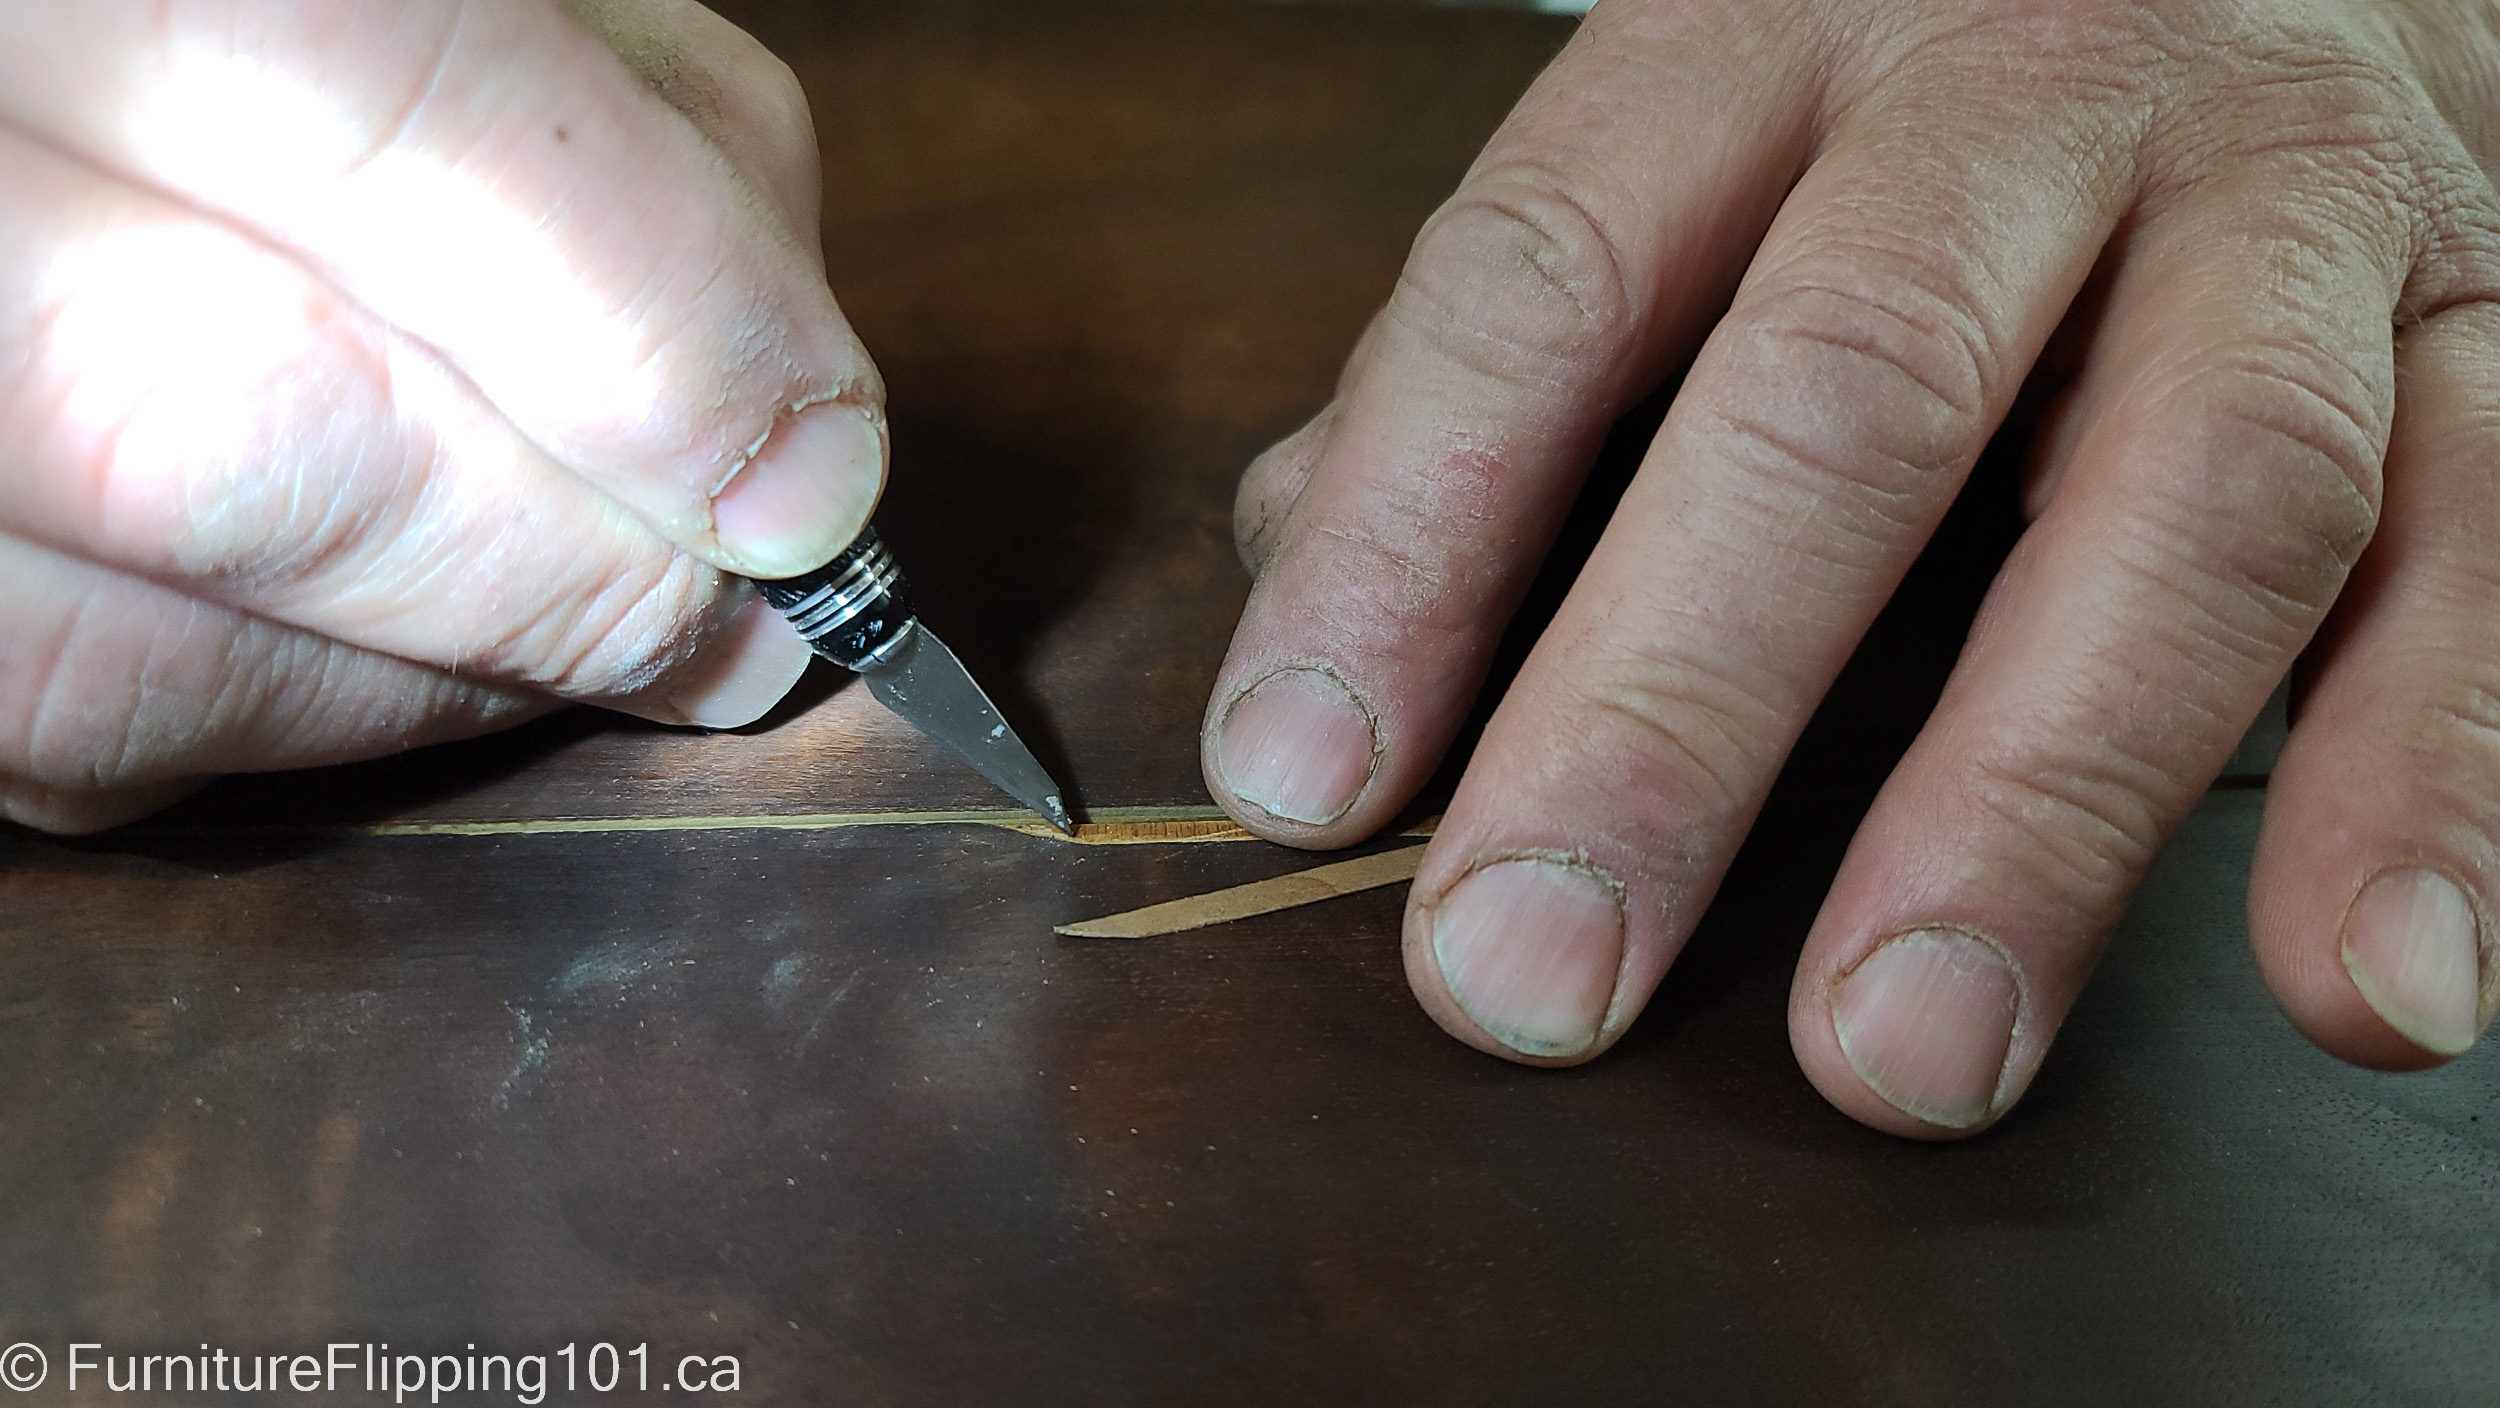
CA glue with an accelerator creates a quick bond, so ensure you have the pieces lined up precisely if using this type of glue. Choose a glue with a longer open time on complex glue-ups to allow yourself time to get everything aligned.

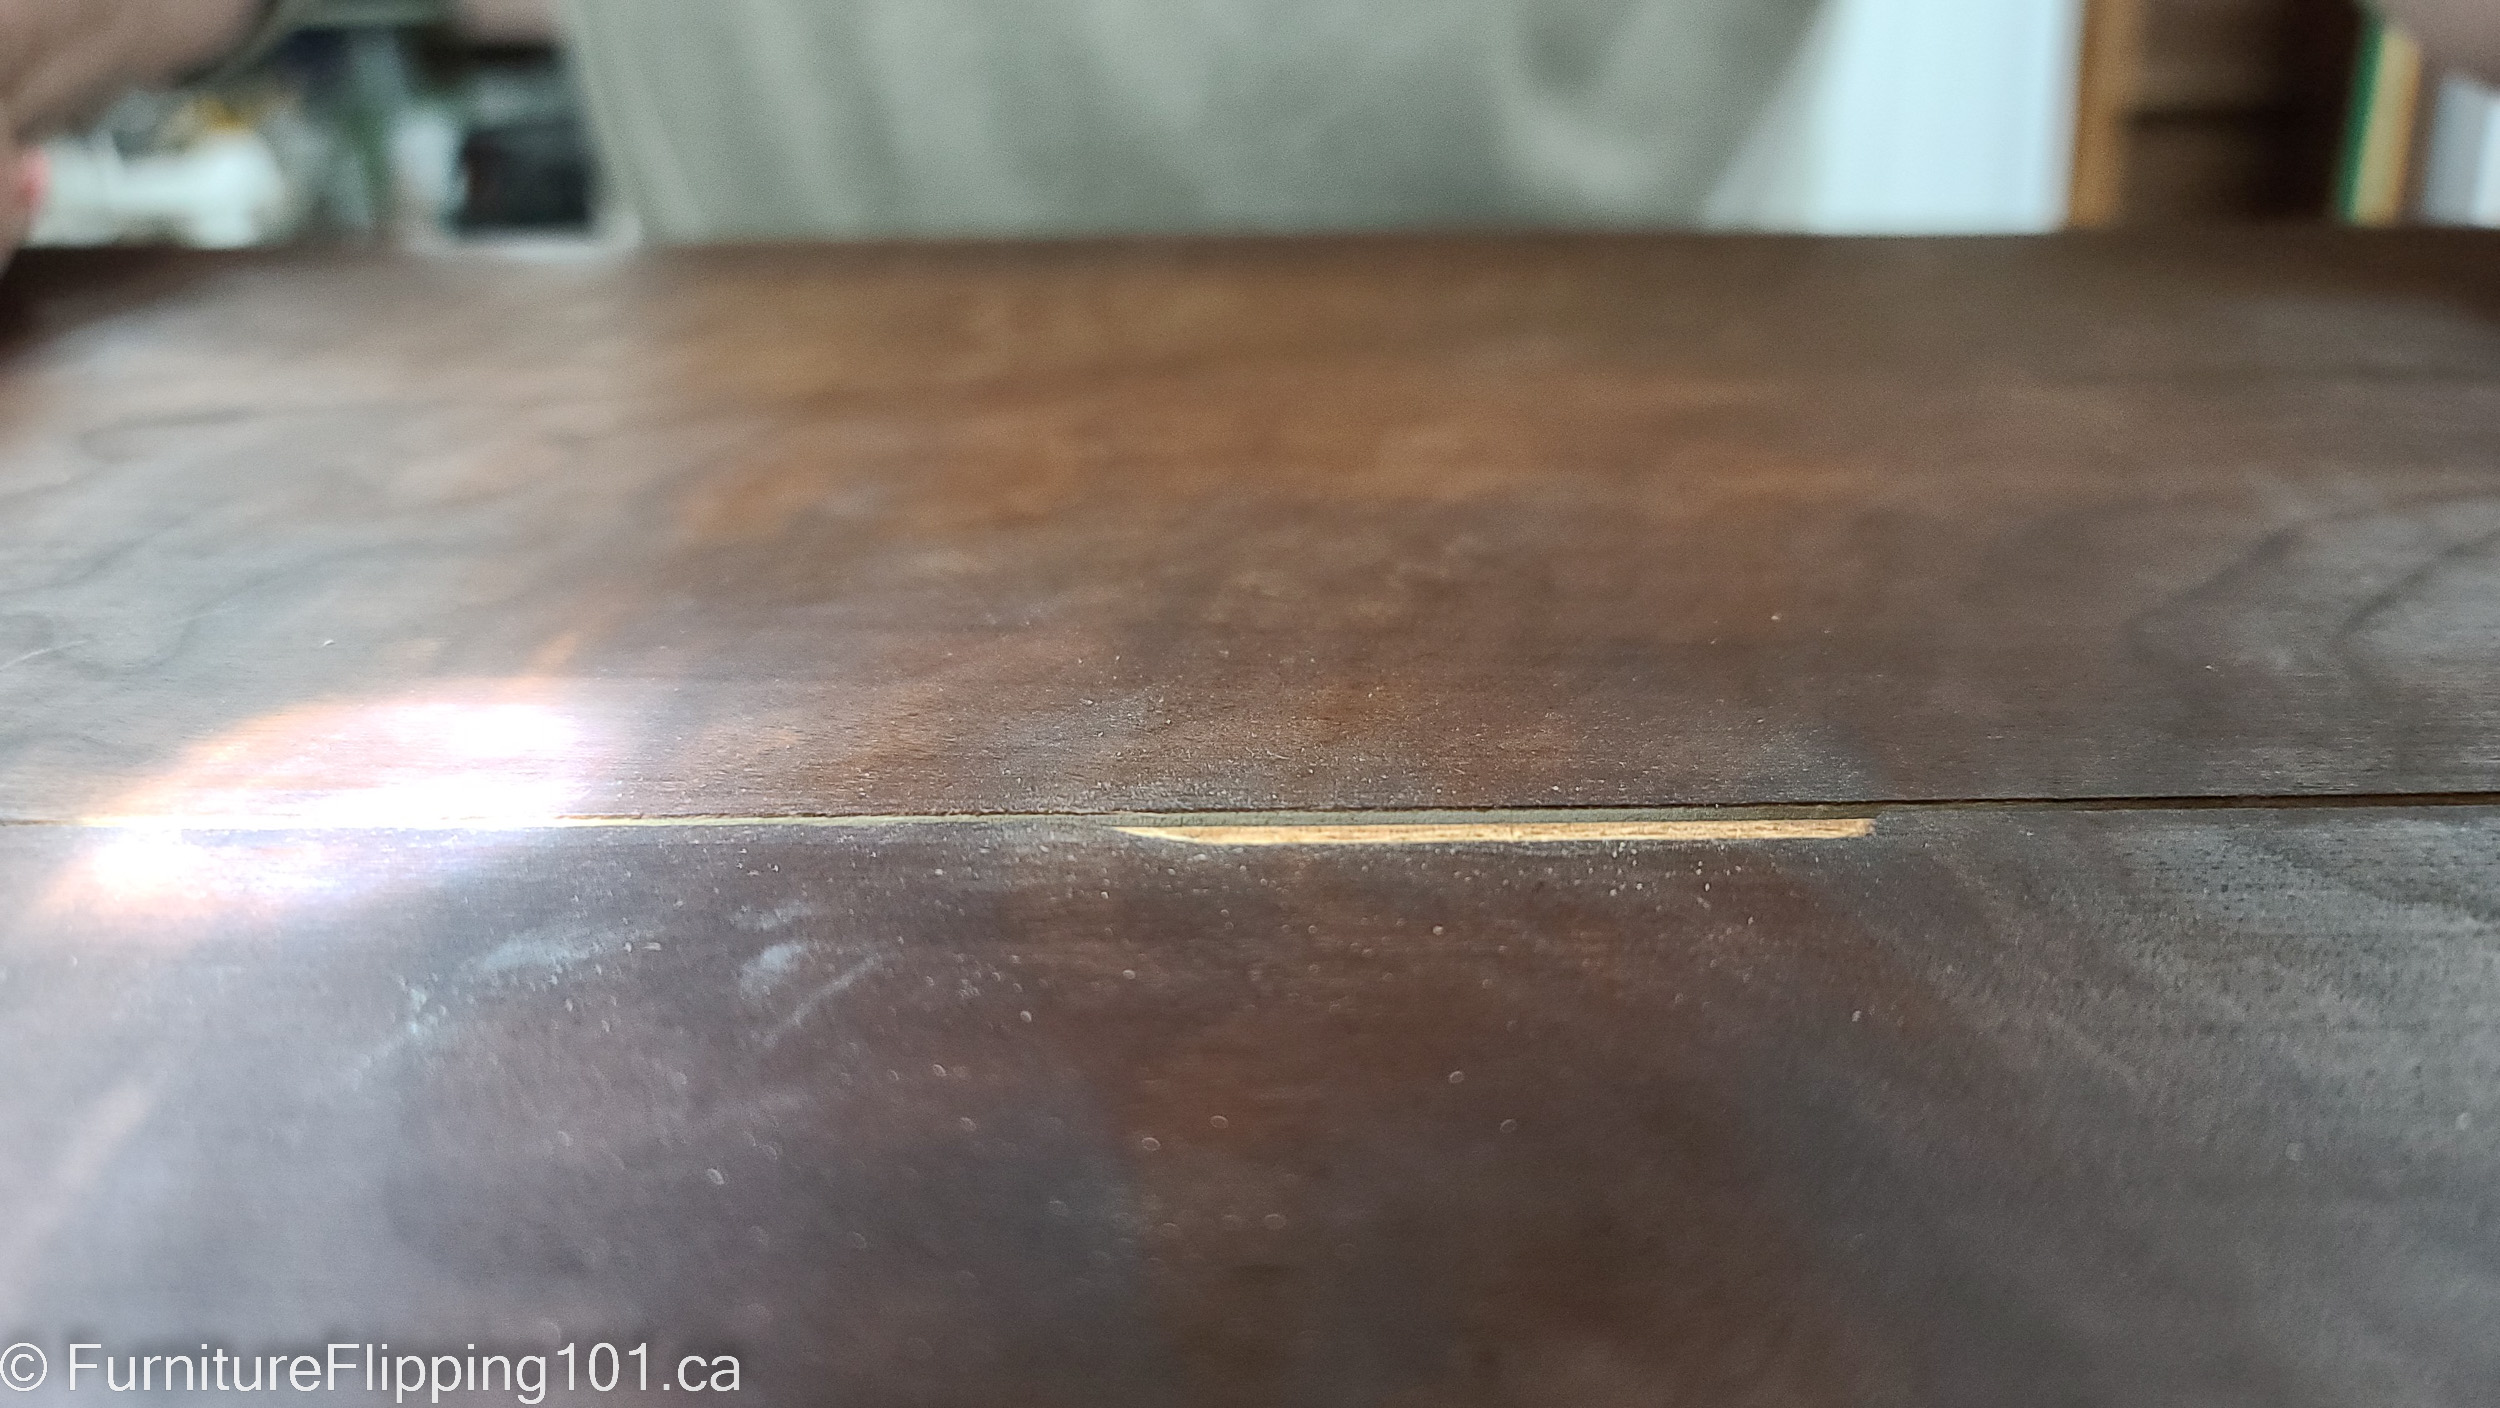
Apply enough wood glue to get squeeze-out when clamping. Don’t use too much glue, but use enough to cover the entire surface in a thin layer. There needs to be enough to soak into the wood and still form a bond with the other surface. 

You can use a brayer, chip brush, or piece of threaded rod to spread the wood glue around. Let the squeeze-out set up before removing it with a sharp chisel or card scraper.  Any glue smeared on the surface will interfere with stain absorption.

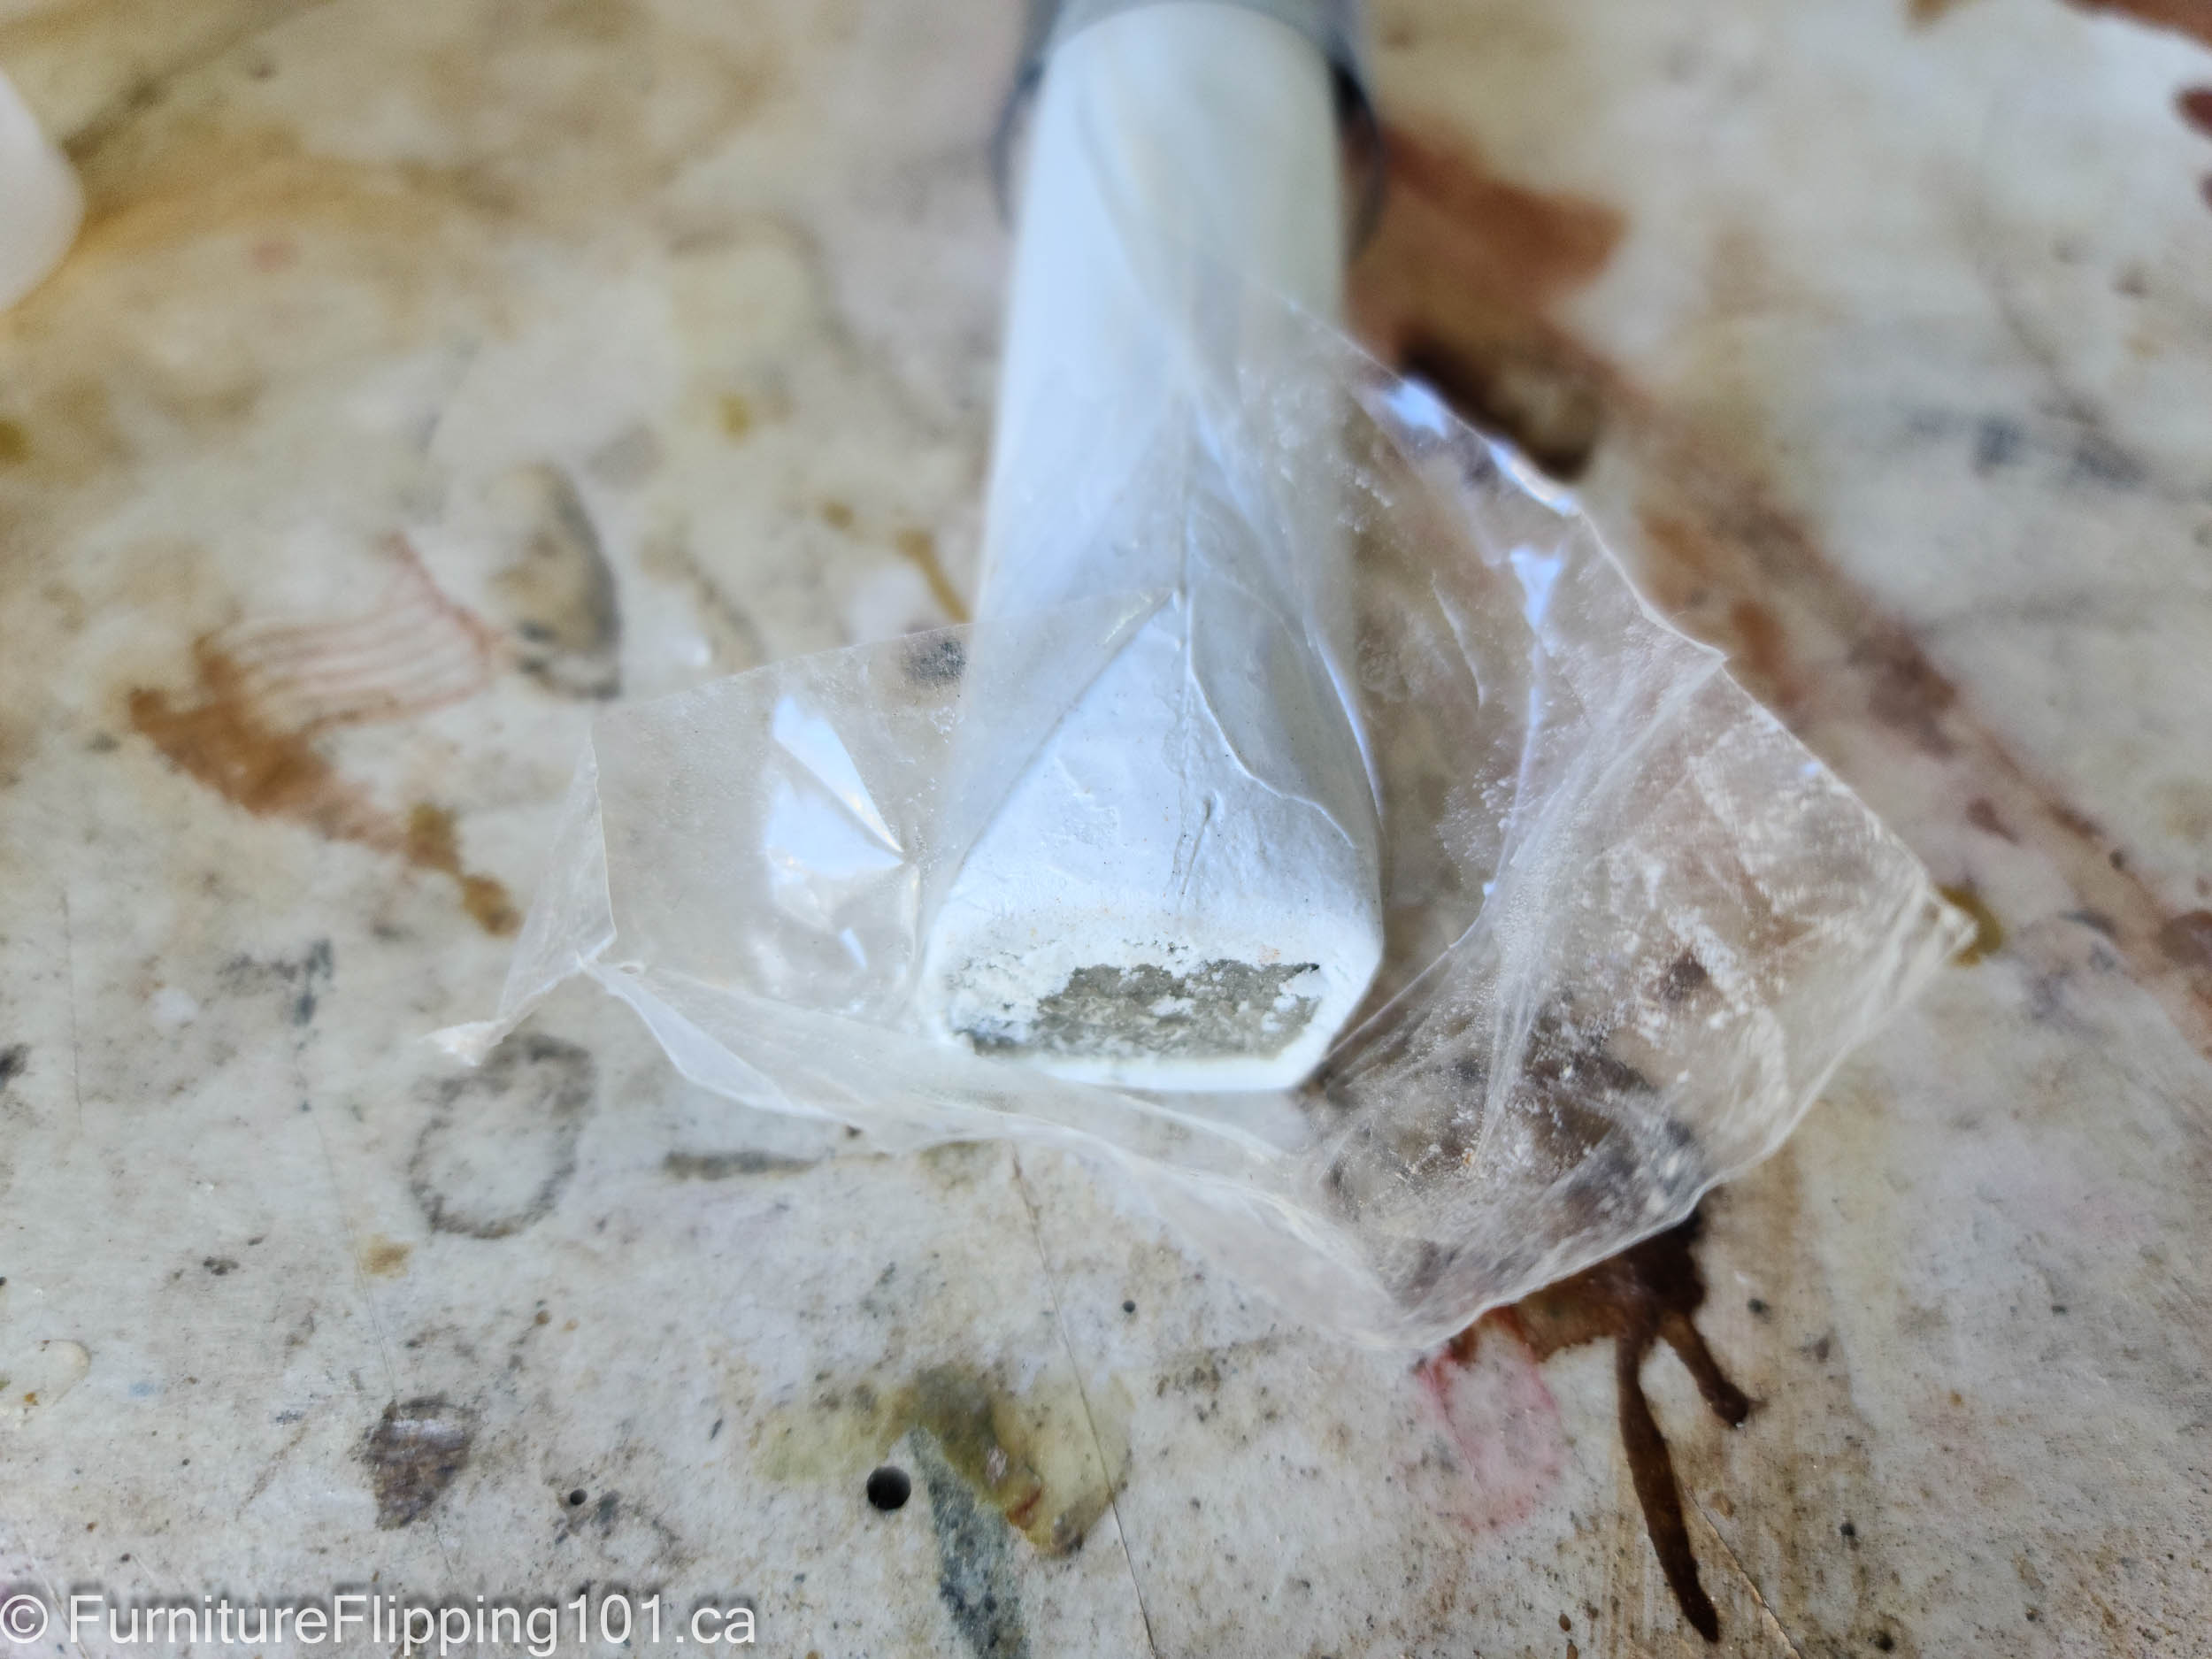
You don’t want squeeze-out with CA glue and you use a lot less than wood glue.

Check out this Wood Worker’s Guild of America video on glues.

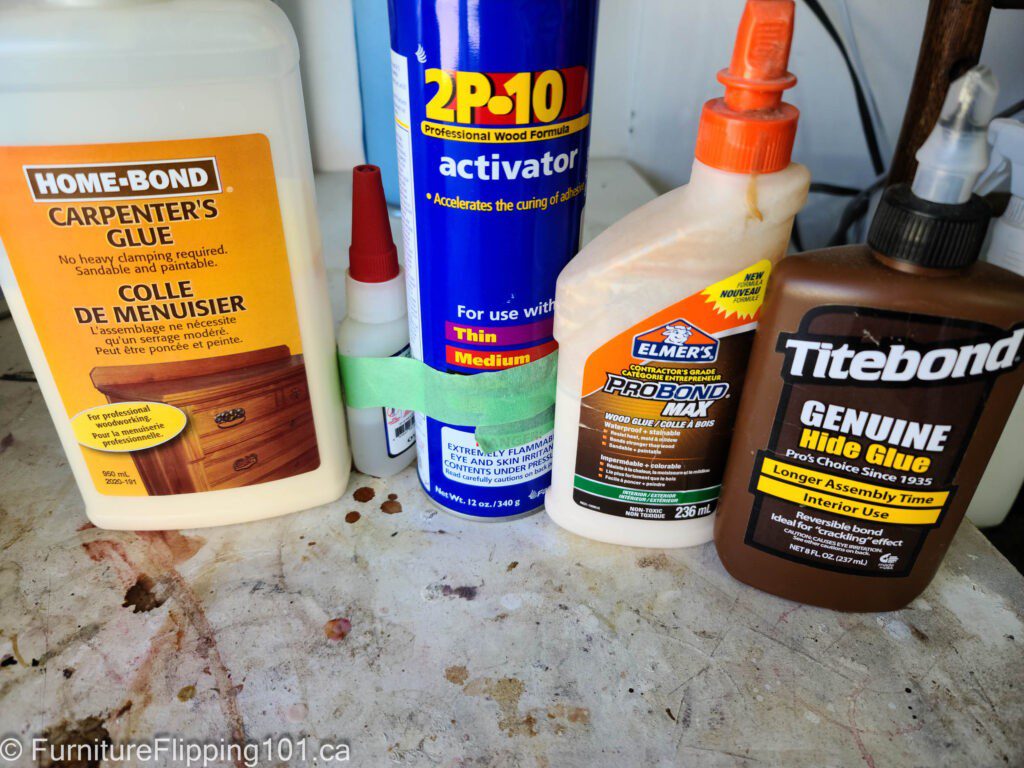
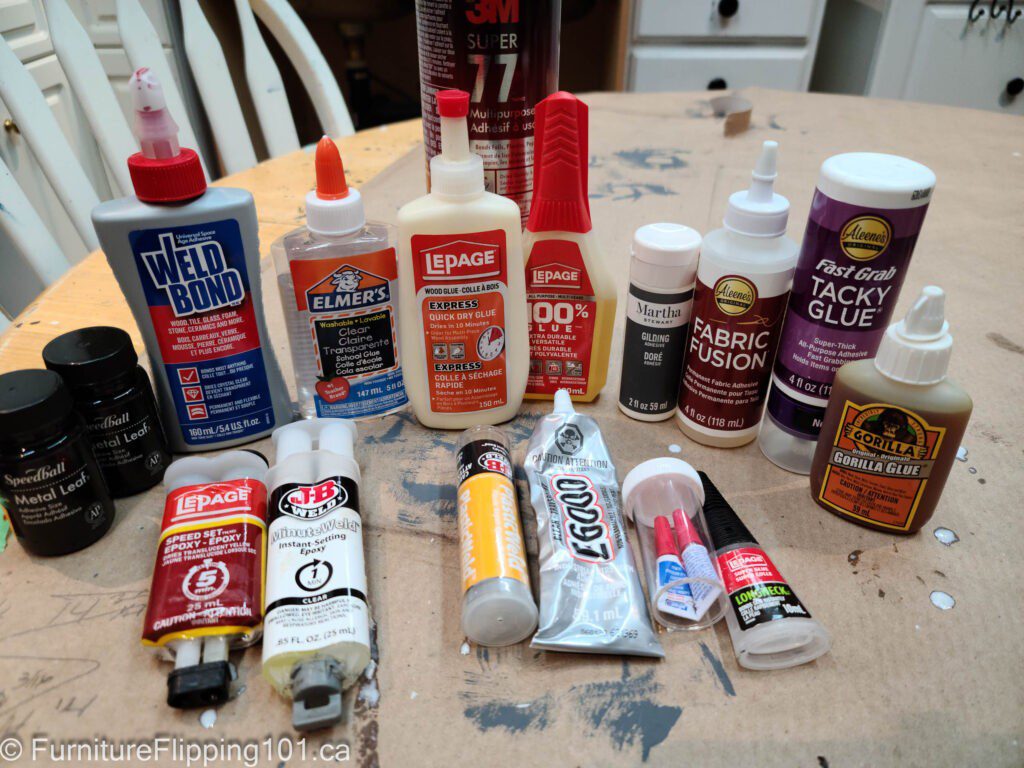
And don’t be afraid of wood glue, thinking it isn’t a strong bond. Wood glue is stronger than the wood itself. CA is a strong bond, but you need very little glue to cover the surface and do not want any squeeze-out. Hide glue can dry out over time and lose its strength.

You can clean up wood glue with vinegar, CA with acetone, and hide glue with warm water. Epoxy glues can be removed from skin with vinegar or acetone, but you should wear gloves and eye protection when using them. 

Repairs

Okay, now that you know about the glues and how to use them, let’s look at the promised four types of repairs with wood and glue.

1. Patching Dents, Gouges, and missing veneer

Commercial Wood Fillers

When patching dents, gouges, or areas with missing veneer, most furniture painters use products like Bondo ™ or similar commercial wood fillers. Products like Bondo™ and Durham’s Rock Hard Water Putty ™ should work so long as you prime the area and give it something to stick to. Bondo™ doesn’t shrink, but it may not stick to your surface, which can be super frustrating. I bought WoodEpox to try, but I haven’t used it yet.  

The drawback with these products is that they don’t take stain and dye well or at all, and the repair can stick out like a sore thumb. Anyone who has used premixed, stainable filler knows that is a false claim.

The adhesive used in the fillers prevents the stain from settling into the wood fibres. If you plan on painting the patch, then you have more options. Make sure you prime any areas that you’ve patched to prevent flashing.

See the Staining and Dyeing Wood module for a comprehensive explanation of how to overcome many problems woodworkers face when staining and dyeing.

So, other than commercial wood fillers that aren’t always the best choice when staining or dyeing a piece, what options do you have?

Sawdust & Glue

You can use a filler to mimic the missing wood when you have small dents, screw holes, or cracks in the wood. Or better, you can steam the dent out using a soldering iron and a drop or two of water.

For missing wood, cracks and other small patches, you can mix sawdust with glue to create a custom-matched filler. To match the future stain colour, you can sand a sacrificial board of the same wood species and colouration stained or dyed to match your final colour. Then use that sawdust mixed with wood glue or CA glue to patch the area, sanding it level. The patch will still be slightly darker, but it will be closer than using a “stainable” filler.

You can mix specialty filler products, like Timbermate Wood Filler in natural with pigments to get close to the desired colour. Advanced woodworkers will use toning or add dye or pigments to a clear coat to bring the patch’s colouration closer to the surrounding area. 

General Finishes has a good article on toning finishes. 

2. Veneer Repairs

If the surface is veneer and the area is quite large, you can patch the veneer. See the Furniture Repairs module for steps on how to do this.

Patching veneer can be intimidating, and many beginner refinishers remove it rather than repair it. However, if you have tried to remove veneer, you will have discovered that veneer removal can be difficult. Learning to patch veneer will save you many hours and preserve the nicer wood veneer, like walnut, oak, or maple, rather than exposing the substrate, which is usually an inferior, softer wood like poplar or particle board.

3. Solid Wood Repairs

For solid wood repairs where a large piece of wood is missing, you can replace the wood with the same wood species and shape the repair to match the existing profile. Using wood, especially a matching species with the same colouration, will take stain the same as the existing wood and respond to the environment similarly. You can use wood glue or CA glue to attach the new wood for these repairs securely.

The drawer face on this mid-century dresser had a piece of plywood missing. The patch isn’t very noticeable unless you’re looking closely for it.

4. Holes

If you need to add new hardware that doesn’t match the existing holes, you may decide to squish in some wood filler, sand it off, and call it good. And that works well if you are priming and painting the drawer fronts but not when staining or dyeing.

Note that wood filler shrinks, so apply the patch, sand the area smooth, and repeat a second time to fill any remaining dips. One filler I really love is KwikWood™. It comes in a white and wood-coloured product. It won’t take stain, so it is used for painted projects. This two-part product mixes together like PlayDoh™ and can be smoothed with a dampened finger, then sanded smooth. You can recreate missing mouldings and small pieces, if needed, so long as you are painting them afterwards.

If you plan to stain instead of paint, I feel a plug is better than fillers. Plugs are side-grain rather than end-grain like dowelling, so plugs will stain more like the drawer face. See the module on Wood 101 to learn more about how wood grain affects stain absorption.

You can create custom plugs if you have a plug cutter bit, or you can buy plugs in a bundle. Try and match the wood species – if the drawer is maple, use maple, walnut, use walnut, etc. Use a drill bit sized to the plug, drill out the existing hardware holes, tape off the back of the drawer front, drip in adequate glue for squeeze out, but not too much, then tap in the plug and use a chisel to smooth it off flush. You can use dowelling if that is what you have on hand.

This dresser hardware was replaced using dowels to fill the old holes. It’s very difficult to completely eliminate evidence of the old holes, but matching the colour with stain and dye helps a lot. 

Another situation you may run into is when old hardware screw holes become too loose to hold a screw. You can use toothpicks or any similar wood slivers and wood glue. Fill the hole with glue and pack in as many slivers of wood as possible. Then let the glue dry, use a sharp chisel to trim the wood flush, drill a small pilot hole, and reattach the hardware.

Tell me about your favourite glues or situations where you were able to save a piece with a clever repair in the comments.

share this article:

Facebook
X
Pinterest

Leave a Reply

Looking for more? Check out these articles.

Thank you! Your responses have been received.