fbpx
Furniture Flipping 101
Learn to Earn

Article Category: How To

*As an Amazon Associate, I earn a small amount from qualifying Amazon purchases at no additional cost to you.

Affiliate links are provided throughout the website and provide me a small measure of income when you make a purchase using those links.

Beginner furniture refinishing guide cover image

Are you a beginner looking to learn the world of furniture refinishing? Whether you’re an avid DIY enthusiast, a homeowner eager to breathe new life into your living space, or someone looking to start a furniture refinishing business, this article will walk you through the steps you need to know to begin refinishing furniture. From selecting the perfect piece to applying the finishing touches, we’ll walk you through each step with expert advice and essential tips.

Ready to move on to Selling Furniture?

Furniture Refinishing Step 1: Choosing Your Piece

Begin your furniture refinishing project by carefully selecting the ideal piece. Opt for smaller, sturdy items available at thrift stores or passed down from family members, avoiding priceless antiques initially. Choose pieces that align with your style and purpose, ensuring they are not overly damaged or aged. Before making a purchase, thoroughly inspect the piece for any signs of damage or odors that may present challenges during the refinishing process.

Be selective, and don’t feel obligated to salvage every free piece of furniture. Check out this article on the top mistakes made when beginning furniture refinishing. 

Some pieces take more to repair than they return in value.

Furniture Refinishing Step 2: Gathering Your Supplies

Before diving into your project, gather all the necessary supplies, including sandpaper, paint or stain, primer, brushes or rollers, and essential protective gear like gloves and goggles. Select high-quality materials tailored to your chosen finish, and be sure to read product labels carefully to ensure compatibility.

Paints and supplies
Tools I have accumulated

Furniture Refinishing Step 3: Preparing Your Workspace and Furniture

Create a dedicated workspace in a well-ventilated area, such as a garage or outdoor space, to begin your refinishing project. Protect surfaces with drop cloths to prevent spills and stains, and invest in a sturdy workbench or table for added convenience.

Clean the piece entirely and make any necessary repairs.

Workshop in my basement
My garage workshop where I can spray paints and finishes.

Furniture Refinishing Step 4: Stripping and Sanding

You must remove existing finishes for pieces you plan to stain, so thorough stripping is essential. Utilize a chemical stripper to dissolve the old finish, adhering strictly to safety protocols. Once stripped, hand-sand the surface with 150, 180, and 220 grit sandpaper to achieve a smooth and even base for staining. You can stop at 180, if you wish. There is no need to sand aggressively, as the furniture was sanded before the original finish was applied. 

Aggressive sanding is the number one beginner furniture refinishing mistake. Remove any sanding dust and clean with mineral spirits before staining (or painting). Generally, when painting, you do not need to remove the old finish. However, if the old finish is chipping, flaking, or otherwise failing, remove it to ensure a stable surface to for your primer and paint to adhere.

Chemical Strippers
A sanding block for sanding by hand.

Furniture Refinishing Step 5: Priming and Painting

For those opting to paint, applying a primer coat is vital for ensuring proper adhesion and preventing stains from bleeding through. While boutique paints promising zero prep may seem appealing, understanding the preparation requirements of the piece is crucial for optimal results. Consider factors such as tannins, odors, and previous treatments before selecting paint colors. 

If you do not feel there will be any bleedthrough or adhesion issues, you can opt to scuff sand instead of priming. But remember that you may need to go back and prime over paint if you get tannin bleedthrough.

One of the most recommended primers is BIN shellac primer. BIN blocks tannins, is universally compatible with paint classes and dries quickly. Don’t be intimidated by BIN and using a shellac primer. The biggest problem with using it is that people don’t understand it isn’t water-based. Rather, it is alcohol-based. You do need to follow safety precautions. See this article on how to refinish safely. 

Because BIN isn’t water-based, it is a good choice for damaged particleboard that swole from exposure to water. Water-based primers can exacerbate the problem. Zinser also makes a good oil-based primer, BIN2, but it dries slower.

Always read the container and use the manufacturer’s recommended primers – not all paints are compatible with every primer, and some have specific ones you must use. 

Priming may highlight damaged areas. Fill or repair these areas and reprime before proceeding.

Various primers
Cabinet paint
Some of the boutique paints I use.

Furniture Refinishing Step 6: Finishing and Protecting

For paints that require a seal coat and all stains, apply a protective finish to seal and safeguard the surface of your furniture piece. Choose from options like clear polyurethane for durability, wax for a natural look, or drying oil for a softer touch. Consider the piece’s intended use when selecting a finish, and adhere to manufacturer instructions for application and drying times.

If you paint with white or light-coloured paint, polyurethane finishes can cause it to turn yellow. I suggest choosing a paint that does not need a topcoat if you choose a light-coloured paint.

Your piece will need to cure for up to 30 days if you use water-based products and two weeks if you use oil-based products.

furniture finishes
Some of the different finishes I use.
Waxes do not provide as durable a finish, but they do add a nice warmth.

Furniture Refinishing Step 7: Enjoying Your Handiwork

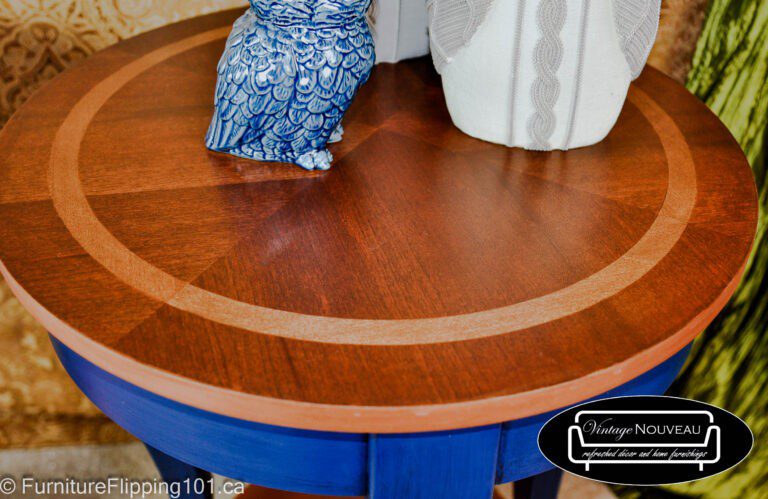
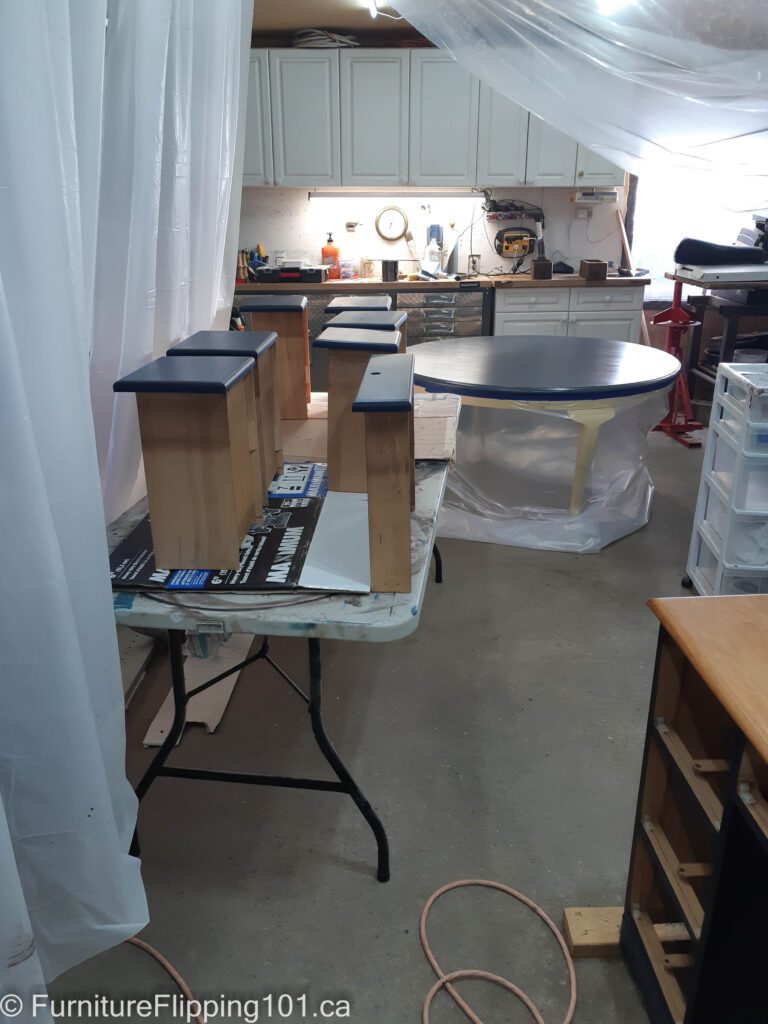
Congratulations! You’ve successfully completed your first furniture refinishing project. Step back and admire your masterpiece, knowing you’ve transformed an old and neglected piece into a stunning focal point for your home. Showcase your refinished furniture proudly and revel in the satisfaction of a job well done.

Ready to embark on your own furniture refinishing journey? Explore our Furniture Flipping 101 Program and learn furniture refinishing with more expert tips, tutorials, and inspiration. With the right guidance and a passion for creativity, the possibilities for transforming your space are endless!

Leave a Reply

Looking for more? Check out these articles.

Thank you! Your responses have been received.