

Get Organized! Create a Tool Pegboard!
One thing I love, is organization. That isn’t to say I am the most organized, but I do love the feeling I get when I organize a space. I suspect it is also because I have a terrible short-term memory, so I forget where I put things if they are in cupboards or drawers. I also love efficiency and hate searching for something because I can’t remember where I put it. To help with that, I wanted to create a tool pegboard so everything is right where I can see it and within my reach.
My husband and I decided it was time to create a tool pegboard wall in my basement workshop a while back. I absolutely love it! Every time I work in that room, I appreciate how much faster it is to find something.
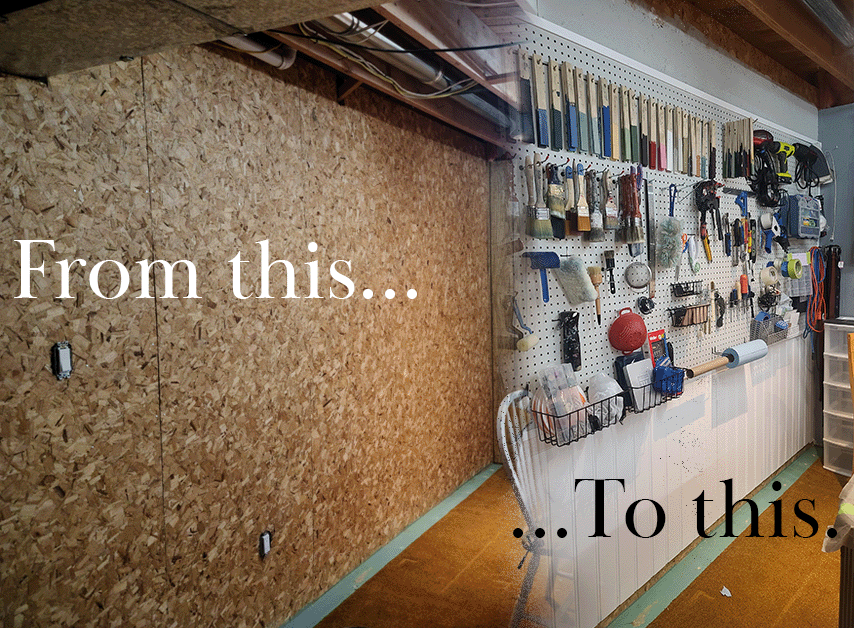
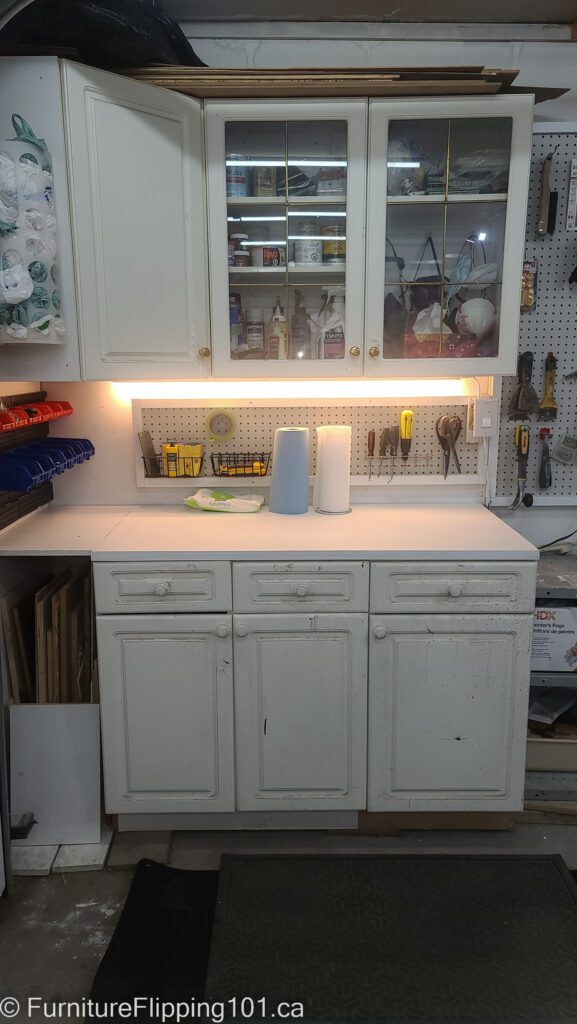
After we finished the basement project, we had a couple of sections of pegboard left over. These pieces were the perfect size to create a tool pegboard on the wall space around my workbench in the garage. Because this is such a simple project, I thought I would share it with you and maybe inspire you to create a tool pegboard for your work area. Check out the video below or you can find it here on my YouTube Channel (subscribe while you are there) on how to create a tool pegboard using simple materials and tools.


Pegboard
You can buy tool pegboard at your local hardware or home renovation store. We bought 4×8-foot MDF pegboard sheets for the basement workshop. There are hardboard and metal ones too. The metal ones cost more but are easier because they come with the spacer already built in, so all you have to do is hang them. You are limited on the sizes since they are prefabricated and come in set sizes.
The great thing with the 4×8 MDF or hardboard tool pegboard panels is you can cut the panels to fit if your area isn’t rectangular. Maybe you have a bulkhead or window frame you want to go around.
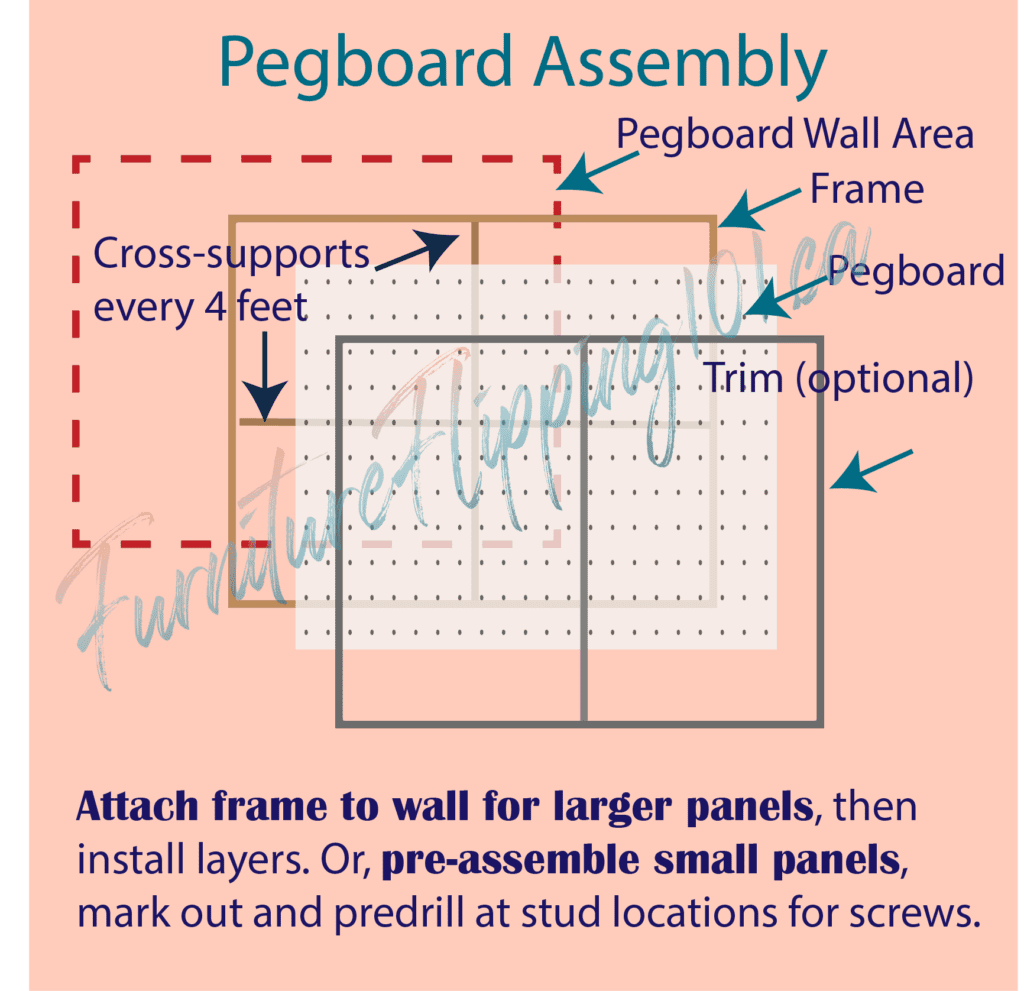
Frame and Trim
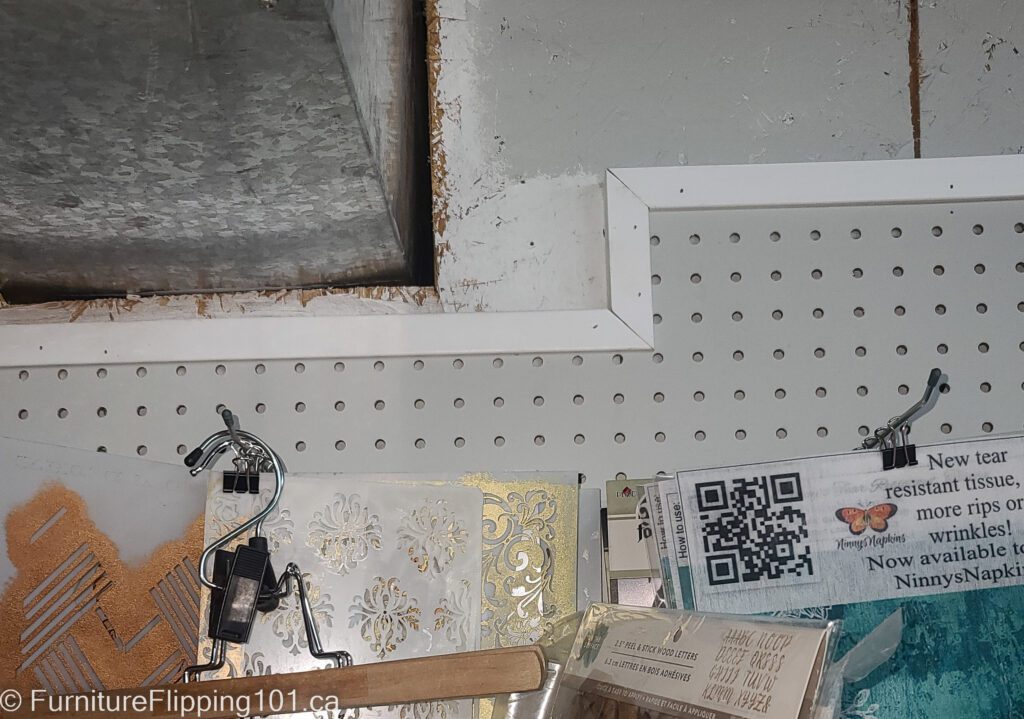
Besides pegboard panels, you will need to create a frame. You can decide if you want to add decorative trim on the front, but the most important thing is you need space behind the board to allow the pegs to slip into place. If the board is flush against the wall, the pegs will not work. The minimum space you need is a half inch or about 3 millimetres.
The frame is not load-bearing when screwed to the wall. The frame’s purpose is to keep the panels from twisting or cupping and provide a gap to allow the pegs to slip behind the pegboard. If you use hangers instead of screwing the panel to the wall, the frame will take on the weight of the panel, and you must securely attach the panel to the frame. For our panel, we framed it with one-and-a-half-inch wide by ¾ inch deep strips.
Trim is optional but creates a more polished look. The trim runs around the panel’s face’s perimeter, and if you have a large area, you may wish to add a trim over the edges where the panels meet. Try to match your trim’s width to the width of the framing for the best effect and to prevent blocking more of the pegboard’s holes. We bought an L-shaped trim material for our basement panels. For the garage panels, we used the same material as the frame.
You can find framing and trim boards in any home improvement or hardware store. I painted the panels and the trim pieces. It is easier to paint before assembling.
Tools
You will need some tools to get started. If you are cutting the panels yourself, you will need a saw – I would suggest a circular saw (‘Skil saw’) or possibly a jigsaw. Make sure you have a straightedge to clamp to the board to keep the cuts straight. You can also ask your home improvement store to cut the boards if the cuts aren’t too complex.
Because they are so narrow, you can cut the framing and trim pieces with almost any saw you have on hand, including a hand saw. Using a saw is covered in the Furniture Repairs module.
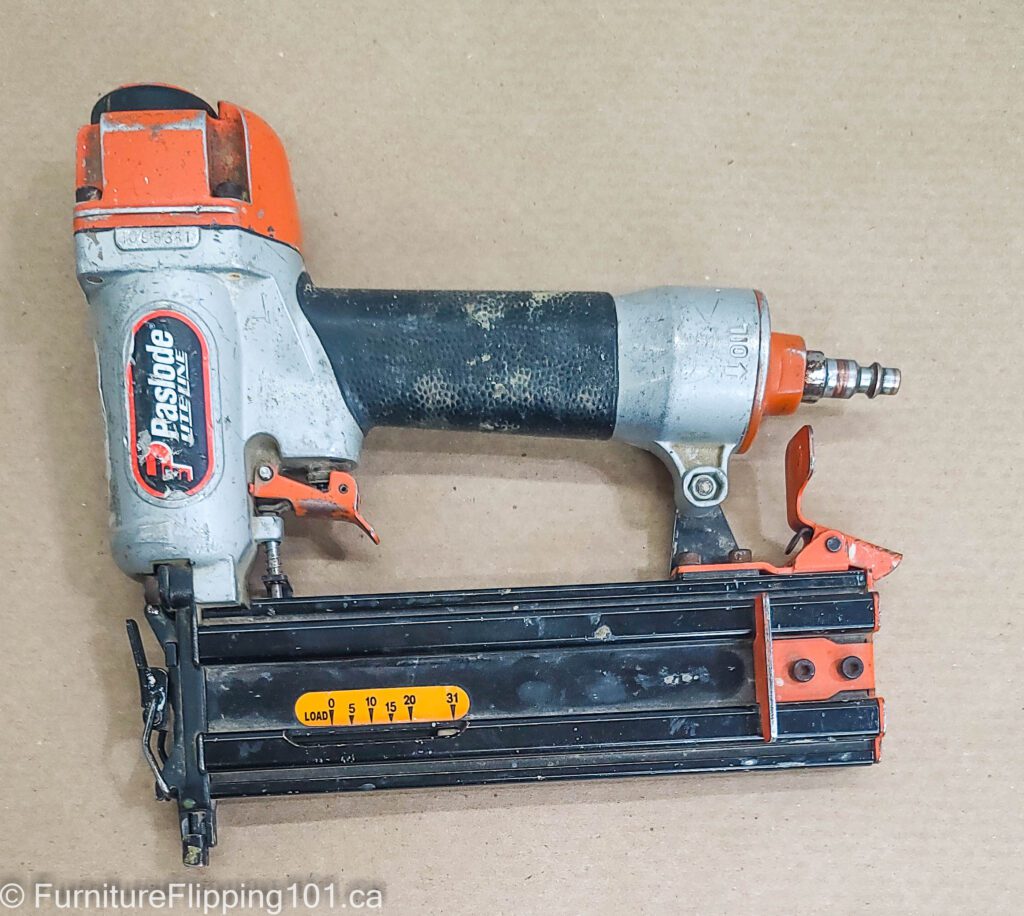
The assembly will go much faster if you have an air nailer and compressor. I explain compressors and pneumatic tools in the Paint Sprayers module in the Advanced course. If you don’t have an air nailer, you will need a small hammer or a driver tool to install finishing nails.
You will need a drill with a drill bit and the correct screw bit to match your hardware. You could use a manual screwdriver, but it will be more work. I recommend investing in a good cordless drill if you plan on doing any repairs. There are also less expensive electric screwdrivers, but they aren’t multifunctional like a drill.
You will also need a tape measure and a pencil. Another tool that you might find helpful is a stud finder if you aren’t sure where the wall studs are in your wall.
So to summarize, you need a circular saw, a drill (with drill bits and screw bits), a hammer, an air nailer and compressor, if you have one, a pencil, a tape measure, and a stud finder (optional).
Fasteners
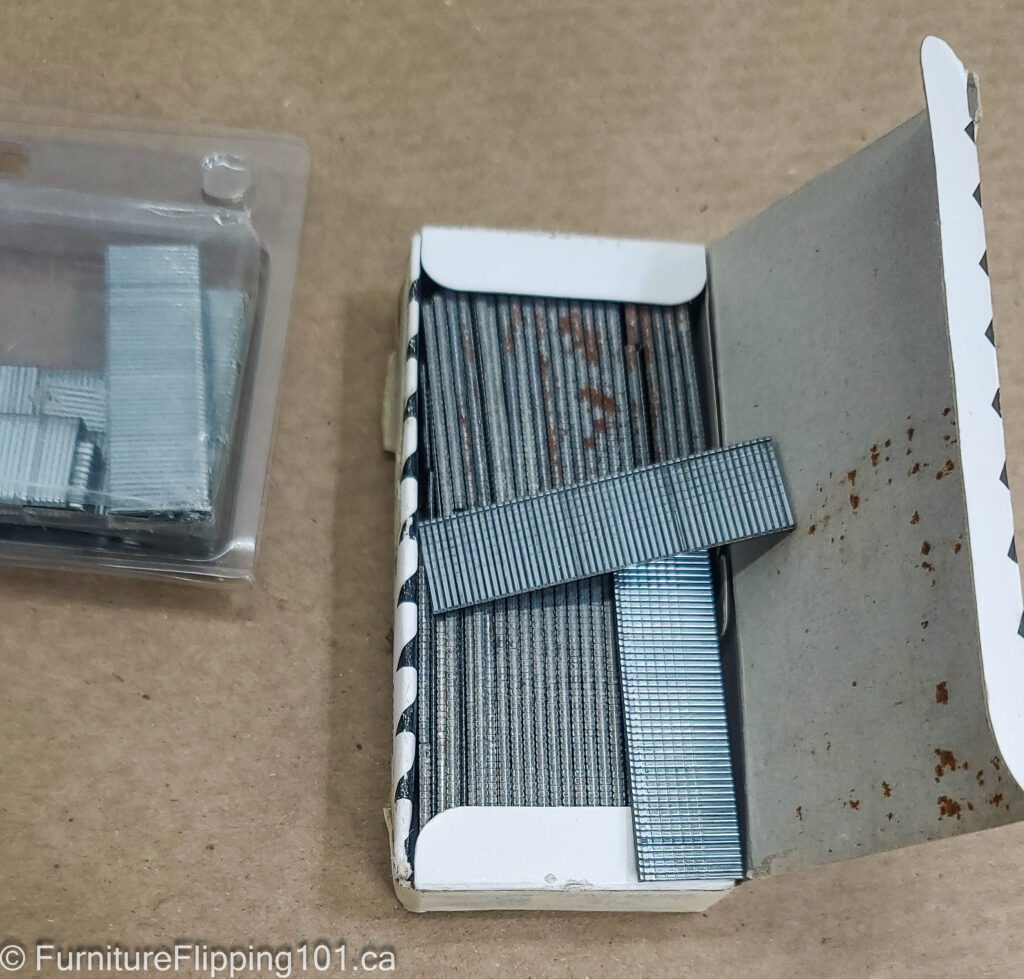
You will need fasteners, either air nails for your air gun or screws and finishing nails when using hand tools.
Calculate your materials’ thicknesses, so you use the right length of fasteners. If pre-assembling, measure how thick all the layers are, including your drywall (usually ½”), and allow 1″ for the screw to bite into the wall stud.
If assembling on the wall, the frame screws must go through the framing board’s thickness, the drywall, and into the stud. The panel will attach with screws through the pegboard and into the framing. The trim will be attached with finishing nails or air nails. The finishing nails will go through the trim, pegboard, and into the frame.
You could also nail the frame together, but nails tend to work their way out over time.

measuring
You need to calculate how much material you need before you get started. Measure the wall area, so you know how many pegboard panels you need. Then calculate the perimeter of your panel or panels, and determine if you need cross supports. Add the length of the cross supports to the frame measurement. If you are using trim, consider if you will need any strips to cover where panels meet or if you will only cover the outside perimeter.
Because the panel we were working with was such a small board, 2 x 4 feet, I didn’t plan for framing cross supports. The large pegboard panels in the basement have vertical frame supports every four feet to prevent the panel from flexing and add some strength. If your panels are taller than four feet, include horizontal cross support. These supports block the pegboard’s holes, so you can’t hang any pegs over that strip. So, choose narrower pieces, if possible. Make sure any framing where panel edges meet is wide enough to accommodate both edges.
Create a quick pencil sketch with measurements as a reference once you start cutting and assembling the project. If you use mitred cuts for the trim, you will need slightly more material than square cuts.
Cutting the materials
Okay, so once you have determined the lengths of the framing pieces and purchased or found the needed amount, you can start laying out the boards. I didn’t measure the lengths of the frame and trim boards; instead, I kept one end of the longest board flush with the panel’s edge, marked the opposite end with a pencil, and then cut. Then I laid out the long pieces and marked the shorter ones, so everything fit the panel. You can cut the ends at a 45° angle if you want mitred corners. If you use a mitred corner, you keep the board length the same as the width or height of the panel section.
If you have a long panel, you will want to stagger the framing so that the joints don’t match up on the opposite side. This step will help make your panel stronger.

Assembly
There are two options for hanging the panels: pre-assemble them and hang them or assemble them on the wall. Smaller panels are easy to pre-assemble, but larger ones are assembled on the wall due to their weight.
Ensure you hang the panel or attach the frame to the wall studs. I don’t recommend using drywall anchors. Your panel should be wide enough to hit at least one stud, preferably two. Studs are 16″ apart in almost all circumstances. You may encounter 24″ spacing.
Pre-assembled
We assembled the frame with the air nailer, then laid out the pegboard and trim, and air-nailed those layers to the frame.
If you use screws, you can screw the three layers together at once. If using screws, predrill holes to prevent splitting. Use a drill bit about half the diameter of the screw. If you don’t want to see the screw heads, you can screw the pegboard to the frame and use finishing nails to attach the trim. Ensure you don’t hit the screws in the lower layer with the finishing nails. You can drive the finishing nails with a hand-held driver or a small hammer.
Hanging the Pre-assembled panel
To make hanging the small pre-assembled panel simpler, my husband predrilled the screw holes. The screws go into the wall studs.
If you want to take the panel down quickly, you could use hanging hardware rather than screwing the panel to the wall. If you hang it on hooks, the panel won’t be as secure as screwing it directly to the wall. You may notice movement when adding or removing items from the pegboard. Also, make sure your hanging hardware is strong enough to handle the weight of the panel and any items hung on it. You also need to ensure your frame and pegboard panel are securely attached to one another because hangers transfer the weight of the panel and all of the items on the board to the top frame boards.
With the holes predrilled, hanging the panel was quick. Had my husband not drilled the holes, he would need to hold the panel up while the screw worked its way through the three layers, and there would have been a risk of splitting the thin boards.
Assembling on the wall
For large pegboard panels, assemble the frame on the wall. First, predrill and screw the frame to the wall into the wall studs. Next, screw the pegboard to the frame, and lastly, use air nails or finishing nails to attach the trim.
We butted the edges of the pegboard together for our large basement panels and didn’t add any trim. The boards were face-screwed to the supporting strip behind. You can choose to add trim there if you like.
Summary
It always sounds more complicated when you explain how to do something than the actual act. Essentially, you measure the area, cut the materials, assemble them on the wall or the workbench, and hang the panel.
If you have large panels, plan for supporting boards every four feet of open space. If you have two panels butting up against one another, you will need a slightly wider board where the panels meet to allow both edges to fit. Find your wall studs and hang the panel from these for the greatest amount of support.
Also, watch for overlapping hardware since you have the frame and the pegboard with trim. Pneumatic nails can ricochet off of barriers like hardware or even knots. Keep your fingers back and wear safety glasses.
Next, find some pegs and different pegboard accessories and organize your tools and accessories!