

Our Basement Renovation on a Budget - Flipping a 1970 House
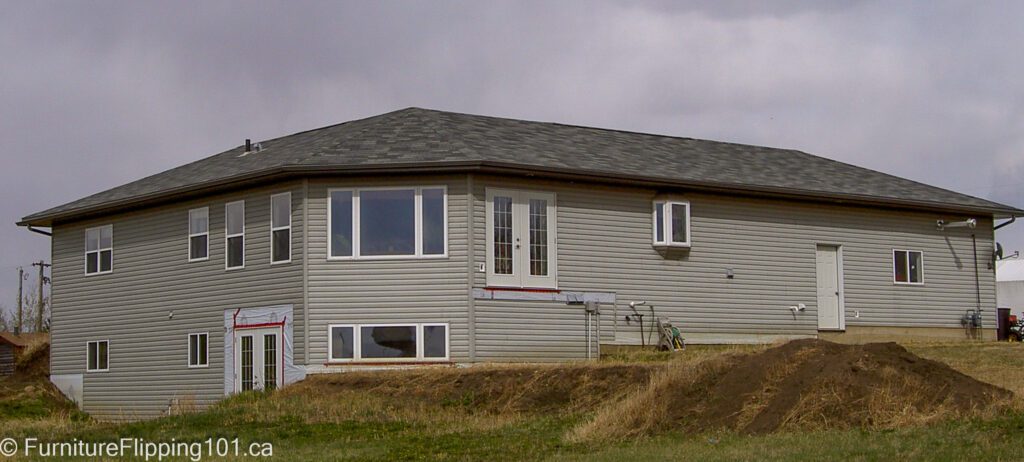
My husband and I are renovating and remodelling our 1970 raised bungalow. This blog covers how we are doing our basement renovation on a budget. Throughout this blog series, I will detail our progress with everyone and the steps we took to save money and solve problems. I know renovation and remodelling aren’t furniture refinishing, but a lot of the refinishing skills and knowledge I’ve gained have come from renovating, remodelling, and building houses.
The more experience you have encountering renovation and remodelling challenges, the more you understand how to use tools and products to resolve those challenges. I’ll walk through the steps and tools as we progress through the renovation to provide you with some of our insight. And if you are wondering how to renovate a basement on a budget, follow along to learn the steps we take to save money on remodelling our house.
We have years of experience renovating and remodelling homes. Besides my having fully renovated a 1940s bungalow and built a house from scratch, my husband, Giraud, and I have been renovating our current home for a few years. The upstairs of our 1970 raised bungalow was nearly original when we bought it. The previous owners had made some changes, but there was a lot of room for improvement. The work is for us, not to resell – we plan on living in this home for several years and want to make it fit our lifestyle. For instance, we put in a basement workshop that I use for my furniture refinishing business.
We’ve almost finished the upstairs now – just the back entrance has to be updated, which is part of the basement reno we are starting now. Later, I will document all of the work we did upstairs, but for now, I will start with our current basement renovation project.
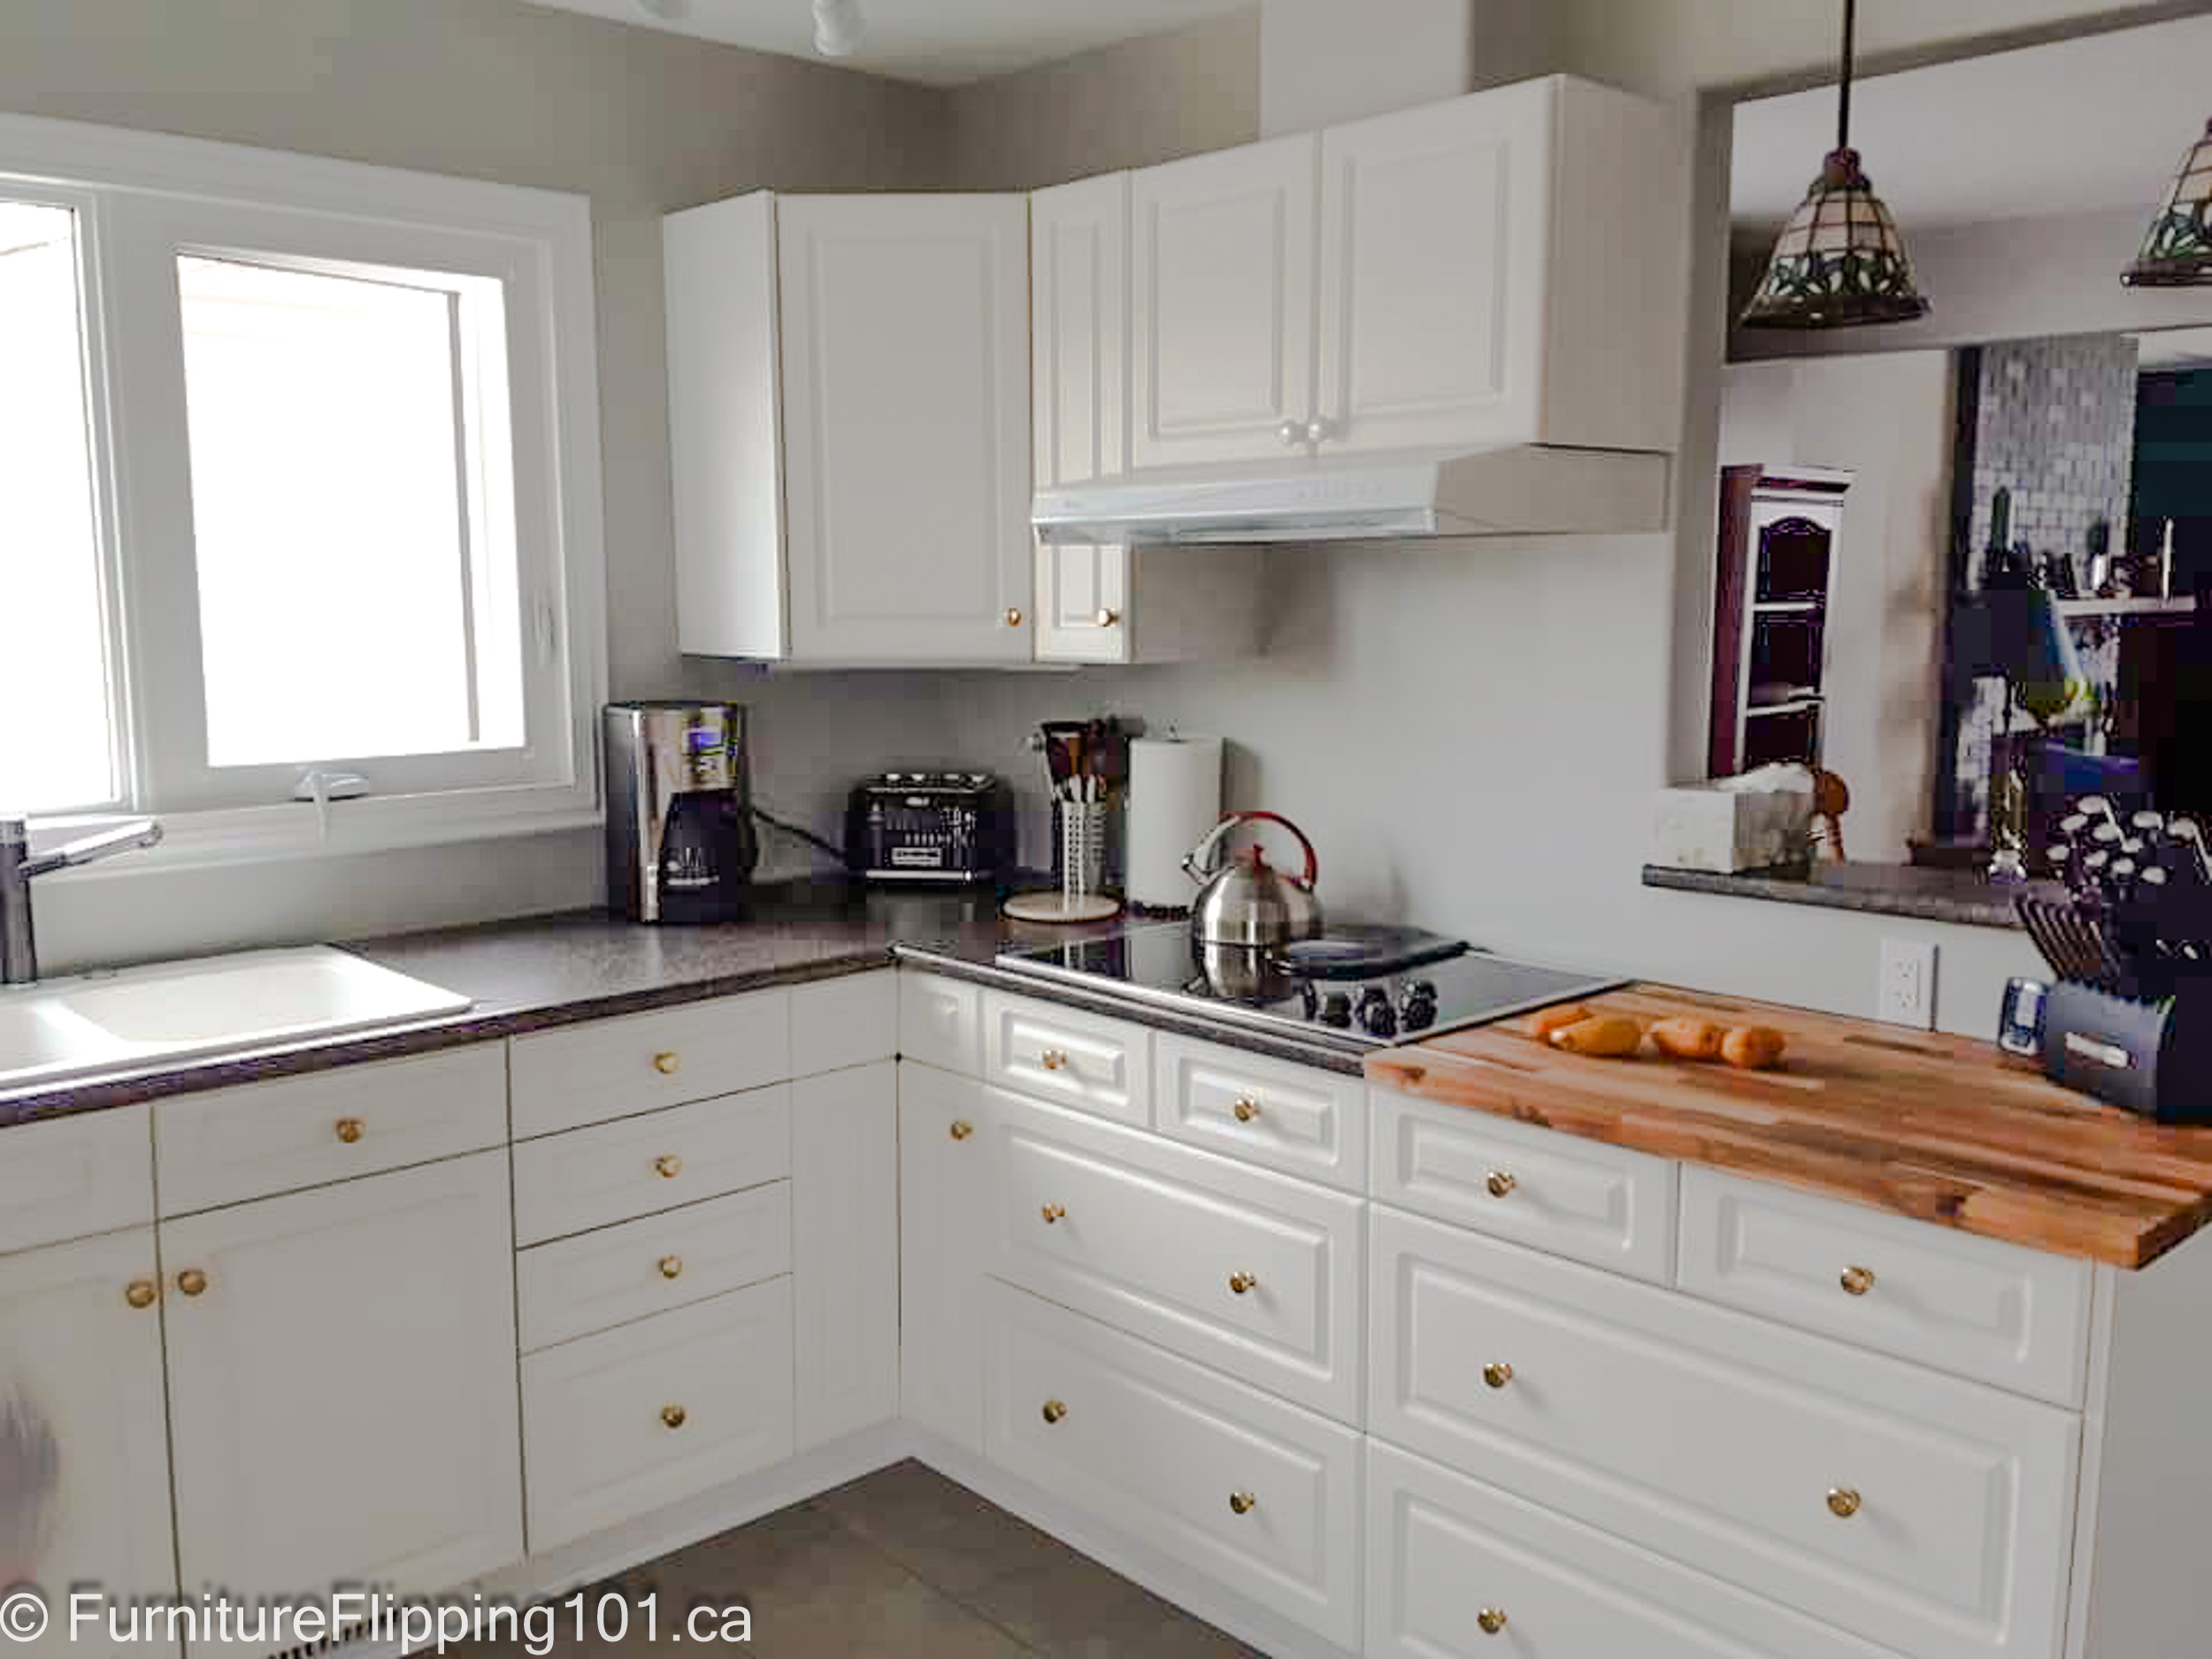
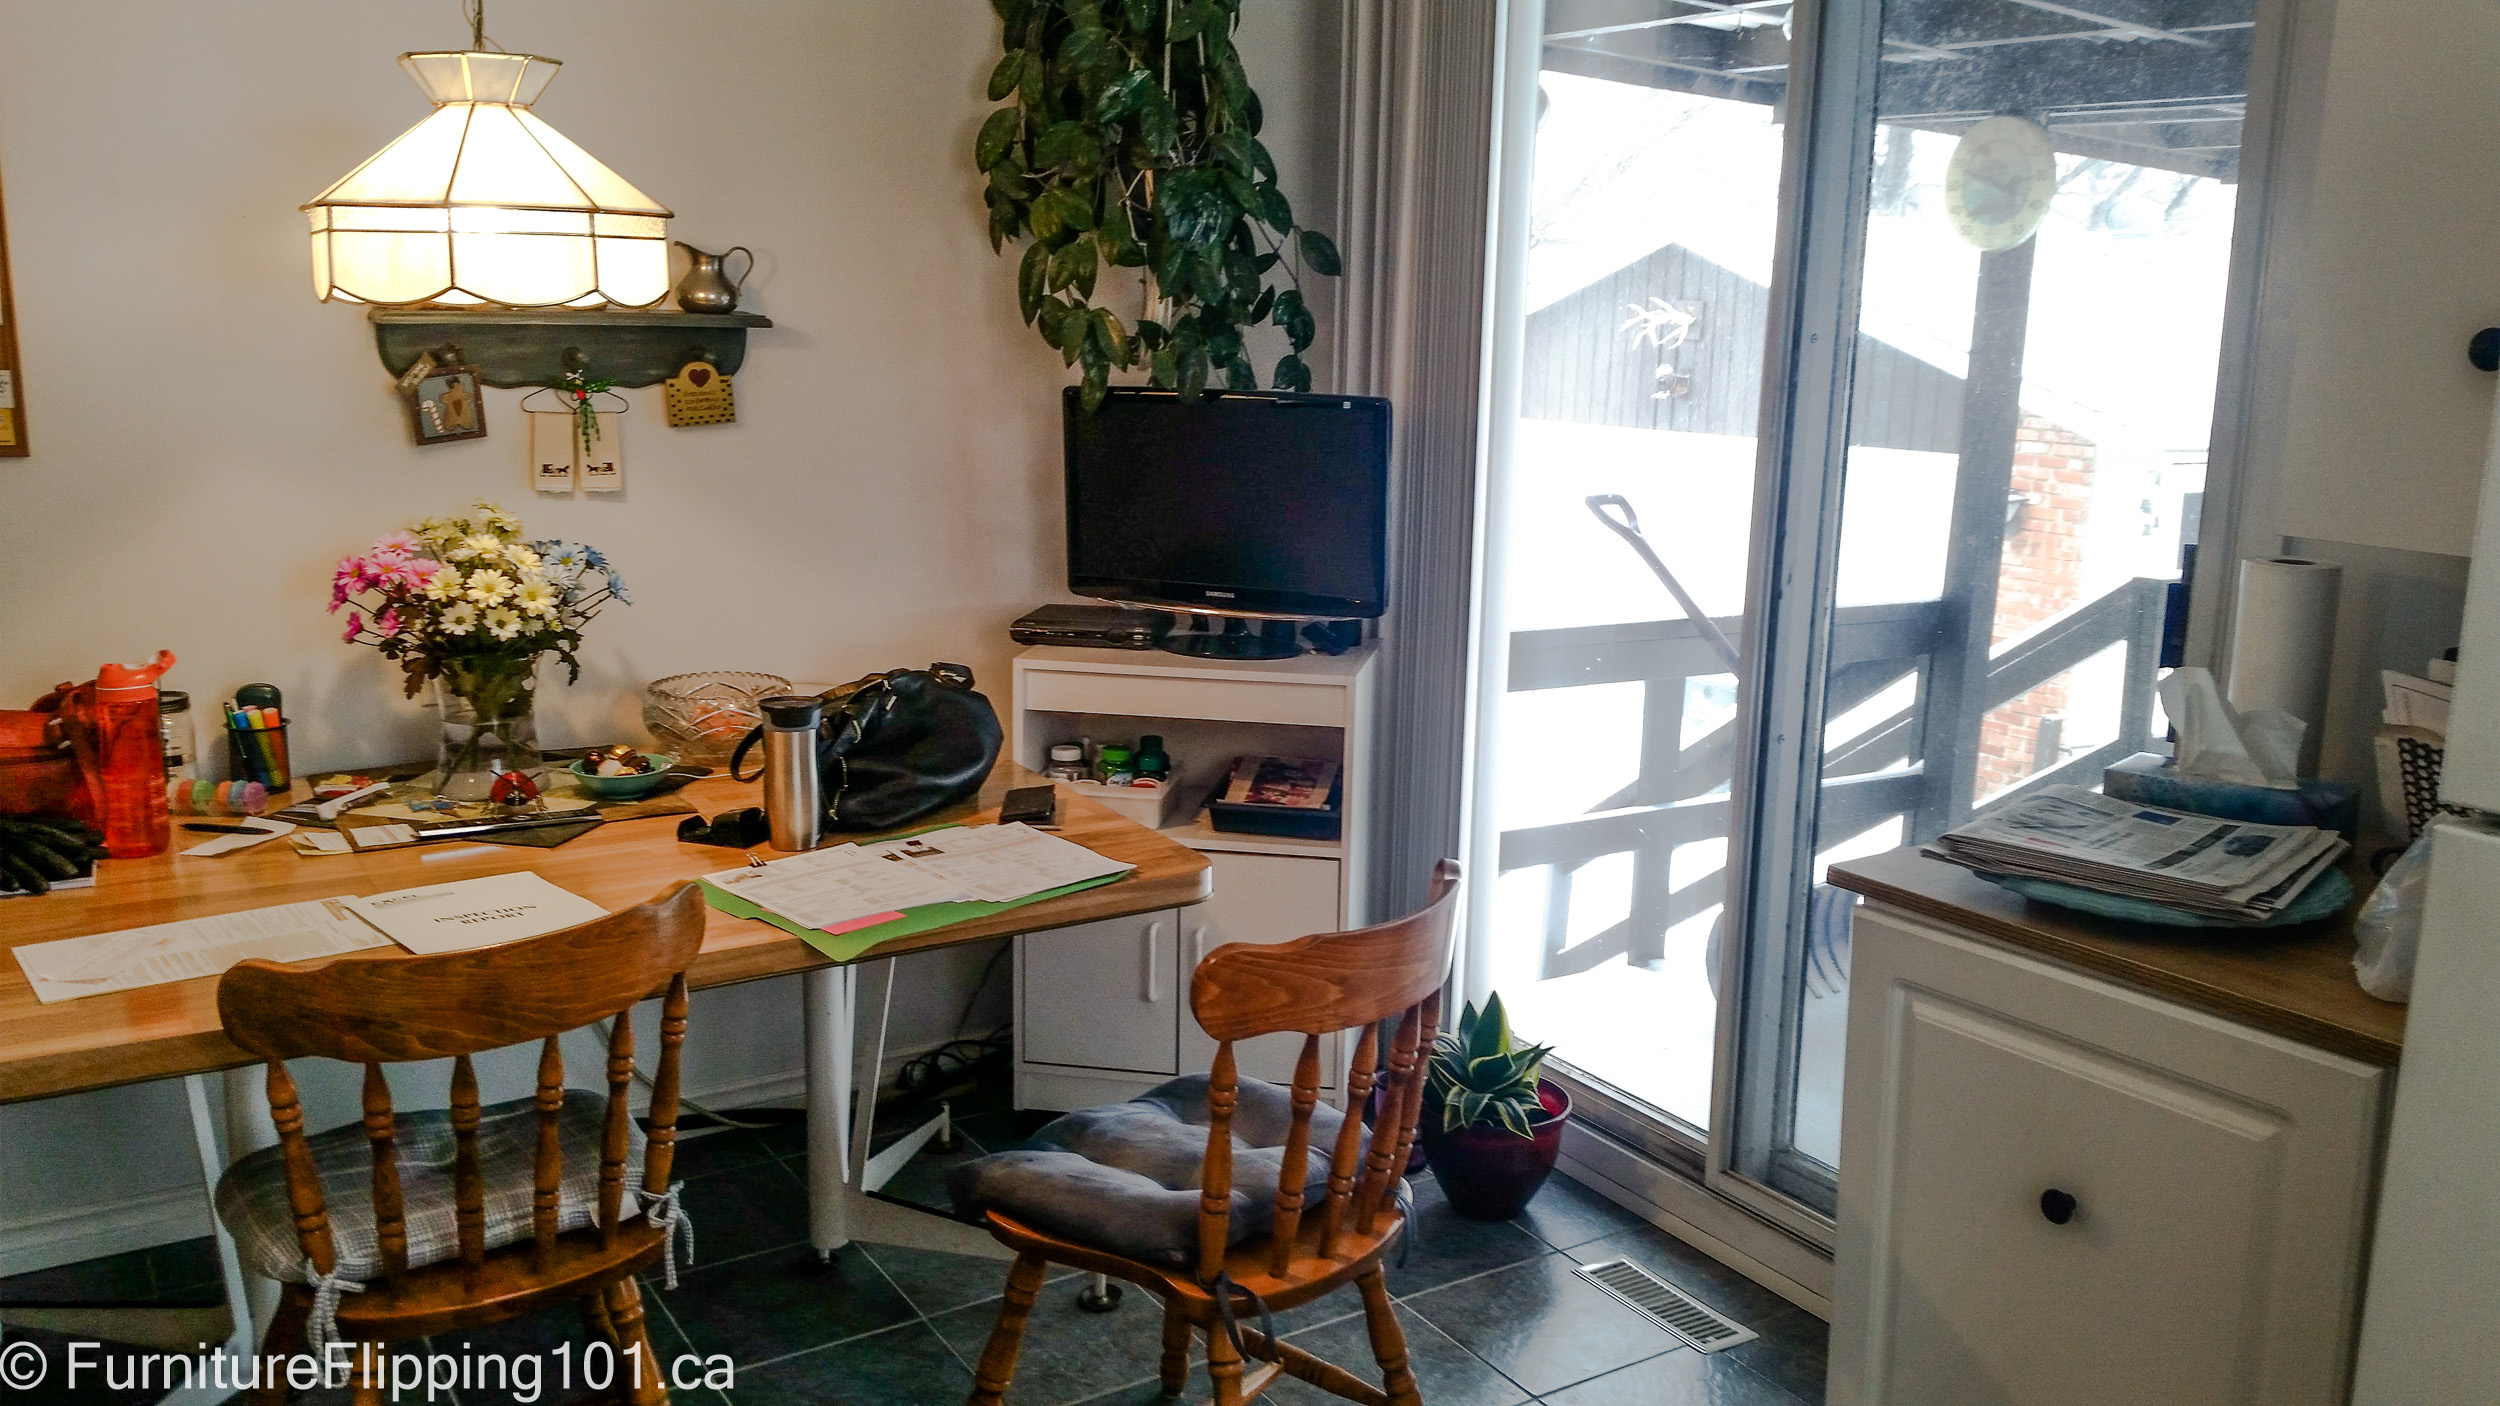
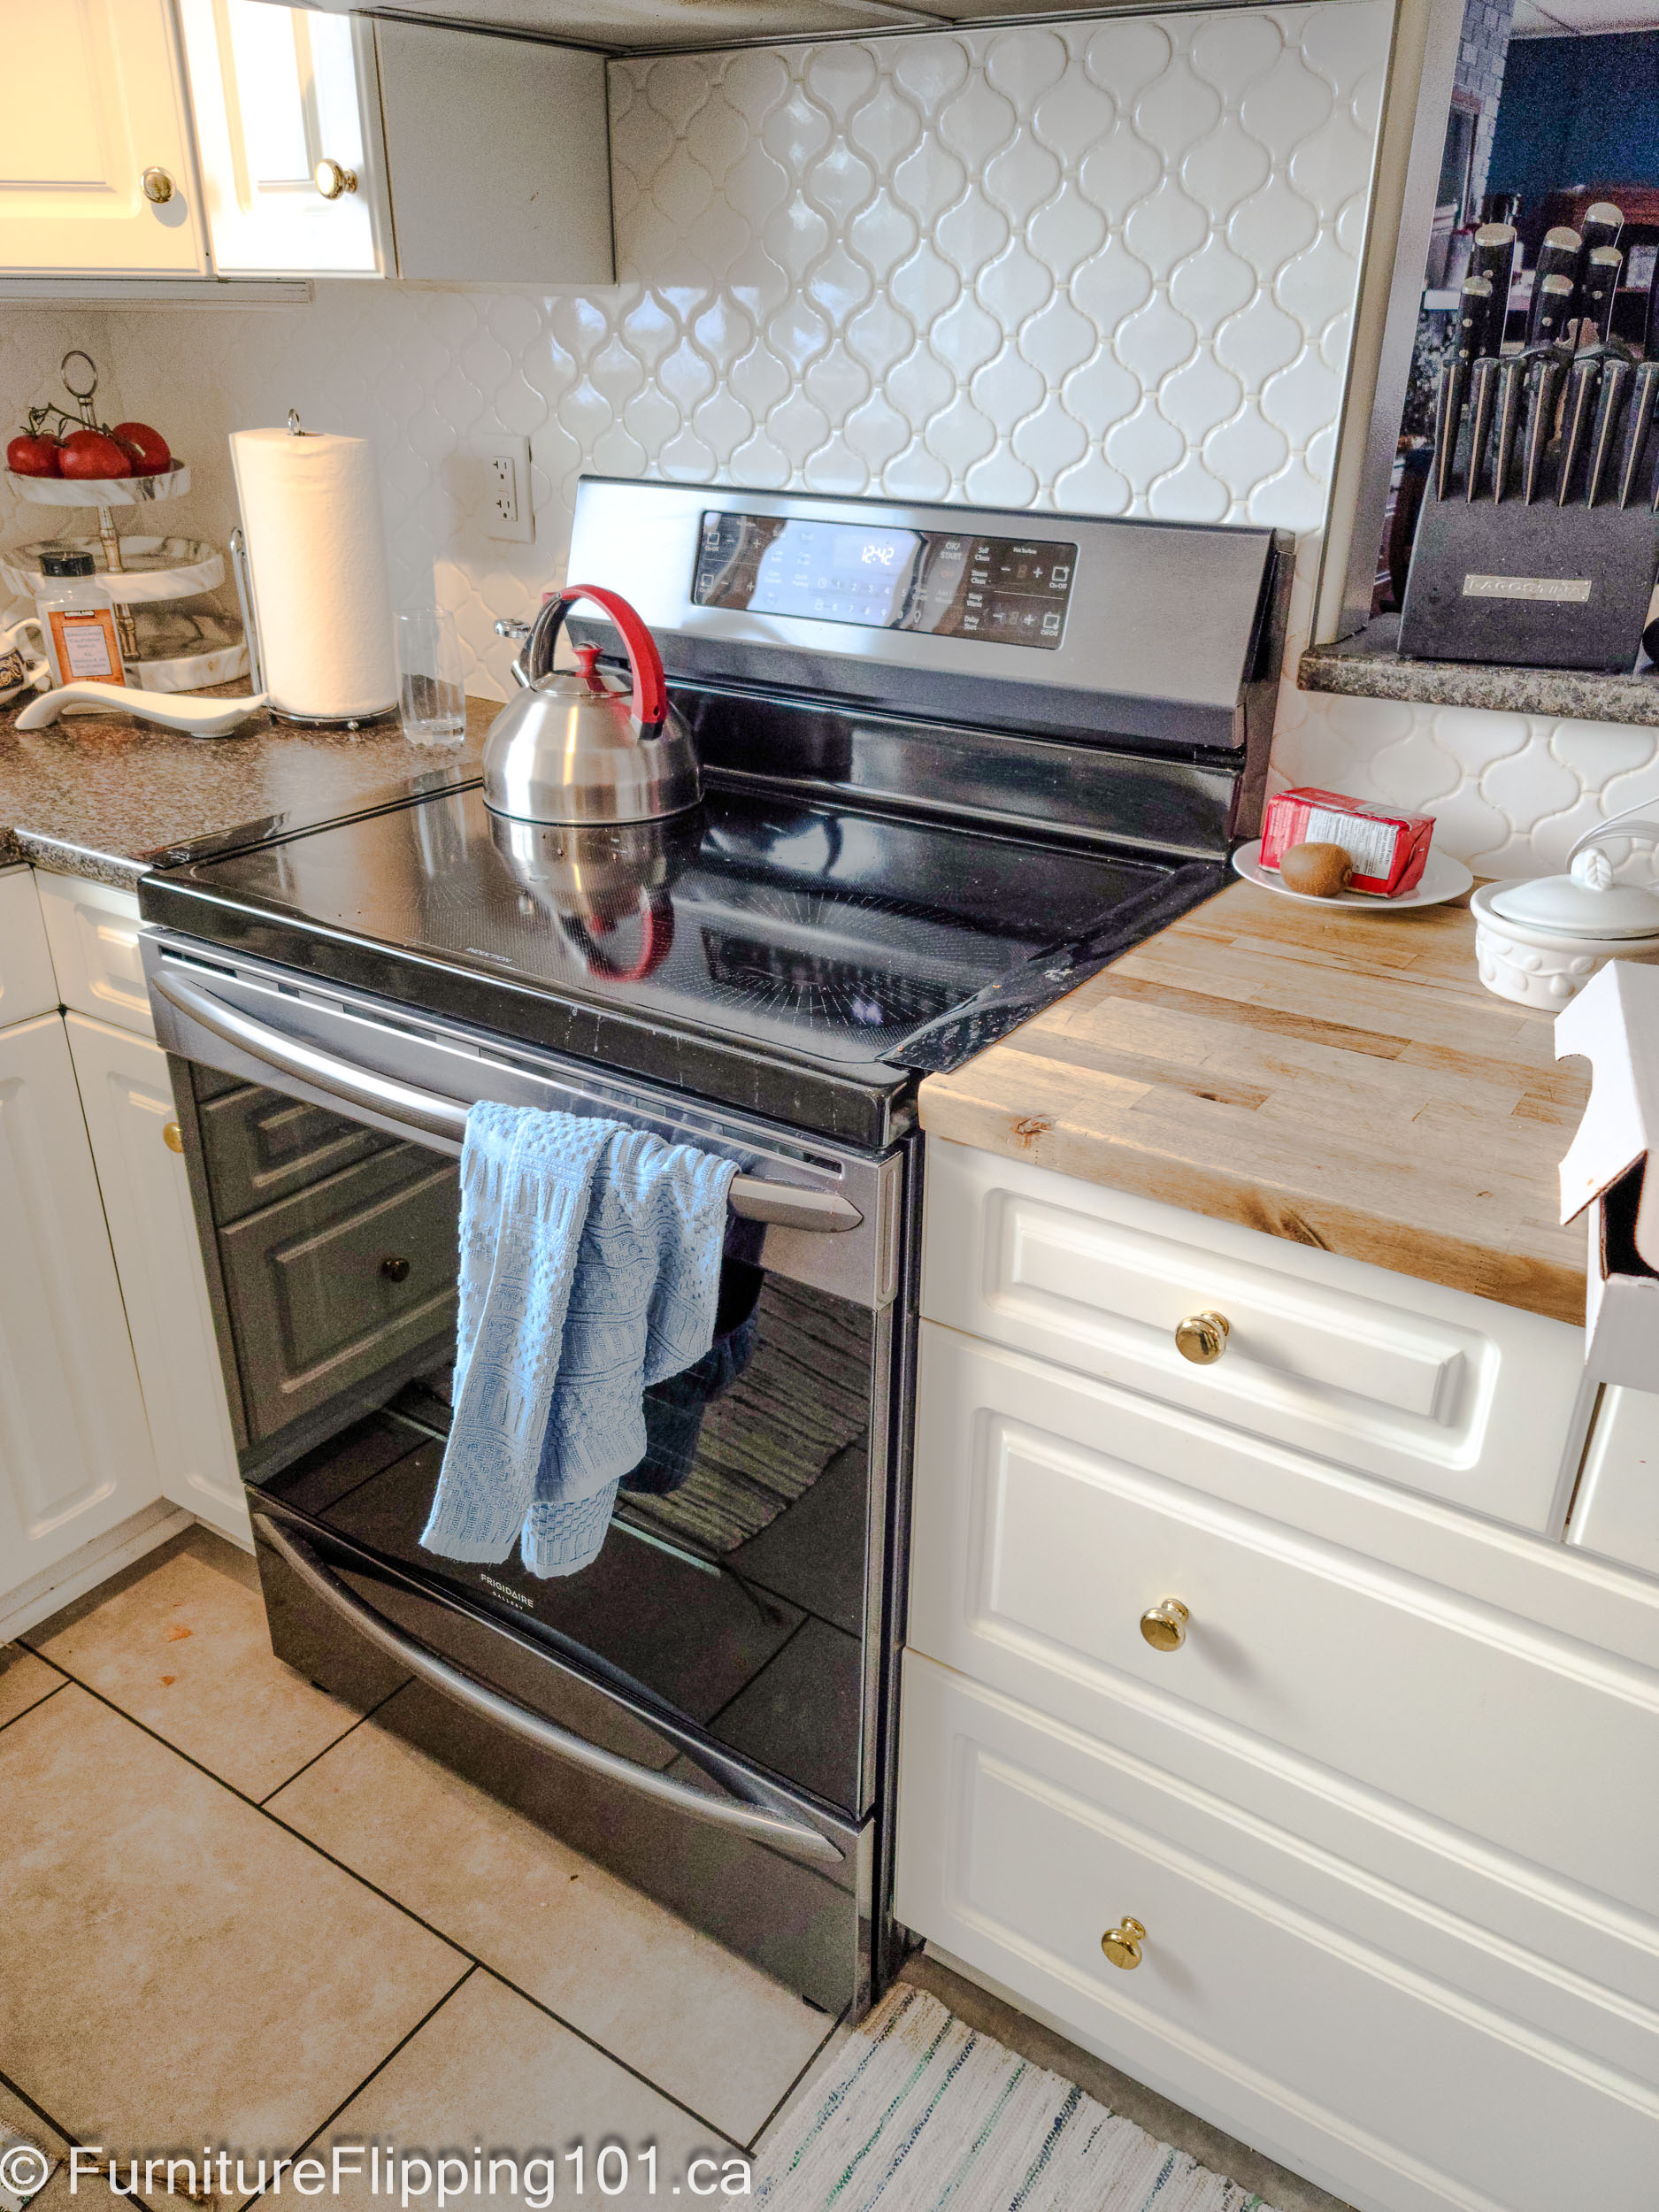
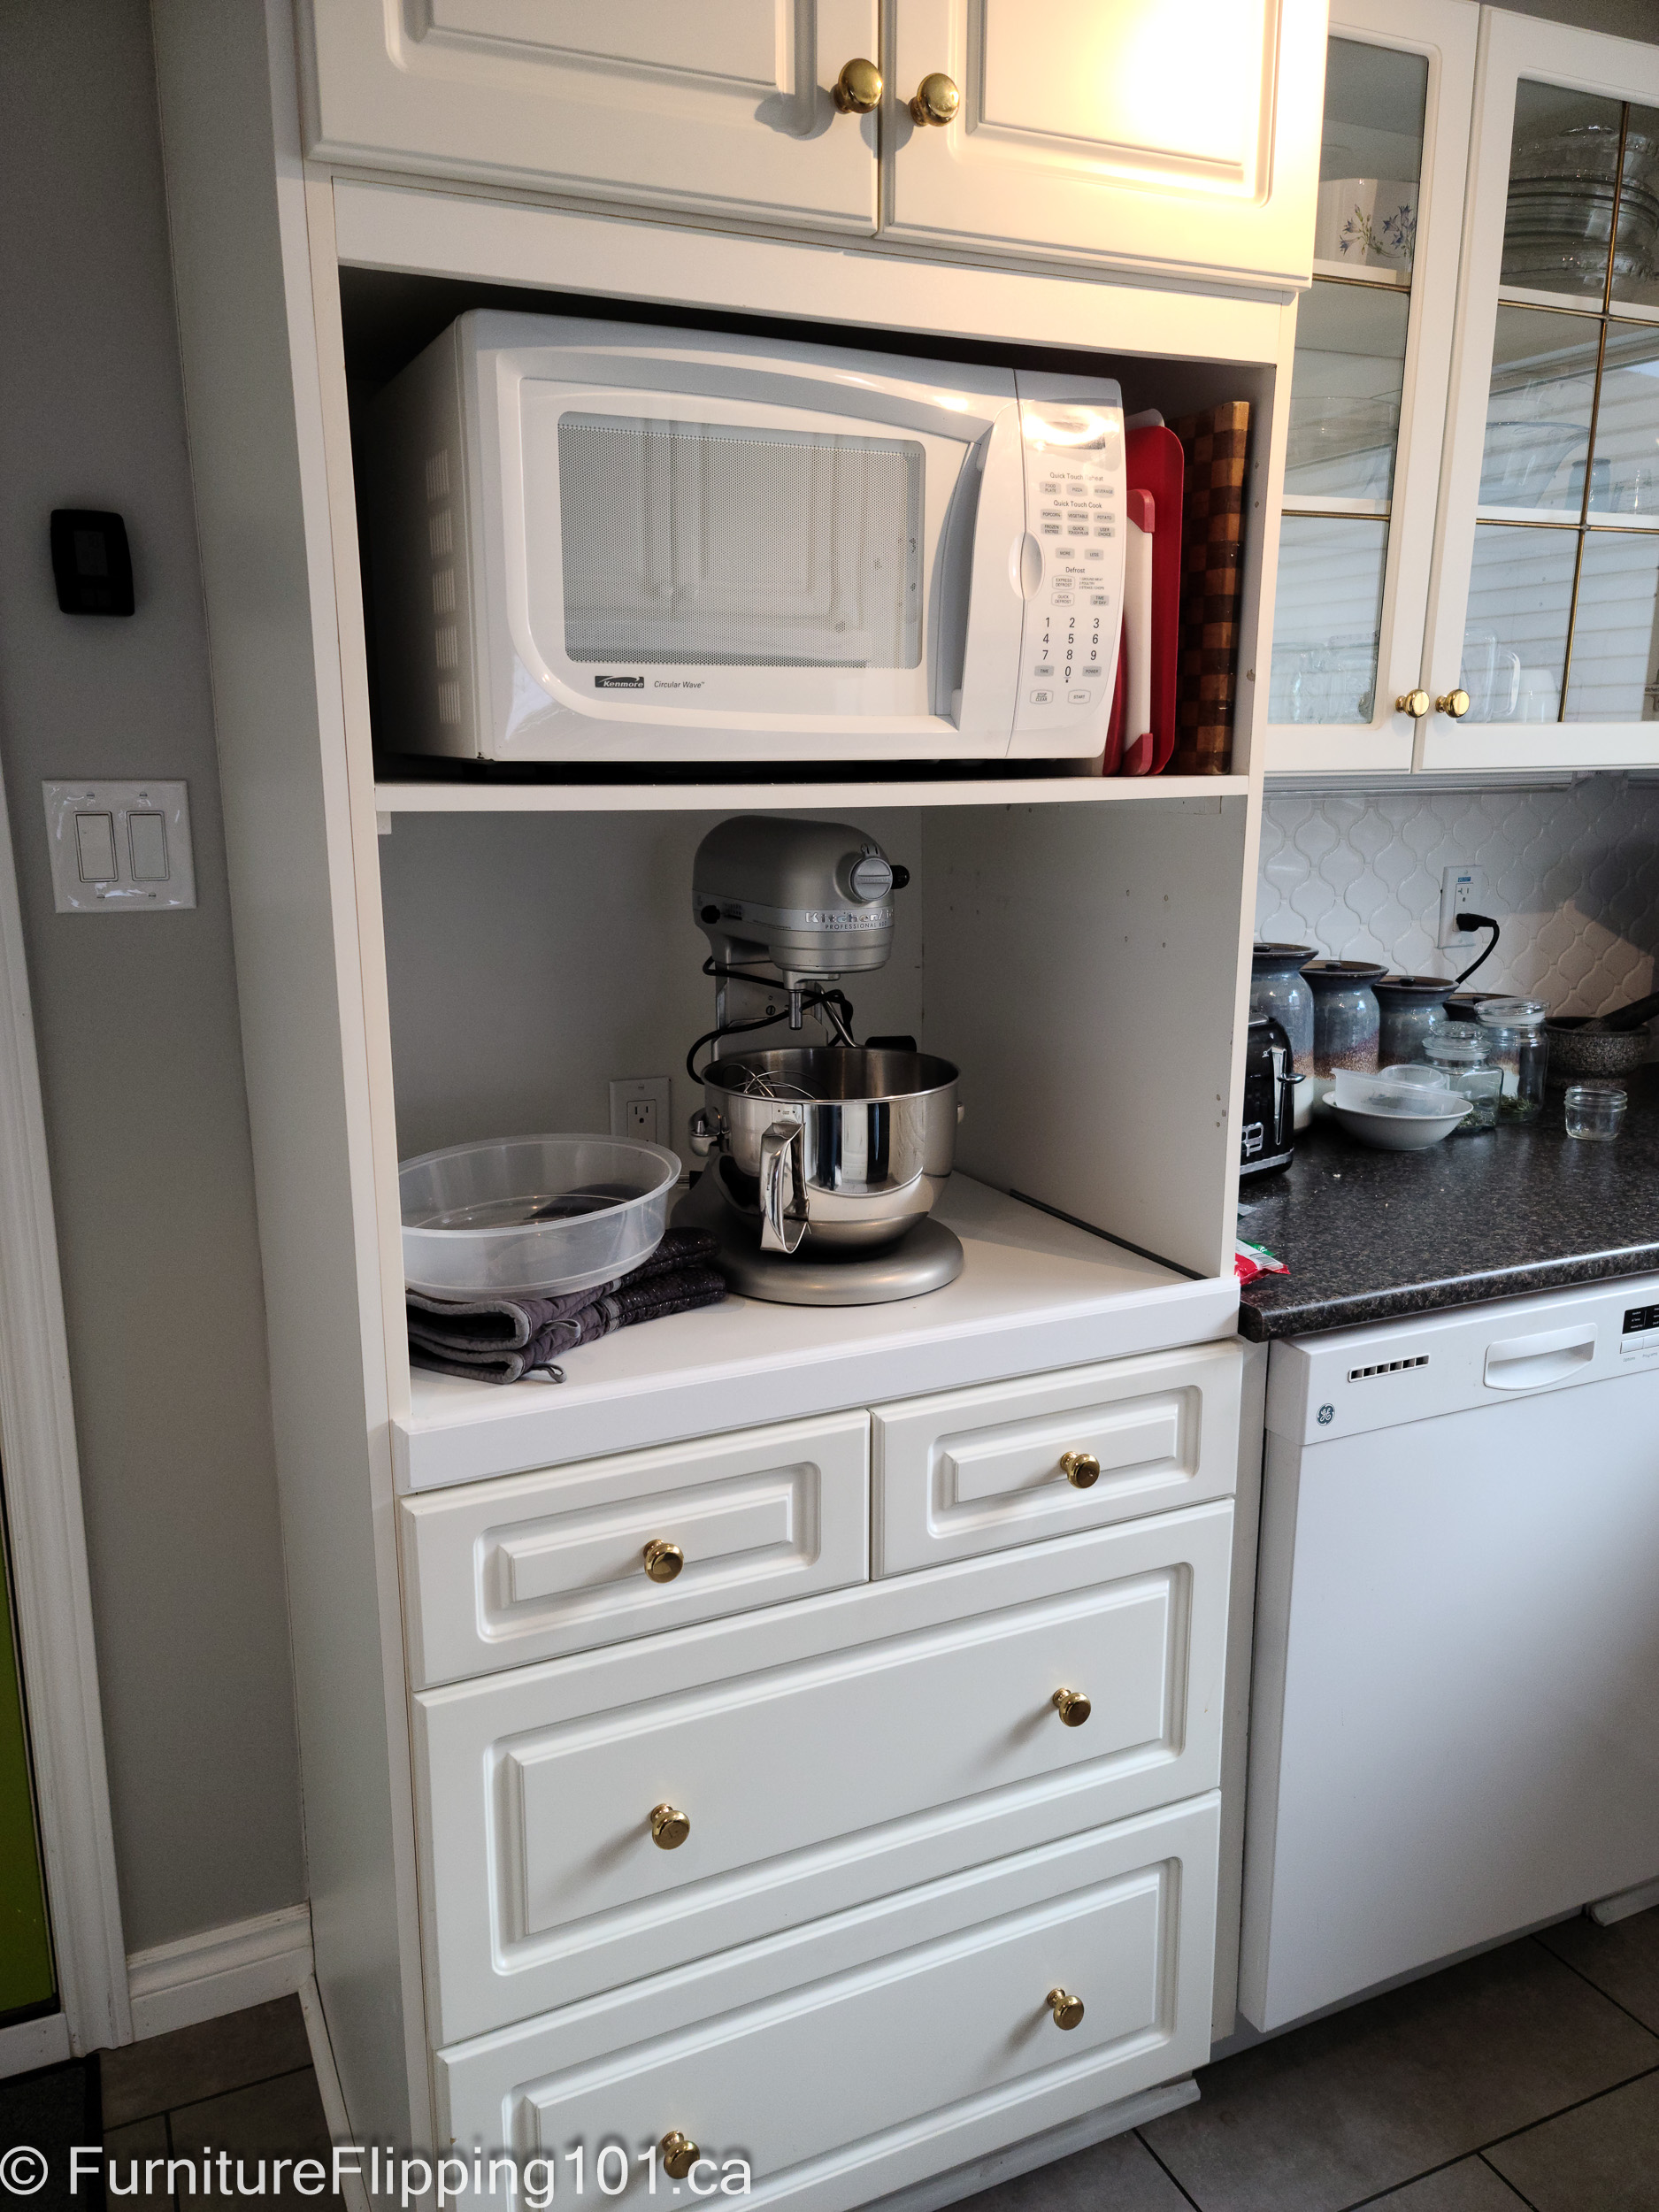
Some photos of our earlier kitchen renovations
Four Steps to Starting Your Basement Renovation on a Budget
While we all like to jump in and start., it is a good idea to take the time to complete the following four steps before you pick up a hammer. Taking the time now can save you a lot of money by preemptively dealing with or preventing problems. And, while this series is focusing on a basement renovation on a budget, you can use everything learned here for renovating any home.
1. Examine your space
Before planning your renovation, you need to look at the area and check for problems or potential problems. Watch for issues like mould, dampness, and cracks in the foundation or floor. Check your walls and see which ones are supporting.
Newer homes often have a roughed-in basement bathroom, so you will need to find where that is and plan around that plumbing.
Water, Water, Everywhere
If you encounter any problems, like mould, you need to deal with what is causing the problem before you can start building. Poor construction practices like no poly on insulated walls can sometimes lead to mould. Still, other times, it is a cracked foundation or poor landscaping drainage bringing water into the basement. Older basements often don’t have a poly barrier under the concrete pad, and if your area has a high water table, you might get water seeping up into the basement through the floor.
You must ensure you have a floor drain in laundry rooms and other areas, according to your building code, if you are renovating.
Is it legal or Safe?
Also, check your windows to ensure they meet egress measurements if you plan to add a basement bedroom. For those adding in a rental suite, there are special rules and materials that you need to use, like firewalls and soundproofing, and maybe even a separate heating system. Check each area and look into the codes and rules so you don’t waste your time and money renovating only to find out it doesn’t pass inspection.
Check your electrical panel has room to expand. Can it handle additional plugs, lights, and appliances? We had to add a subpanel for our upstairs renovations because the new codes required separate breakers, and our old panel didn’t have the expansion room. We also have aluminum wiring in our upstairs, so we decided to replace it where possible since it is a known fire hazard. Luckily, the basement was wired later and is mostly copper wiring.
2. Come up With a Plan
You have heard the adage; they didn’t plan to fail; they failed to plan. When designing your renovation, you should take the time to plan everything out so you aren’t running into insurmountable problems when it’s too late to make changes.
When you first think about renovating a space, you start with a vision in your mind that you need to turn into something concrete. You must get your idea out of your head and onto paper to do this. By putting your ideas onto paper, you start to see what works and doesn’t. The plans are your blueprints and will summarize all details like electrical, plumbing, and framing.
You can choose three options to create a plan: pen and paper, computer software, or hiring someone, each with advantages and disadvantages. No matter your method, you must measure everything accurately.
Paper Drawings
For a basement renovation on a budget, it doesn’t get any more budget-friendly than a paper drawing. Drawing out the plans is inexpensive; it only requires grid paper, a pencil, an eraser, and a ruler. This method works well in the initial planning stages and when taking measurements for the other two methods. Sketch out your house, or the area you are renovating, trying to keep everything in scale as best you can, then go through every room in the plan and mark each wall and opening’s measurements on the plan.
After you have all your measurements, you can redraw the layout more accurately. However, you will find much room for error when drawing by hand. And if you make changes, the plan can get messy with erased lines and rewriting the measurements. With hand-drawn plans, you will need to make them big enough to fit in all the details like your lights, wiring, plugs, plumbing fixtures, and any other details like closet or door opening sizes. You can draw out the framing and photocopy the page for other elements, like where you are running your wiring or adding in plumbing lines, to save the trouble of redrawing the main layout.
We use a lot of sketches as we renovate but do not rely on these as blueprints.
Computer Aided Software (CAD)
Several software companies make consumer-level computer-aided (CAD) design and drafting programs that facilitate this step. We used PunchHomeDesign (version 22) software to plan our house renovations. I used an older version of the software to design a house I built in 2006 and then used that same version to enter our current house’s measurements. Since then, the older version quit working, so I had to upgrade to avoid losing all the house data. I downloaded the update from the Internet, which didn’t work, and I had to contact the company. They responded quickly enough and sorted out the problem. If you are shopping for software, I recommend trying one of the blueprint software you can find on Amazon.
Once you have all your measurements, you can enter them into the software and plan your layout. The software requires you to add every detail you wish to track – so this method can be a challenge for those uncomfortable with learning a new computer program. Then, as you work with the layout, you can make some changes and see what works best.
The plan below shows you our future basement layout. In hindsight, I should have kept the old layout and saved it into a new file to compare before and after.
Using CAD software, we saved a lot of money on the cost of an engineer for our upstairs renovation. Because the software was so advanced and able to show the attic and structural layout and changes we needed, the engineer was able to save his time and, therefore, our money.
It is as simple as moving a wall or adding a light in the program whenever we make a change. The software allows us to work on different plans while hiding others. You can design using electrical, framing, plumbing, and landscaping plans. I recommend trying one out if you are comfortable with computers. When you consider the price is often less than $100, you get a lot of value for your money.
Hire a Professional
Depending on how comfortable you are with using new software and learning the ropes, you may wish to hire someone to draw up your plans. If you hire someone, you pay them to make the modifications.
When I designed my house from scratch on CAD software, I still had to hire an architect to create official blueprints required for the permits, subcontractors, rafters, etc. But the architect charged far less than he would have, had he had to design the house for me from scratch and make all of the modifications that happened along the way. We don’t need to hire an architect for our basement renovation since there are no structural changes, and it isn’t as large of a scale as building an entire house.
3. Create a Basement Renovation Budget
Speaking of money, we also needed a budget. If you are here because you want to do your basement renovation on a budget, you are likely like us and have a limited amount of money to spend on the renovation, which is why we are doing them ourselves. I will let you know how we saved money and where we were able to find deals as we go through the renovation.
Our budget isn’t a set amount but a materials or price list. We didn’t say we have X dollars for this renovation; instead, we want to try and save as much money as possible by shopping around and planning to reuse whatever materials we can salvage from removing walls, etc. We know what we need to do and that it will cost money, regardless of what we set up as a preliminary budget.
Create a materials list
I used Excel to create my materials list. I broke down the project into areas, categories, subcategories, items, details (notes) and then size, quantity, measurements, whether we have or need the items, quantity purchased and then the calculated number still needed. I also put an estimated cost per item column with a calculated total cost. Because we have been renovating for several years, we have a lot of leftover materials sitting around for our basement renovation.

It is tough to price out every item – is it worth it? Not really, but it pays to shop around for big purchases like drywall and studs. Prices for materials have been very volatile over the last couple of years. When we renovated upstairs, we paid around $10 a sheet for drywall, and this year we paid, at a discount, $15 a sheet, a 33% increase in 5 years. And because prices can change weekly or even daily, keeping track is a good idea, but know that the price may have changed when you are ready to purchase.
If you want to calculate a budget to ensure you can afford the work you are undertaking, you can make a materials list, as I did, to estimate your costs and develop a rough budget. Most hardware or home improvement stores have their prices online, so you can take an evening and go through and enter some of the big-ticket item prices. You can add a couple of other columns to compare different companies. I enter purchases on a separate Excel sheet which tracks our spending and helps us to understand where our money is going.
To generate the materials list, we talked through each area and wrote down everything we could think of that would go into each category, like cabinetry, doors, framing, etc. I will go through our spreadsheet in a video so you can see how it works. The great thing about Excel is you can use slicers to filter your data and pivot tables to create printable reports for shopping.
When going through each area on paper, consider building codes. Do you need to use blue drywall in the shower? Do you need a GFCI plug in the bathroom? Some specialty items cost more than the regular product, so you must plan for that added expense.
Loyalty Programs, Shopping Around, and Cash-Back
If you are working on a major renovation, one tip is to sign up for the home renovation rewards program. Home Depot and Lowes/Rona have contractor programs that are free to join but offer discounts on purchases. We really should have done this when we first started renovating but didn’t consider it. It could have earned or saved us some money. We’ve now enrolled in these programs. Part of a basement renovation on a budget means saving money but if it also means you can get money back, it is a win-win.
And if you use Behr paint for your furniture or house paint, there is an automatic discount for pros!
Also, another way to save money is to use price-matching – Home Depot price matches and gives you an additional 10% off. We used this when buying wall studs. Home Hardware had them on for lower than Home Depot. I asked Home Hardware for a price quote and then took that to Home Depot and saved some money. This purchase then counts towards further savings through the contractor’s program.
You can also sign up for a cash-back credit card to get even more money back. We use Tangerine, which offers 2% back on three spending categories, and AMEX for categories outside of the Tangerine card. Both offer fee-free cash-back programs.
Personal Offers for Friends, family, and Followers:
You can sign up at Tangerine with my referral key (we both get $50 back!) 17314680S1 (ensure you read the details). This offer is only for Canadian residents.
AMEX offers 2 -4% cash back on eligible gas and grocery purchases and 1.25-2% back on everything else. If you are interested, check out my personal referral link here.
Second-hand Items
A great way to save thousands of dollars is to shop on secondhand websites and at stores like Habitat for Humanity’s ReStore.
We redid our kitchen with two sets of secondhand cabinets, saving us at least $20,000. Once you have a materials list and room measurements, you can then keep an eye out for great deals.
A caveat – we went with secondhand appliances when renovating our kitchen. Unfortunately, our double oven quit working and it was over $3K to replace it, so we went with a conventional stove. This change meant another kitchen reno. So, you don’t always save using secondhand.
And another caveat – not about secondhand items, but about warranty. If you buy new, keep track of your warranty. We ended up replacing the new flooring in the kitchen as well. We bought relatively inexpensive flooring from Lowe’s, and it was terrible. We should have kept track of how long the warranty was and asked for a refund.
4. Pull your basement renovation permits
Our Basement Renovation on a Budget Plans
Any home renovations require an understanding of the steps and the legalities. If you are making changes to your home, contact your municipality and ask about electrical, plumbing, gas, or other permits and a general building permit. We will need an electrical, plumbing, and building permit for our basement bathroom. A permit requires an initial and final inspection.
If you have no experience with the various trades, hire or consult with a professional. Now is not the time to make a poor decision that burns down or floods your home. I would strongly recommend consulting with journeypersons for each trade – hire an electrician or plumber or have one you can consult to ensure you are following codes and understand the risks of making any of the changes.
You can usually pull a homeowner’s permit for a trade like electrical, plumbing, or heating, but the inspector will expect that regardless of who did the work, it meets all current codes. If you are making minor changes, like switching a light or changing a plug, you generally don’t need a permit for those changes – but check with your local municipality to be sure that applies to your area.
Contractor Caution
And if you are hiring a professional, make sure they are a certified contractor – in Alberta, there are rules that affect contractors who accept deposits. Check your local, state/province, or federal government regulations regarding contractors, especially if hiring someone who doesn’t have an established place of business. Understand your rights and your obligations regarding contracts and payments.
Our Basement Renovation on a Budget Plans
With our space examined, our plans drawn up, and the budget and permits sorted, the next step involved deciding where to start and what steps precede the others. As you think about where to start, think about your future steps. I will walk through the steps we took in what order as I document the basement renovation.
Here is the future framing layout. We are focusing on the marked areas for our framing and opening up the space. The old living room to the right had a more recent renovation (maybe 1990 or 2000s) and was my furniture and décor display area.
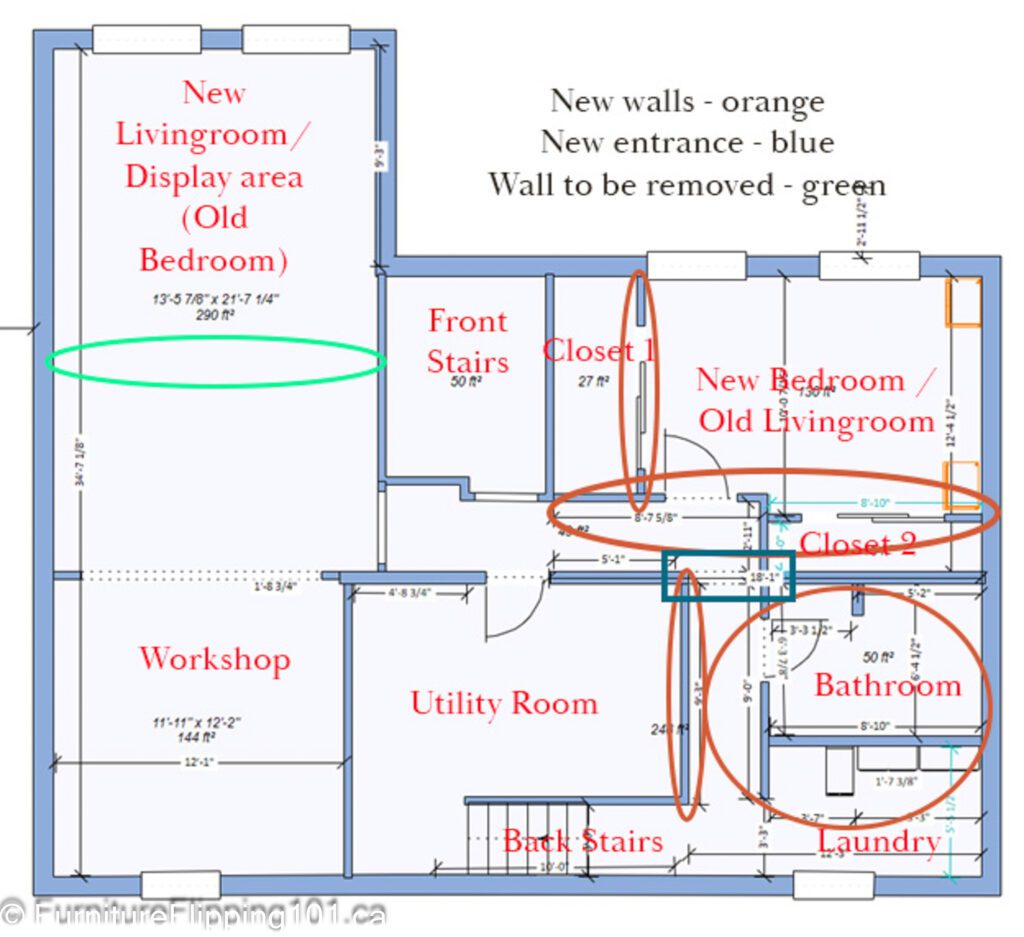
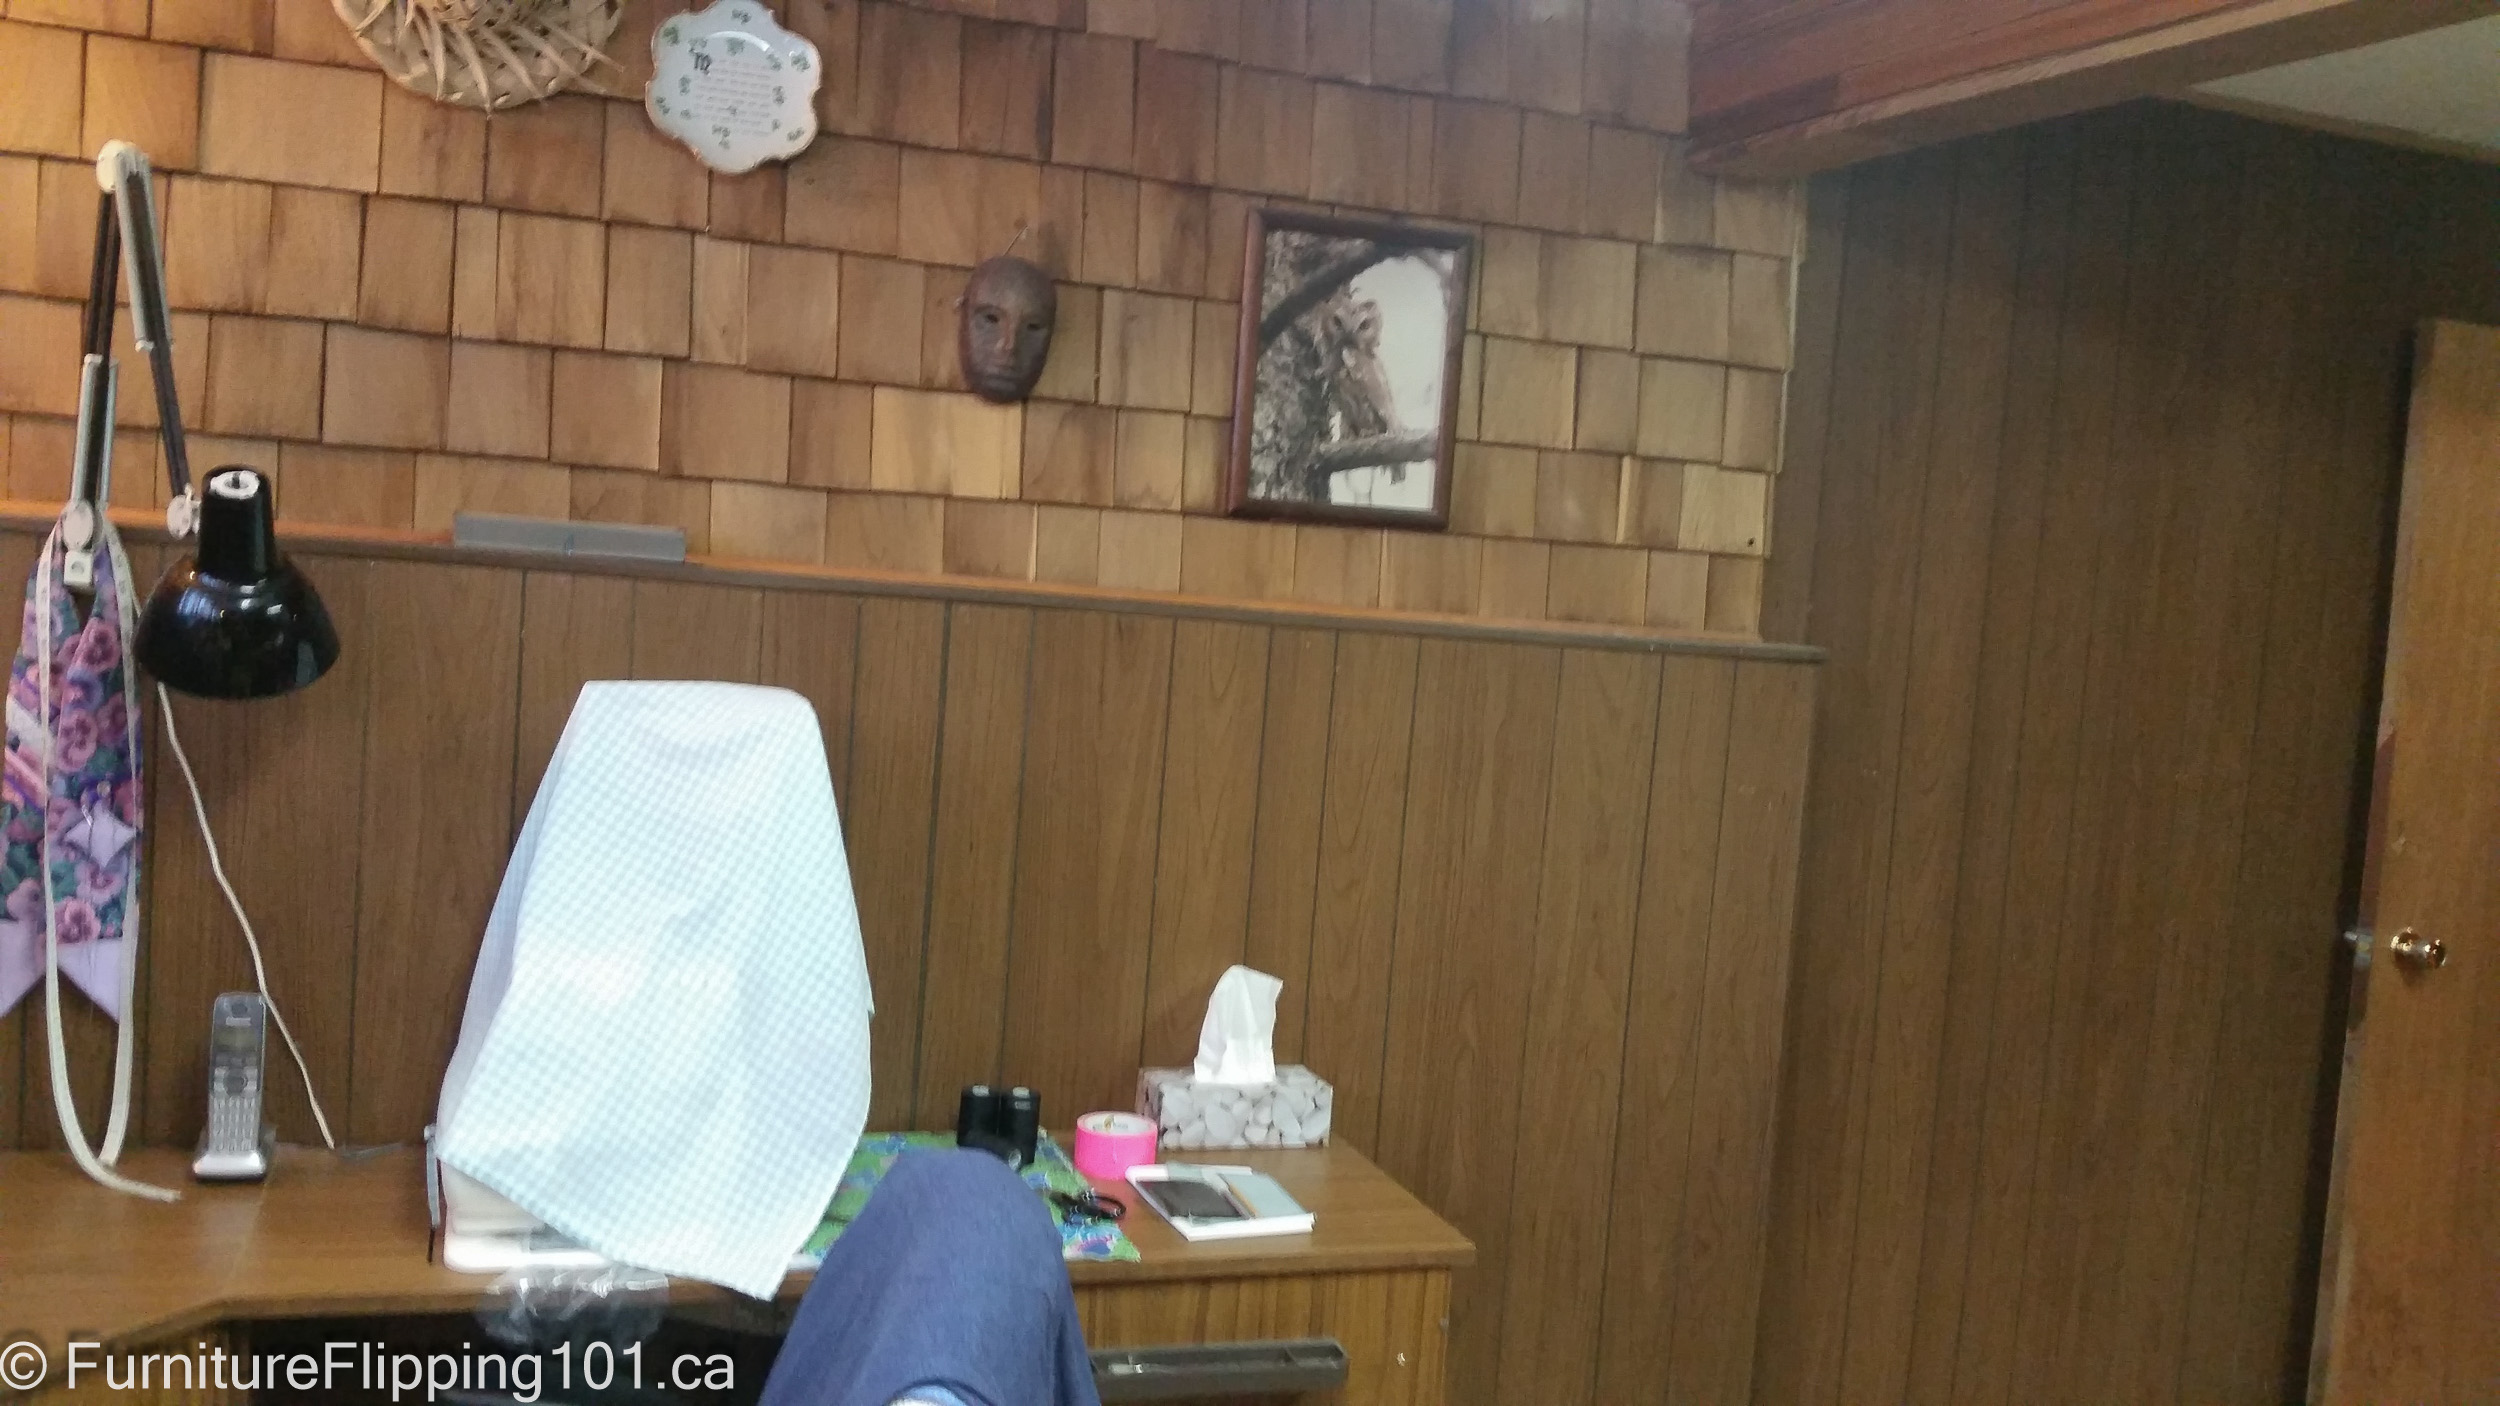
The bedroom to the left in the diagram was renovated in 1980 and desperately needs a refresh. I mean, maybe cedar shake on interior walls and wallpaper murals will come back into vogue, and we are getting ahead of ourselves…
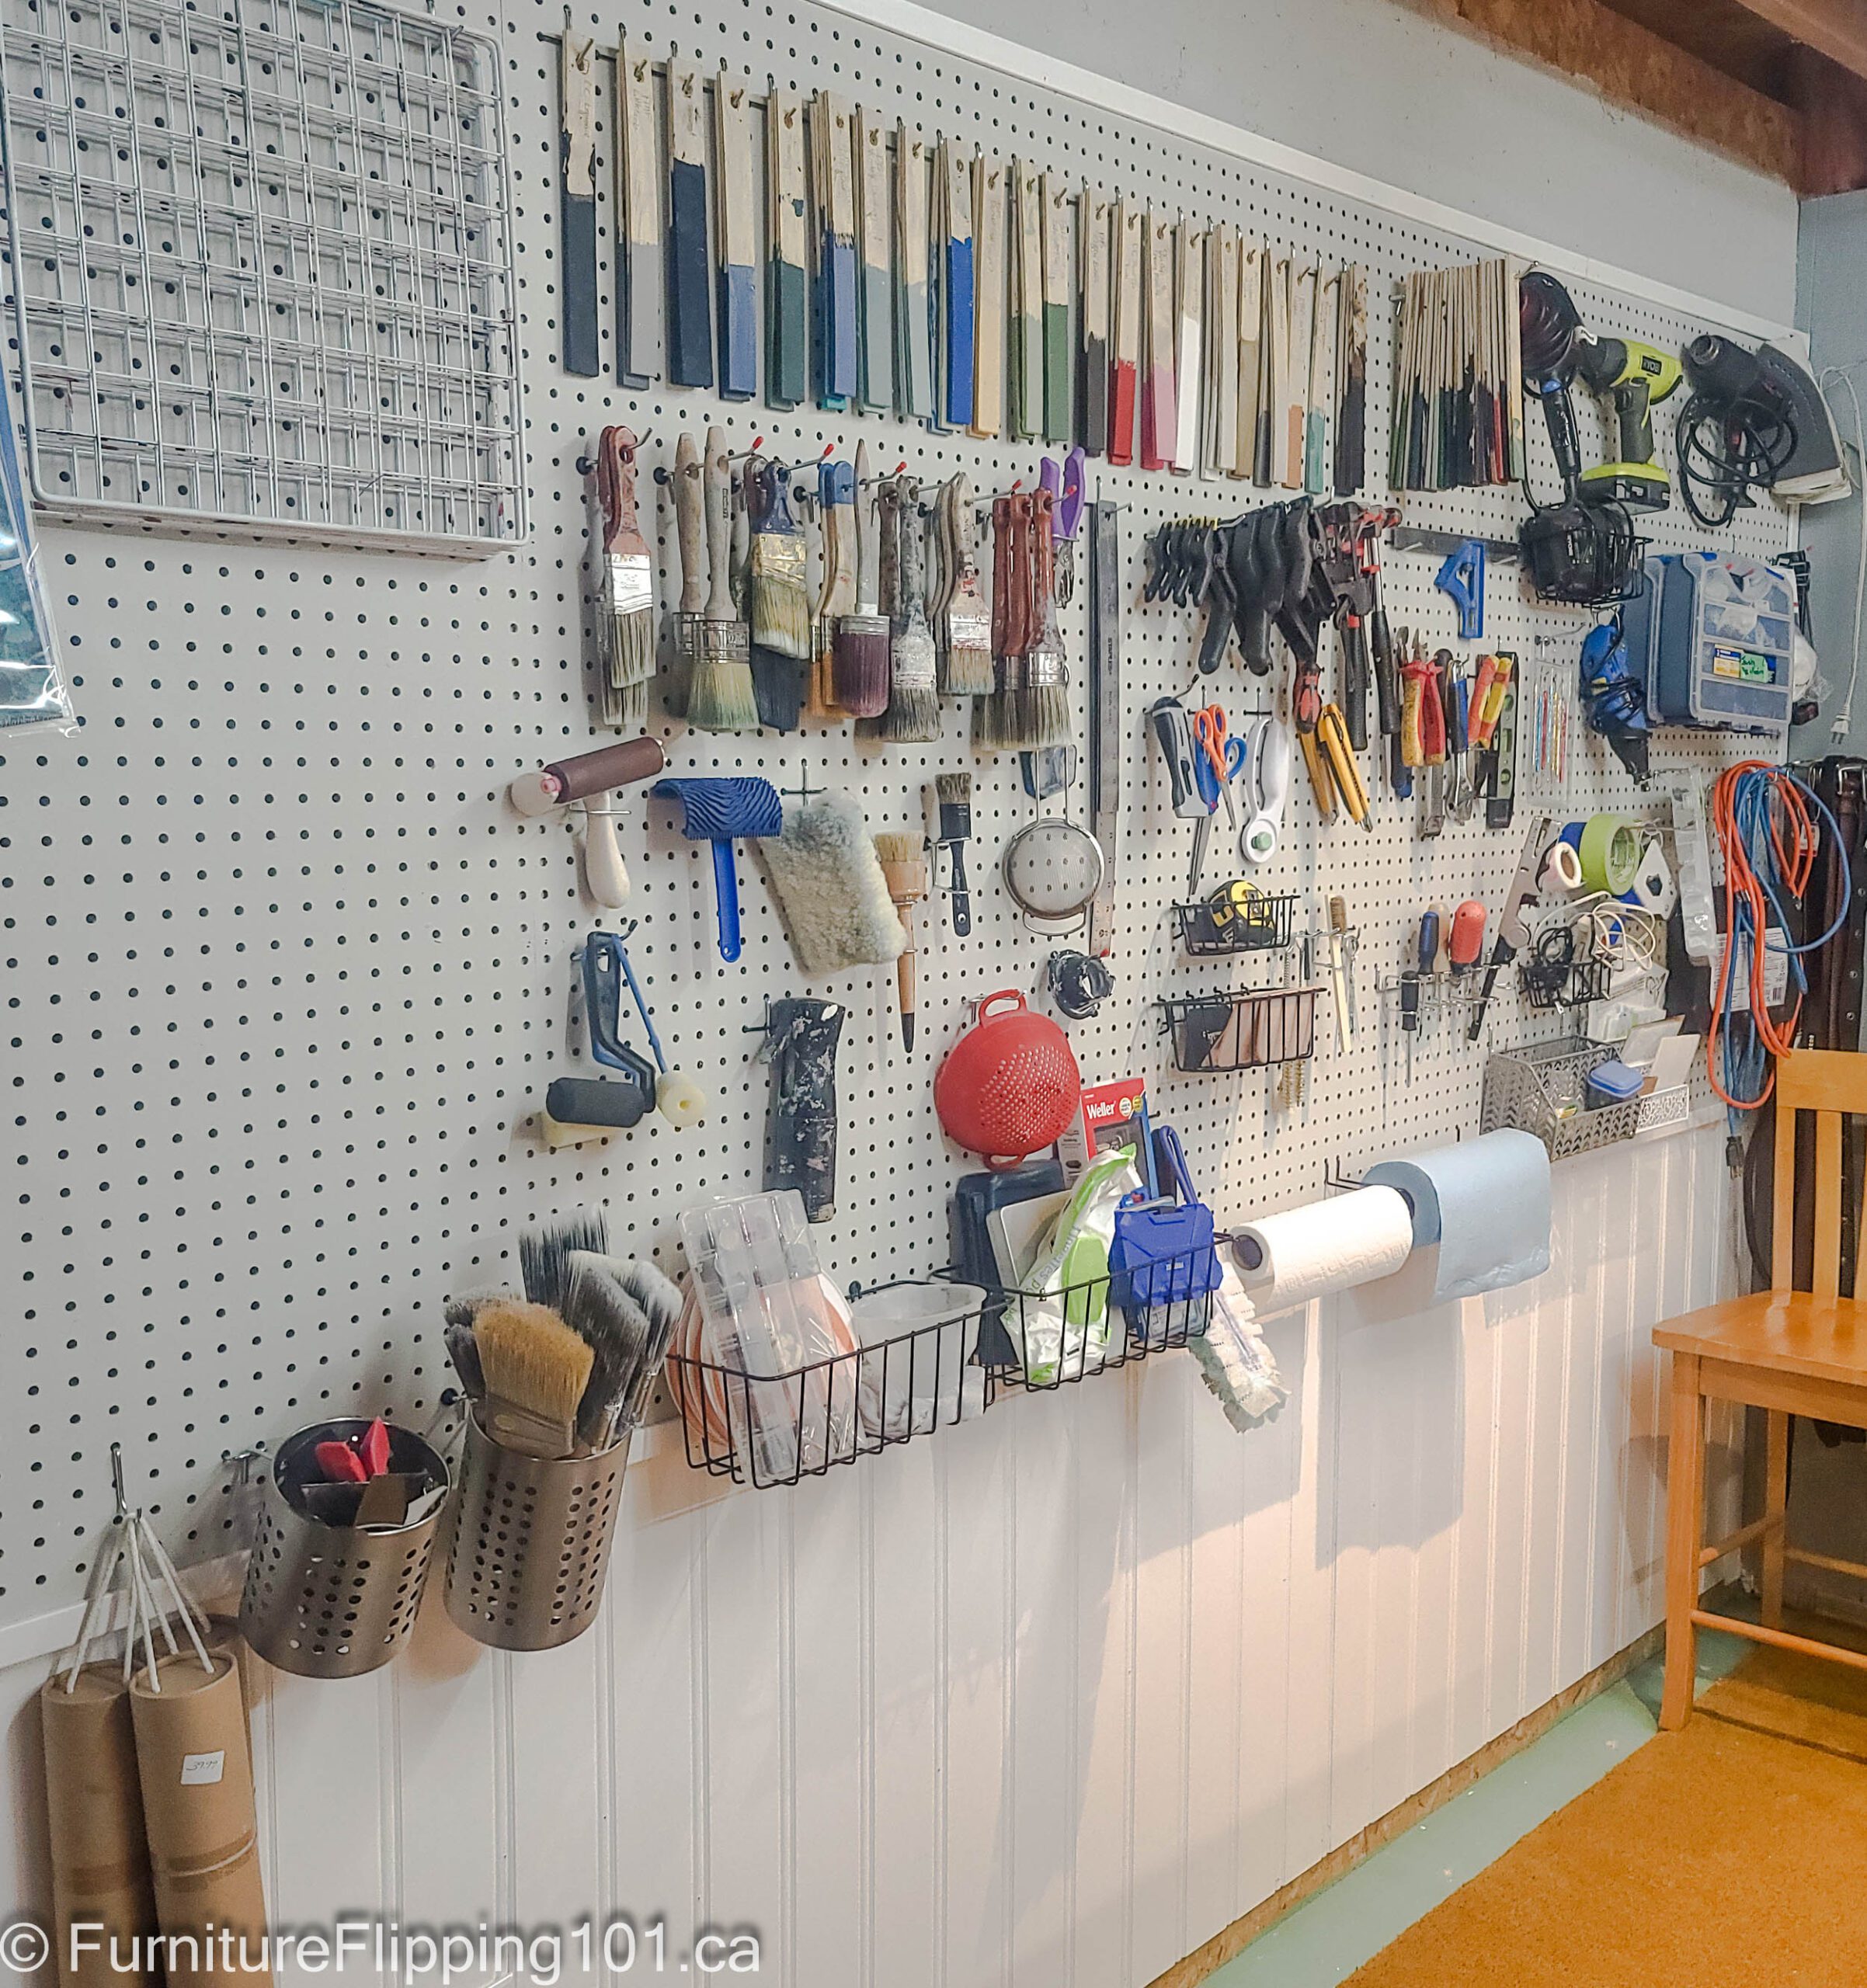
My workshop has been slowly coming together – we stripped the cedar shakes (!), removed weird walls that made no sense, took down the crazy framing around the plenum, installed counters and cabinets, added LED lights, painted the walls, and made a tool pegboard wall. It still needs a ceiling, flooring, and a false wall to help camouflage the electrical panels. You can check out my post on how to build a tool pegboard for your garage or workshop here.
We are switching the bedroom and living room (swapping sides of the house), adding a new bathroom, and creating a laundry room and utility room. The new living room will be my display area adjacent to my workshop. Currently, the laundry and furnace share the same space without any dividing walls.
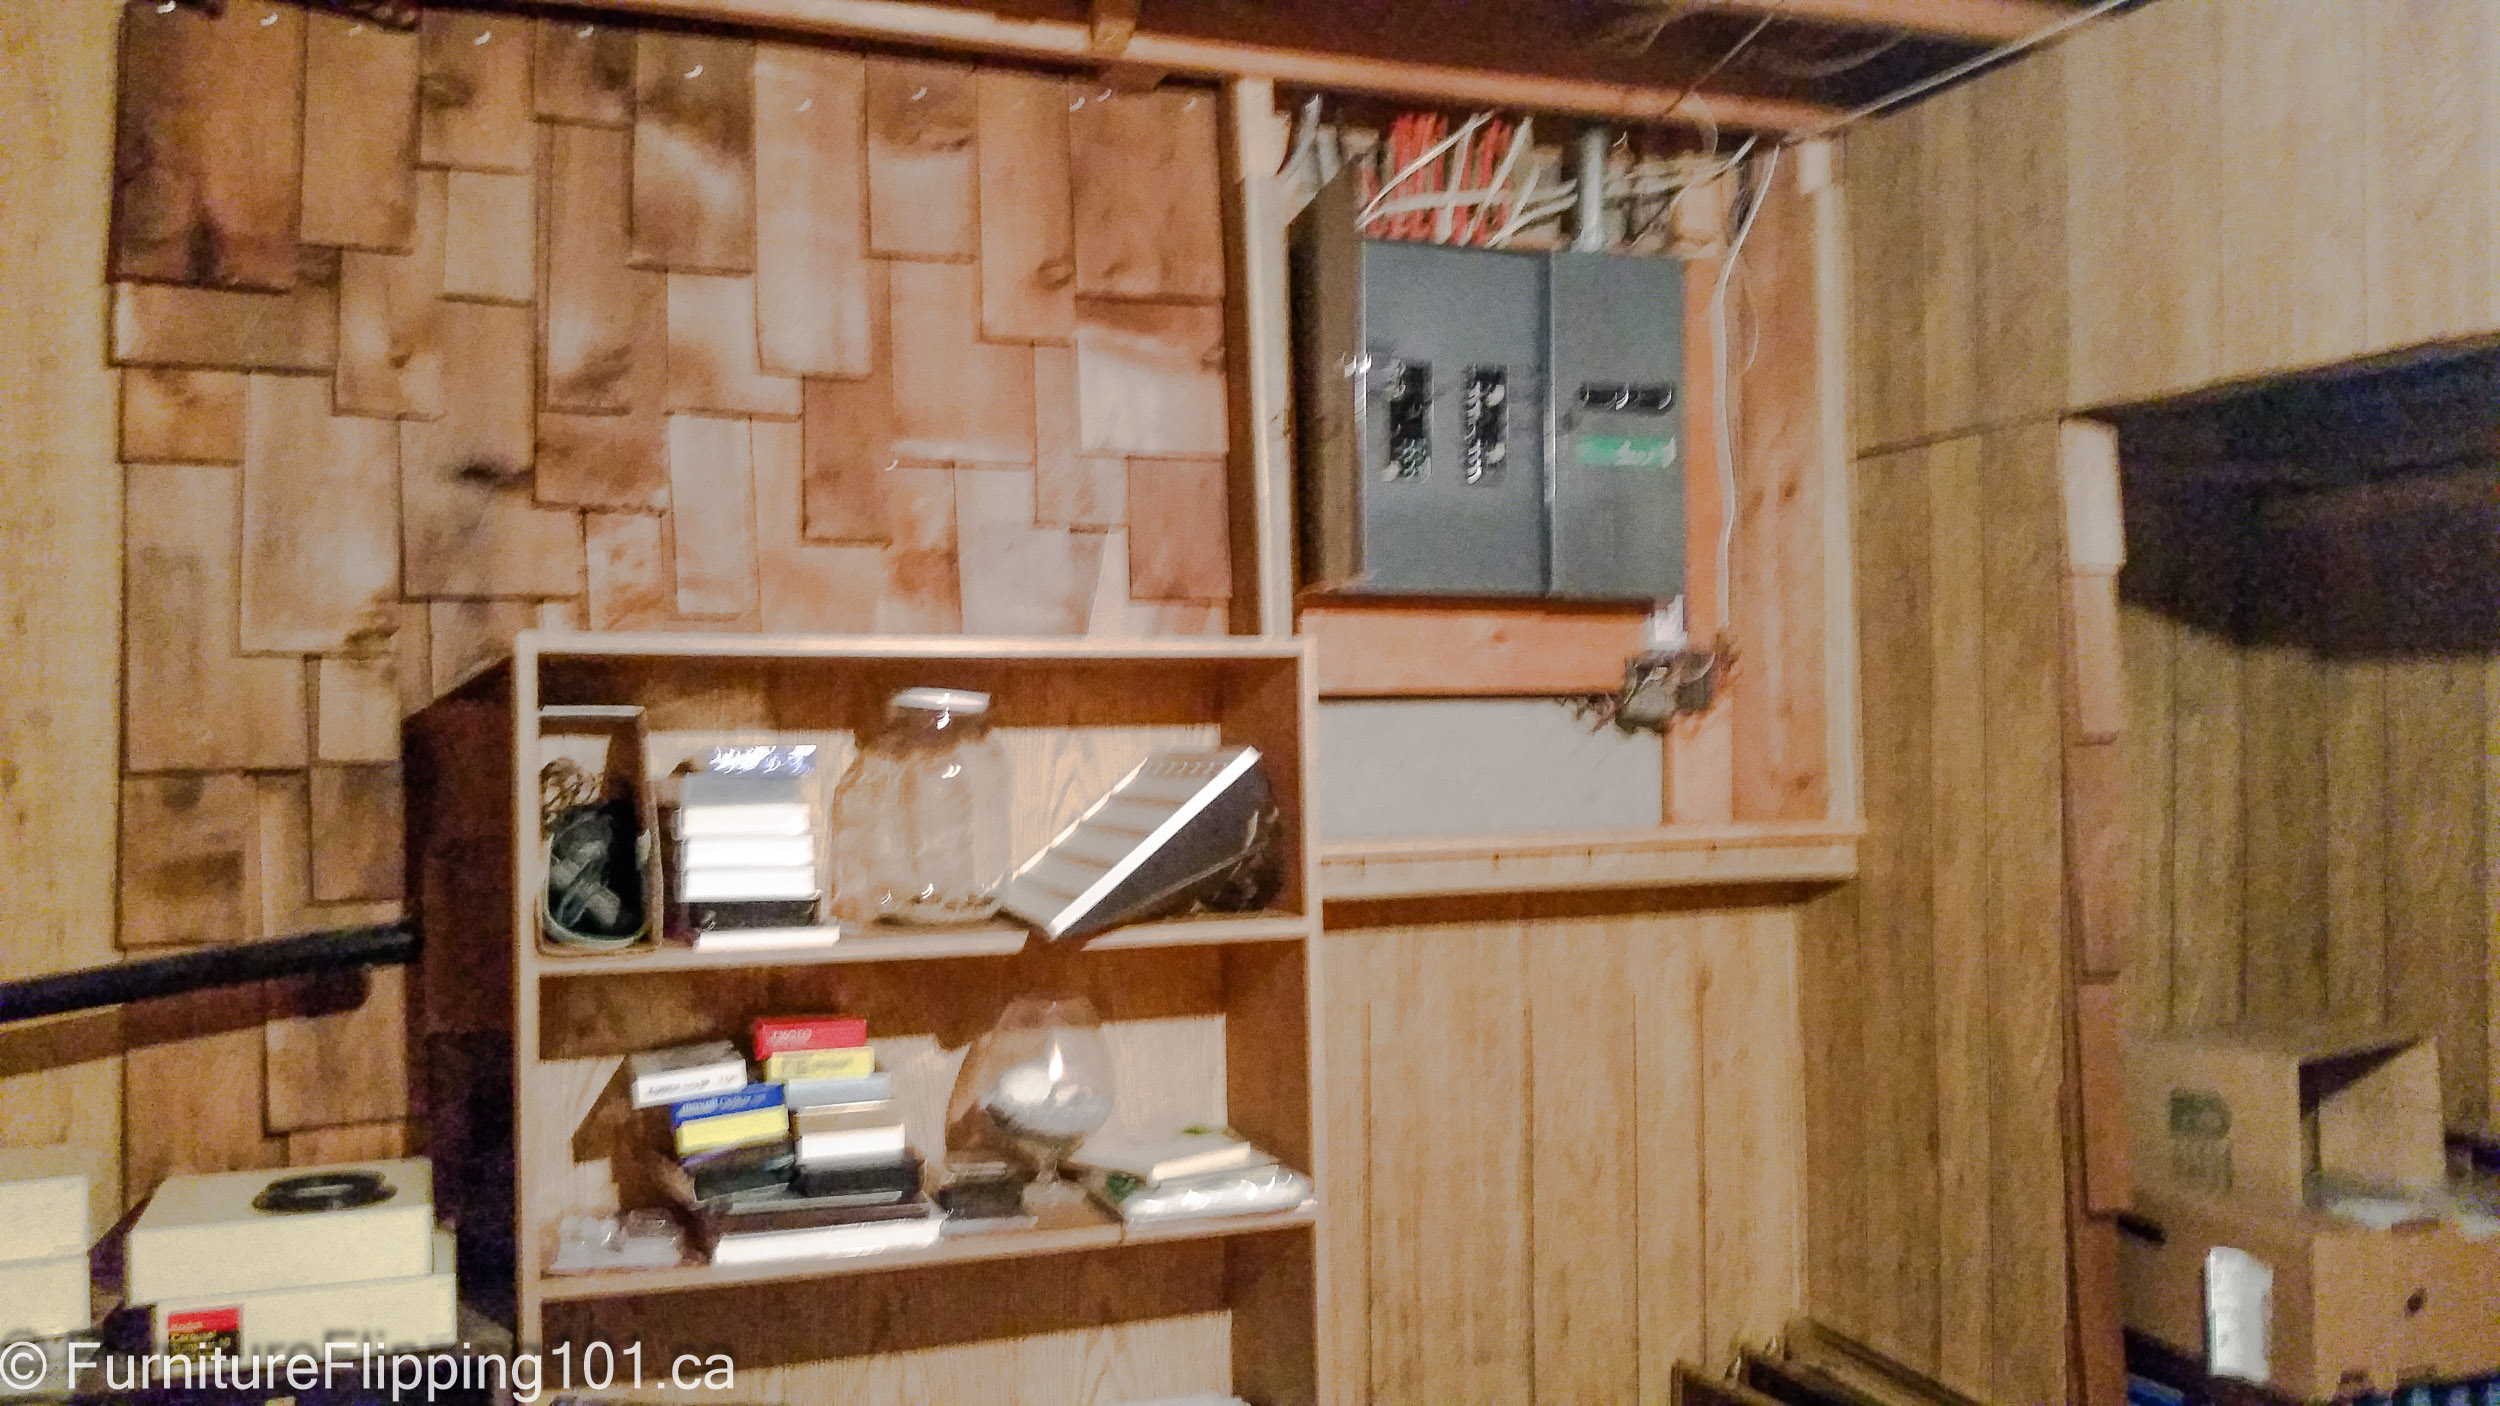
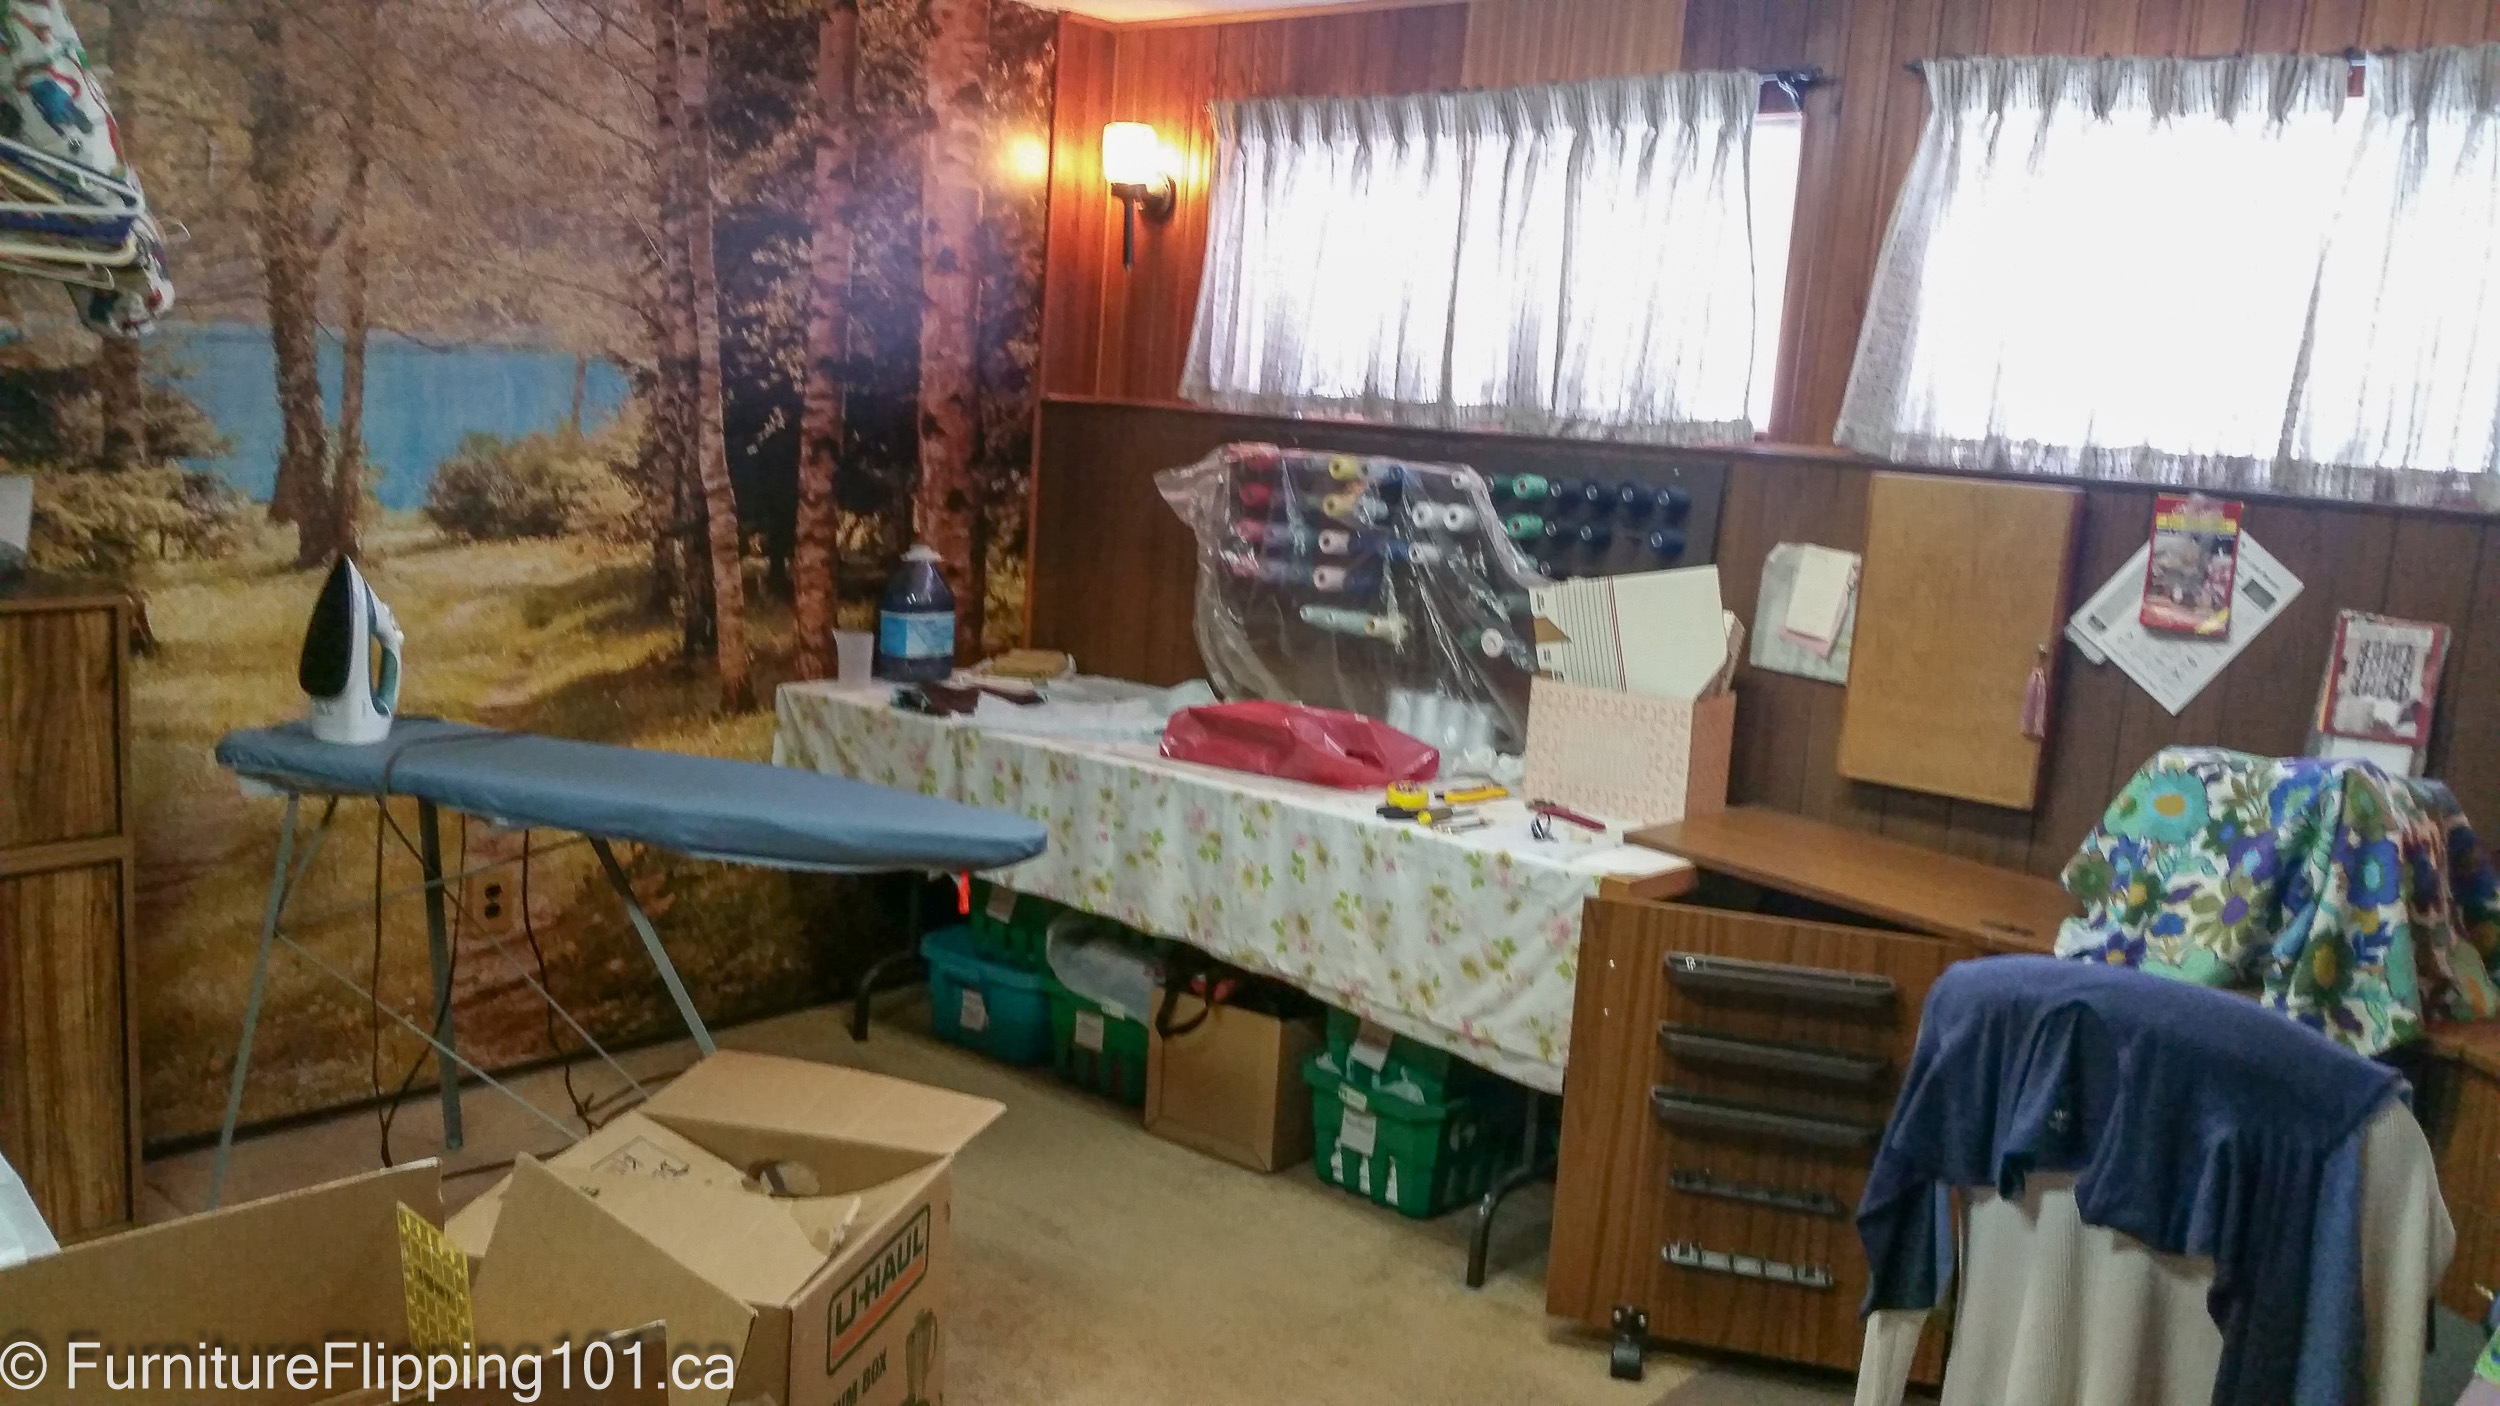
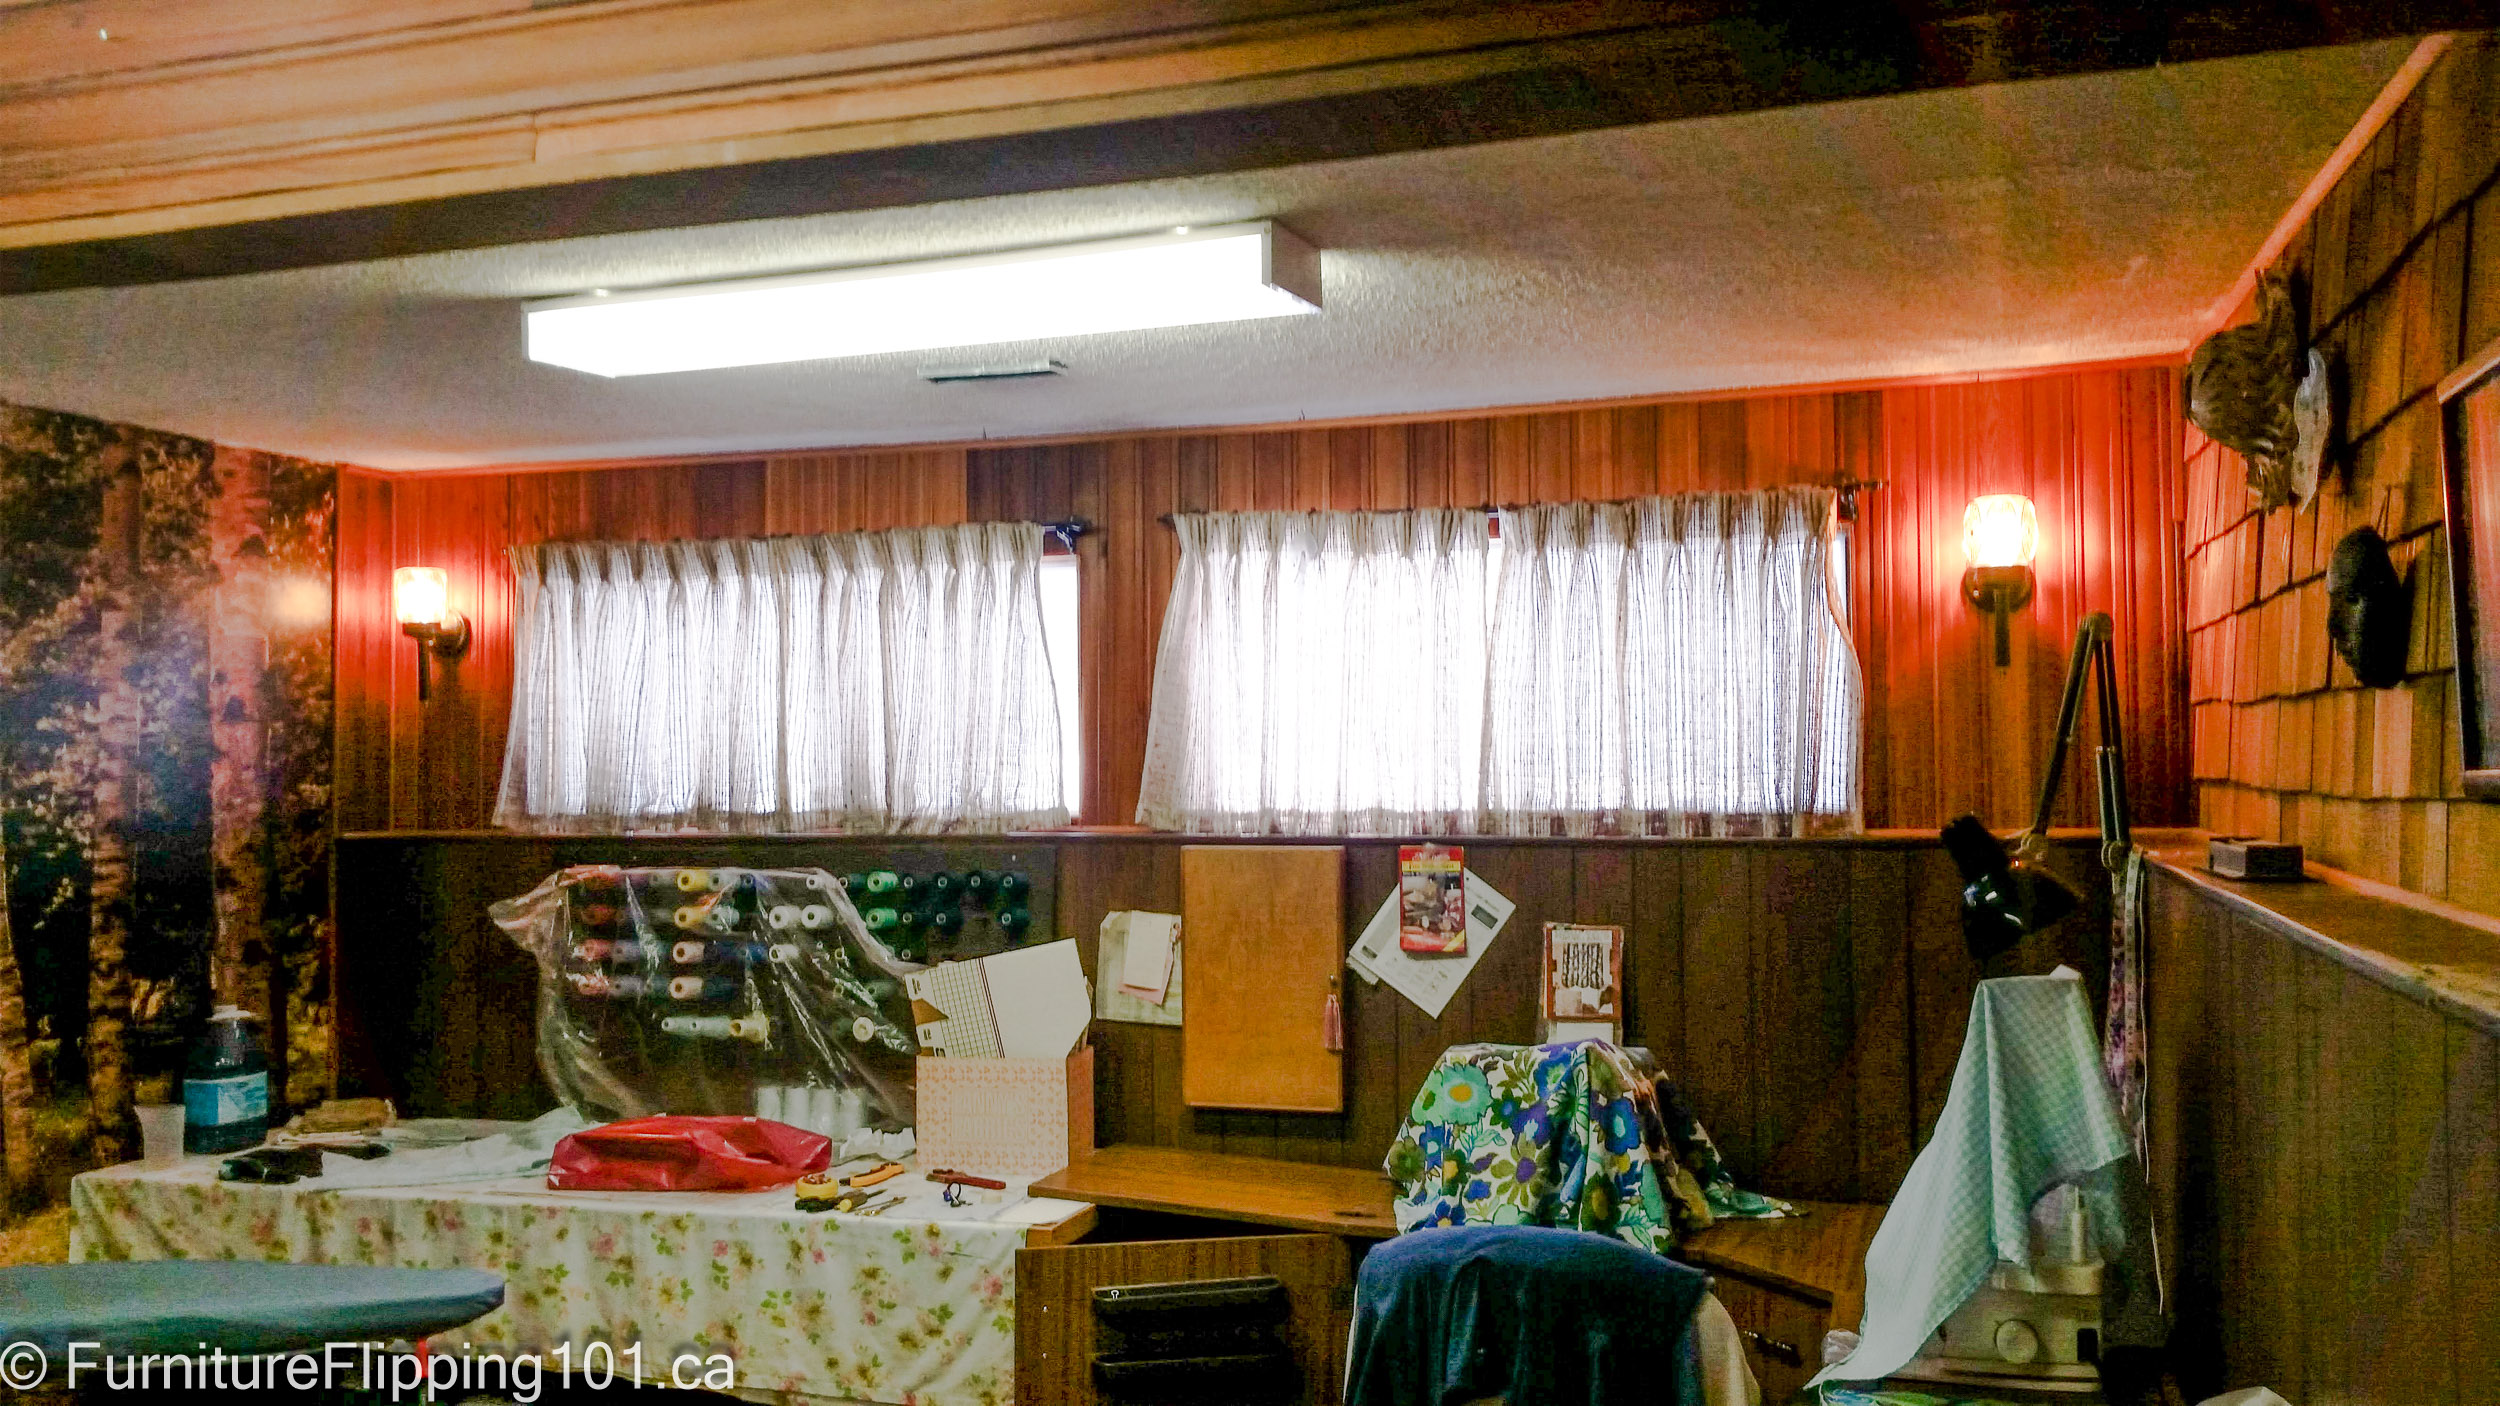
Original Basement
Here are some pictures I took of the basement before I moved in. You can see how dated much of it is. We have painted the old living room area and have been working on the workshop area.
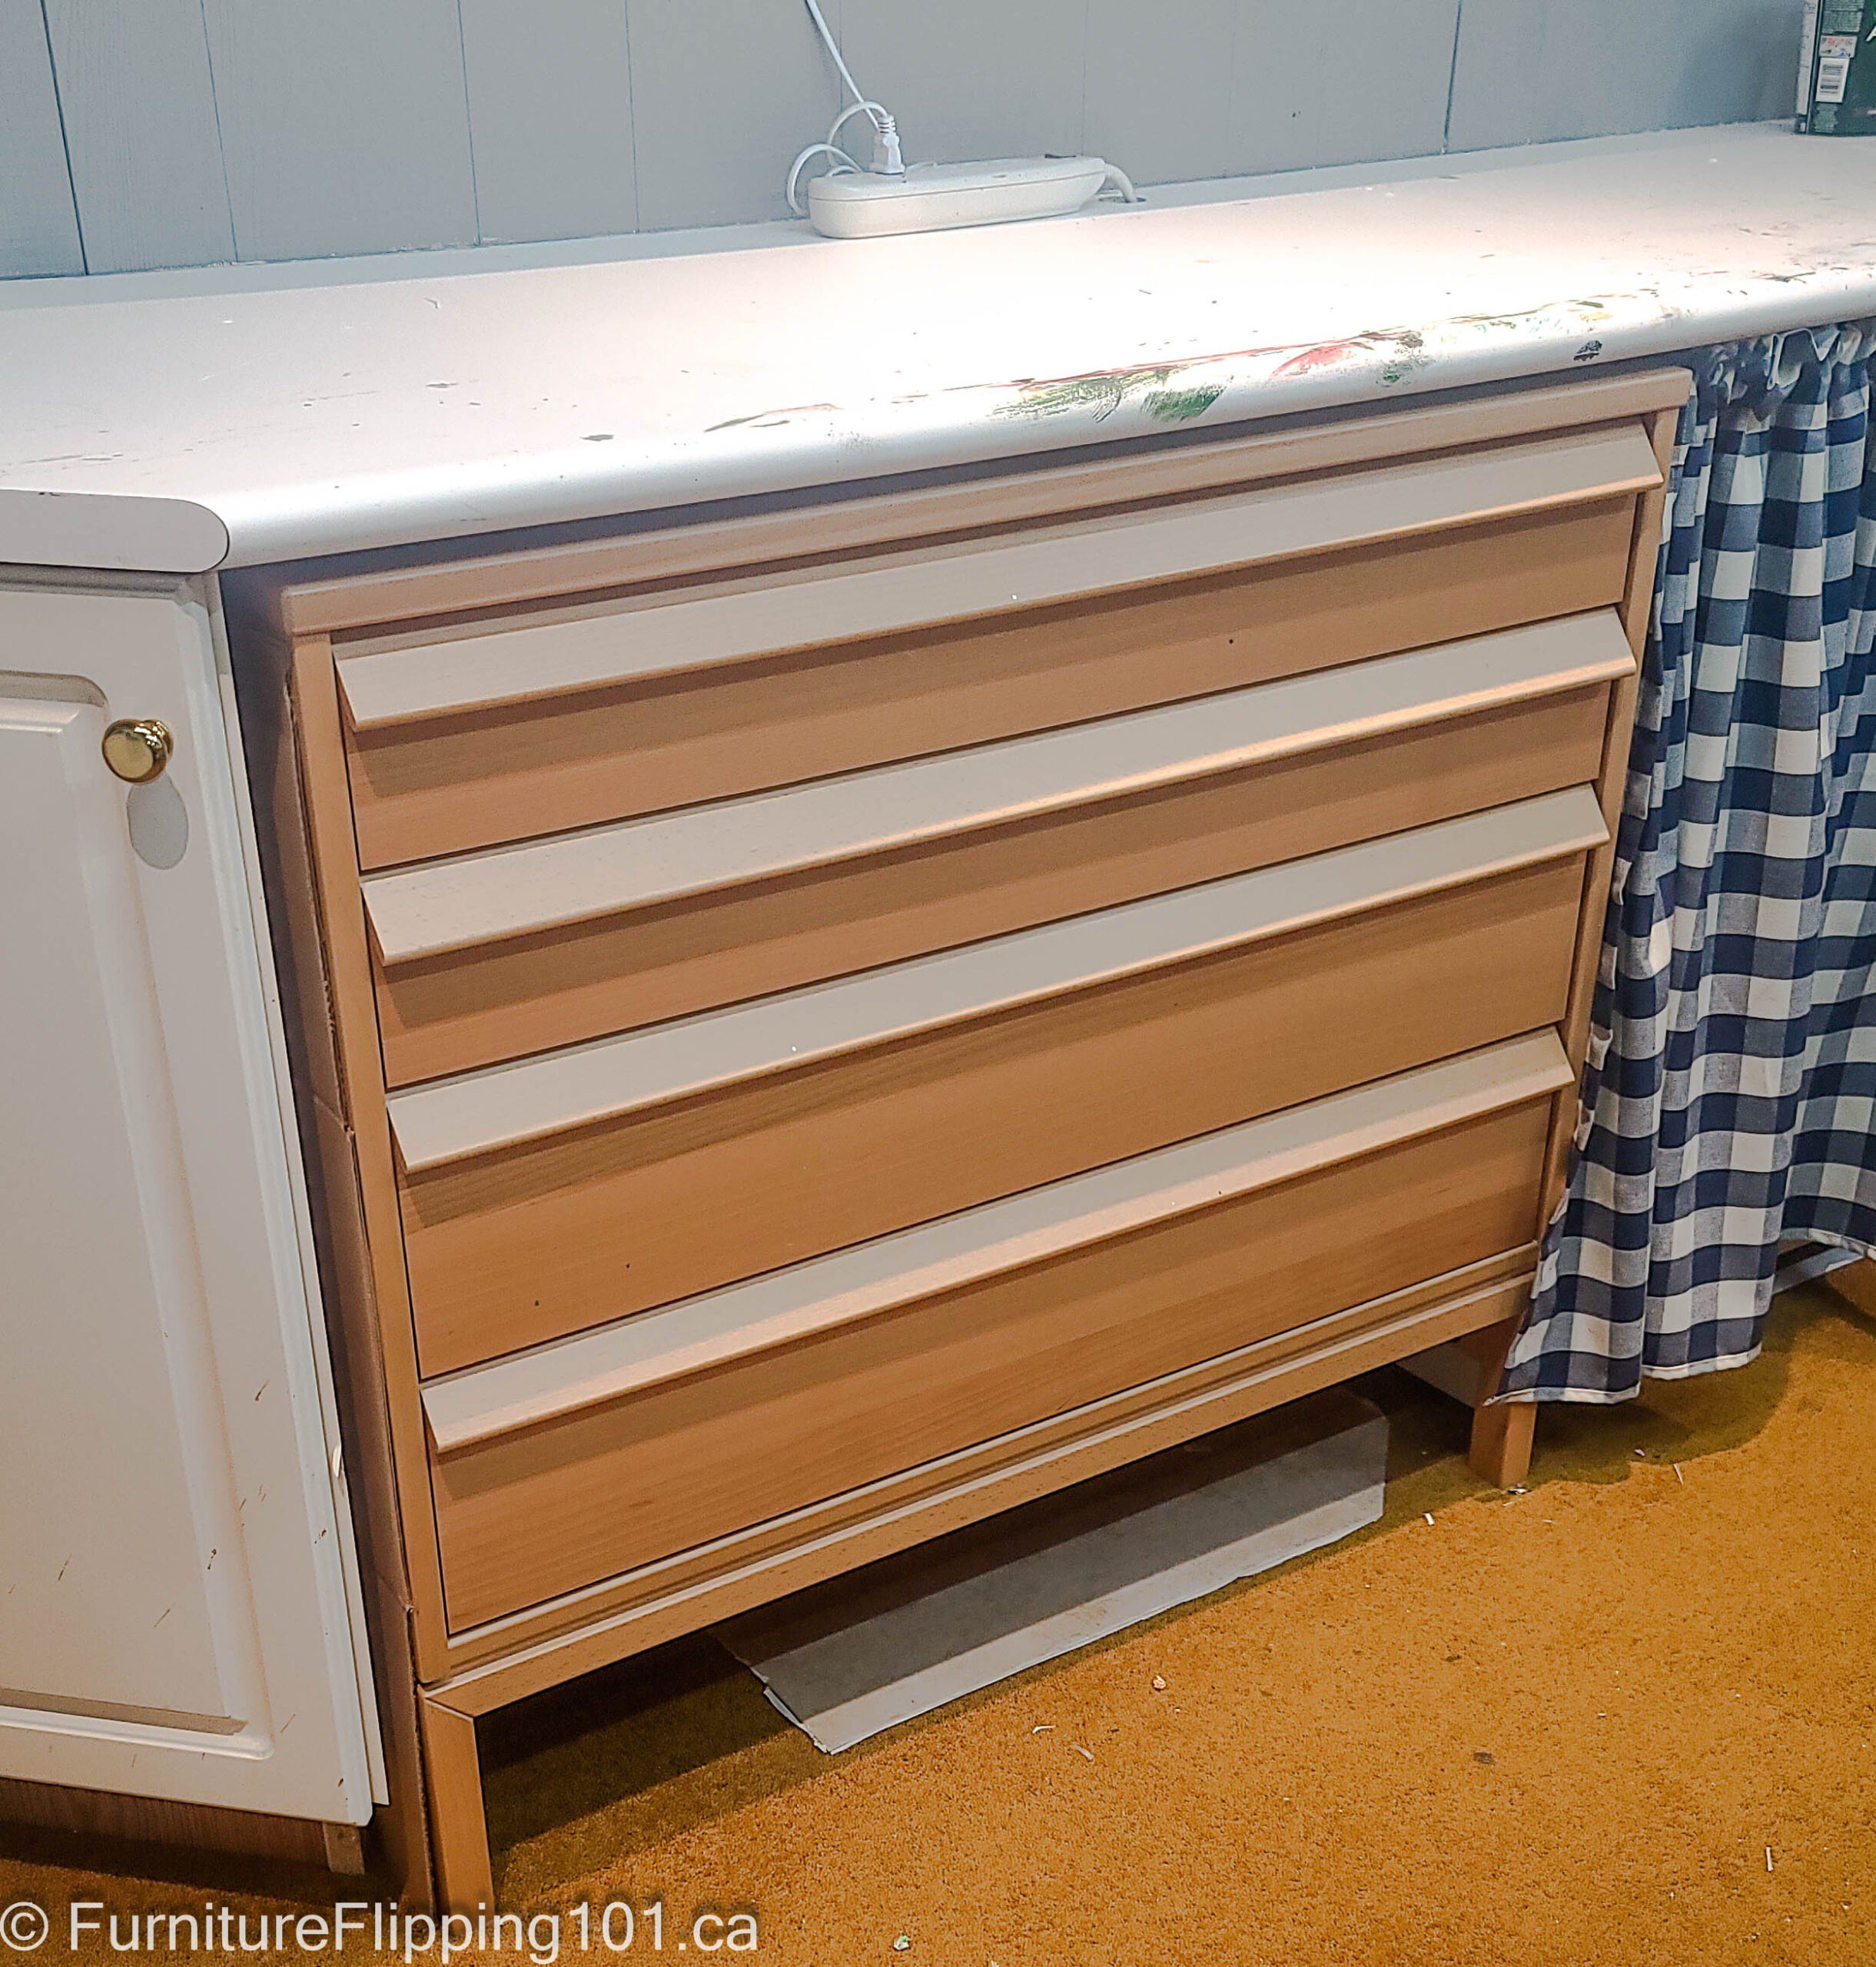
Workshop Updates
We used the upstairs, original kitchen cabinets and sink in our basement workshop. All the cabinets needed was a fresh coat of paint.
Order of Operations
Once we close in the utility room, we will lose access from the front side of the house to the back. So, to access the bathroom and backstairs, we need to cut a hole through the wall since the existing door provides access through the furnace room that will no longer be connected to that space.
Before cutting the doorway, we needed to remove the pantry that blocks that area. And before we could remove the old pantry, we needed to build a closet in the current living room / future bedroom to replace the pantry and canning storage. We dismantled the old pantry before the new closet was complete – I boxed up the pantry items. But it wasn’t a long-term solution, so we needed to finish the new closet right away.
And before we can frame the bathroom and laundry room, we need to locate the plumbing in the concrete floor. To access the pipes, we will need to use a saw or jackhammer to break the concrete – we need to make sure there are no walls in the way when we do this. If the pipes are not where the walls go, we can frame them before demolition.
Check out the videos on YouTube with the progression of the basement renovation.


One Comment