fbpx
Furniture Flipping 101
Learn to Earn

Article Category: Home Reno

*As an Amazon Associate, I earn a small amount from qualifying Amazon purchases at no additional cost to you.

Affiliate links are provided throughout the website and provide me a small measure of income when you make a purchase using those links.

Basement Storage Closet

*As an Amazon Associate, I earn a small amount from qualifying Amazon purchases at no additional cost to you.

Affiliate links are provided throughout the website and provide me a small measure of income when you make a purchase using those links.

In the previous article, I outlined our basement renovation plans – we are swapping the bedroom and living room and adding some dividing walls in the laundry area to add a new bathroom and enclose the utility room to define the space better.

Because our house isn’t very big, we want to maximize basement storage wherever possible. We knew we would have to remove our sizeable two-by-eight-foot basement pantry to add a doorway. The pantry is our bulk storage closet for things like Costco purchases, canning, and other miscellaneous basement storage, so we had to replace this storage closet with an equal or larger space.

Our basement storage pantry that we need to remove

The new bedroom (previously the living room) has two suitable areas that allow us to add two storage closets – the end of the room had enough space between the end wall and the window to incorporate a three-and-a-half-by-nine-foot storage closet. There is also enough space on the side of the room to add a conventional two-by-nine-foot storage closet to store off-season clothing and allow guests to hang their clothes.

Close up of the basement bedroom layout and future closets.

Getting Started

The first steps of our basement renovation involve converting the living room into a bedroom. The plan is quite simple, add two storage closets and a doorway. The electrical already exists – we moved the light switch from the hallway into the bedroom, using the same wire and switch, plus moved one plug over to the side wall.

The biggest challenge in the room is framing and drywalling the closets. We will also change the windows once it is nicer out (not winter) and then drywall the bedroom. It currently has painted panelling. This area was my display area for furniture sales. I need to renovate the other side of the basement to set up a new area.

Clearing the Area

To prep the area, I had to box up all of my small jewelry boxes and items I sell on Etsy, plus cover the larger furniture items.

I sold some big pieces as we moved items around, which helped make more room. I also had to reorganize the laundry area, our catch-all for our renovation and household miscellanea.

I am thankful we have another basement storage closet similar to the one we are removing, only shorter, plus additional storage under our front and back staircases. And, if you flip furniture, you will understand how much furniture one accumulates. I sold off some pieces I couldn’t get to and freed up more space.

One of the biggest challenges with renovating is finding a new home for your junk stuff. Once we cleared the areas as best we could, we could start on the demolition and construction phase.

Demolition

Many basements have drop ceilings to maintain access to the utilities running under and through the floor joists. We will install drop ceilings in the areas we are renovating, but the existing living room already has one. Unfortunately, the drop ceiling attaches to the walls, and we needed to remove it to finish them.

The first step was removing the ceiling where the two basement storage closets were going. We decided to drywall the closet ceilings because it is a short span and less work than installing the tracks in a small space. We removed the perimeter ceiling panels except for the wall next to the windows and some along the room’s north end. The rest of the ceiling will come down, but this was enough demolition to work on the two storage closets. Next, we removed the panelling on the back and side wall. While the under-the-stair basement storage closet was open, we organized the space.

Drop Ceiling Panels and Wall Panelling Removed

Framing the Basement Storage Closet Number One

Now we could start framing the first basement storage closet. First, Giraud built the back wall, framing 16″ “on centre”, which means each stud’s centre is 16″ from the next one. This distance is a standard stud spacing for most areas. He made sure to frame in some backing to attach the drywall panels to the wall. 

The closet door opening needed a rough opening for the 72″ sliding mirror doors that we will install later. The end wall of the closet is also part of the new hallway. It includes the bedroom door. The doorway is 30″, so the rough opening is larger. Consult your door’s packaging to get the right rough opening size for the door you are installing.

Once assembled, we stood the walls, attached the top plate to the ceiling, and used concrete anchors to attach the baseplate to the floor.  You will need a hammer drill to install concrete anchors. 

Walls are built on the ground and erected, so plan which walls you will put up first in case one will block the other. Here we put up the door wall first and then the closet wall. Once the wall is up, you can cut out the bottom plate in the threshold of the doorways.

Concrete Anchors 3/16" x 2 1/4" - these need to be long enough to go through the 2x4 into the floor.

Finishing the Basement Storage Closet

Once the walls were framed and erected, we could drywall, prime and paint the closet area. Drywall is installed horizontally in a staggered pattern. Do not line up the top and bottom boards, or you will have issues with cracking later. Tape and mud the seams, sand between coats, and use a skim coat for your final pass. Sand this, then use a good drywall primer (and by good, I mean one designed for drywall). We bought our drywall primer in a five-gallon pail at Home Depot on sale. The pail will last a long time, and we knew we had a lot of priming to do. If you only renovate a small area, purchase what you need; otherwise, you aren’t saving any money. Then you can paint.

If you don’t own drywall tools, check out secondhand tools on Facebook Marketplace or a local buy-and-sell. You can often find them for half price or less. Amazon also sells them quite inexpensively. You will need some good lighting when mudding the closet since there isn’t much light in there. 

We buy our drywall mud by the box. It is a larger container and costs less than the pails. You can transfer the mud from the box into your own pail for ease of use. Alternatively, you can buy dry powder and add water, but getting the correct water-to-drywall-compound ratio can be tricky. 

We aren’t replacing the carpet, for now, since we will have enough expenses with the renovation. Because we are keeping the carpet, we had to add tack strips around the new walls in the storage closet to keep the carpet edges secured. You can buy these at most home improvement stores. Amazon sells them, but they charge way more than box stores. We paid $2.99 for four 3′ strips. We will add in the baseboard once we are ready to finish the rest of the bedroom. 

Making Shelves for Our Basement Storage Closet

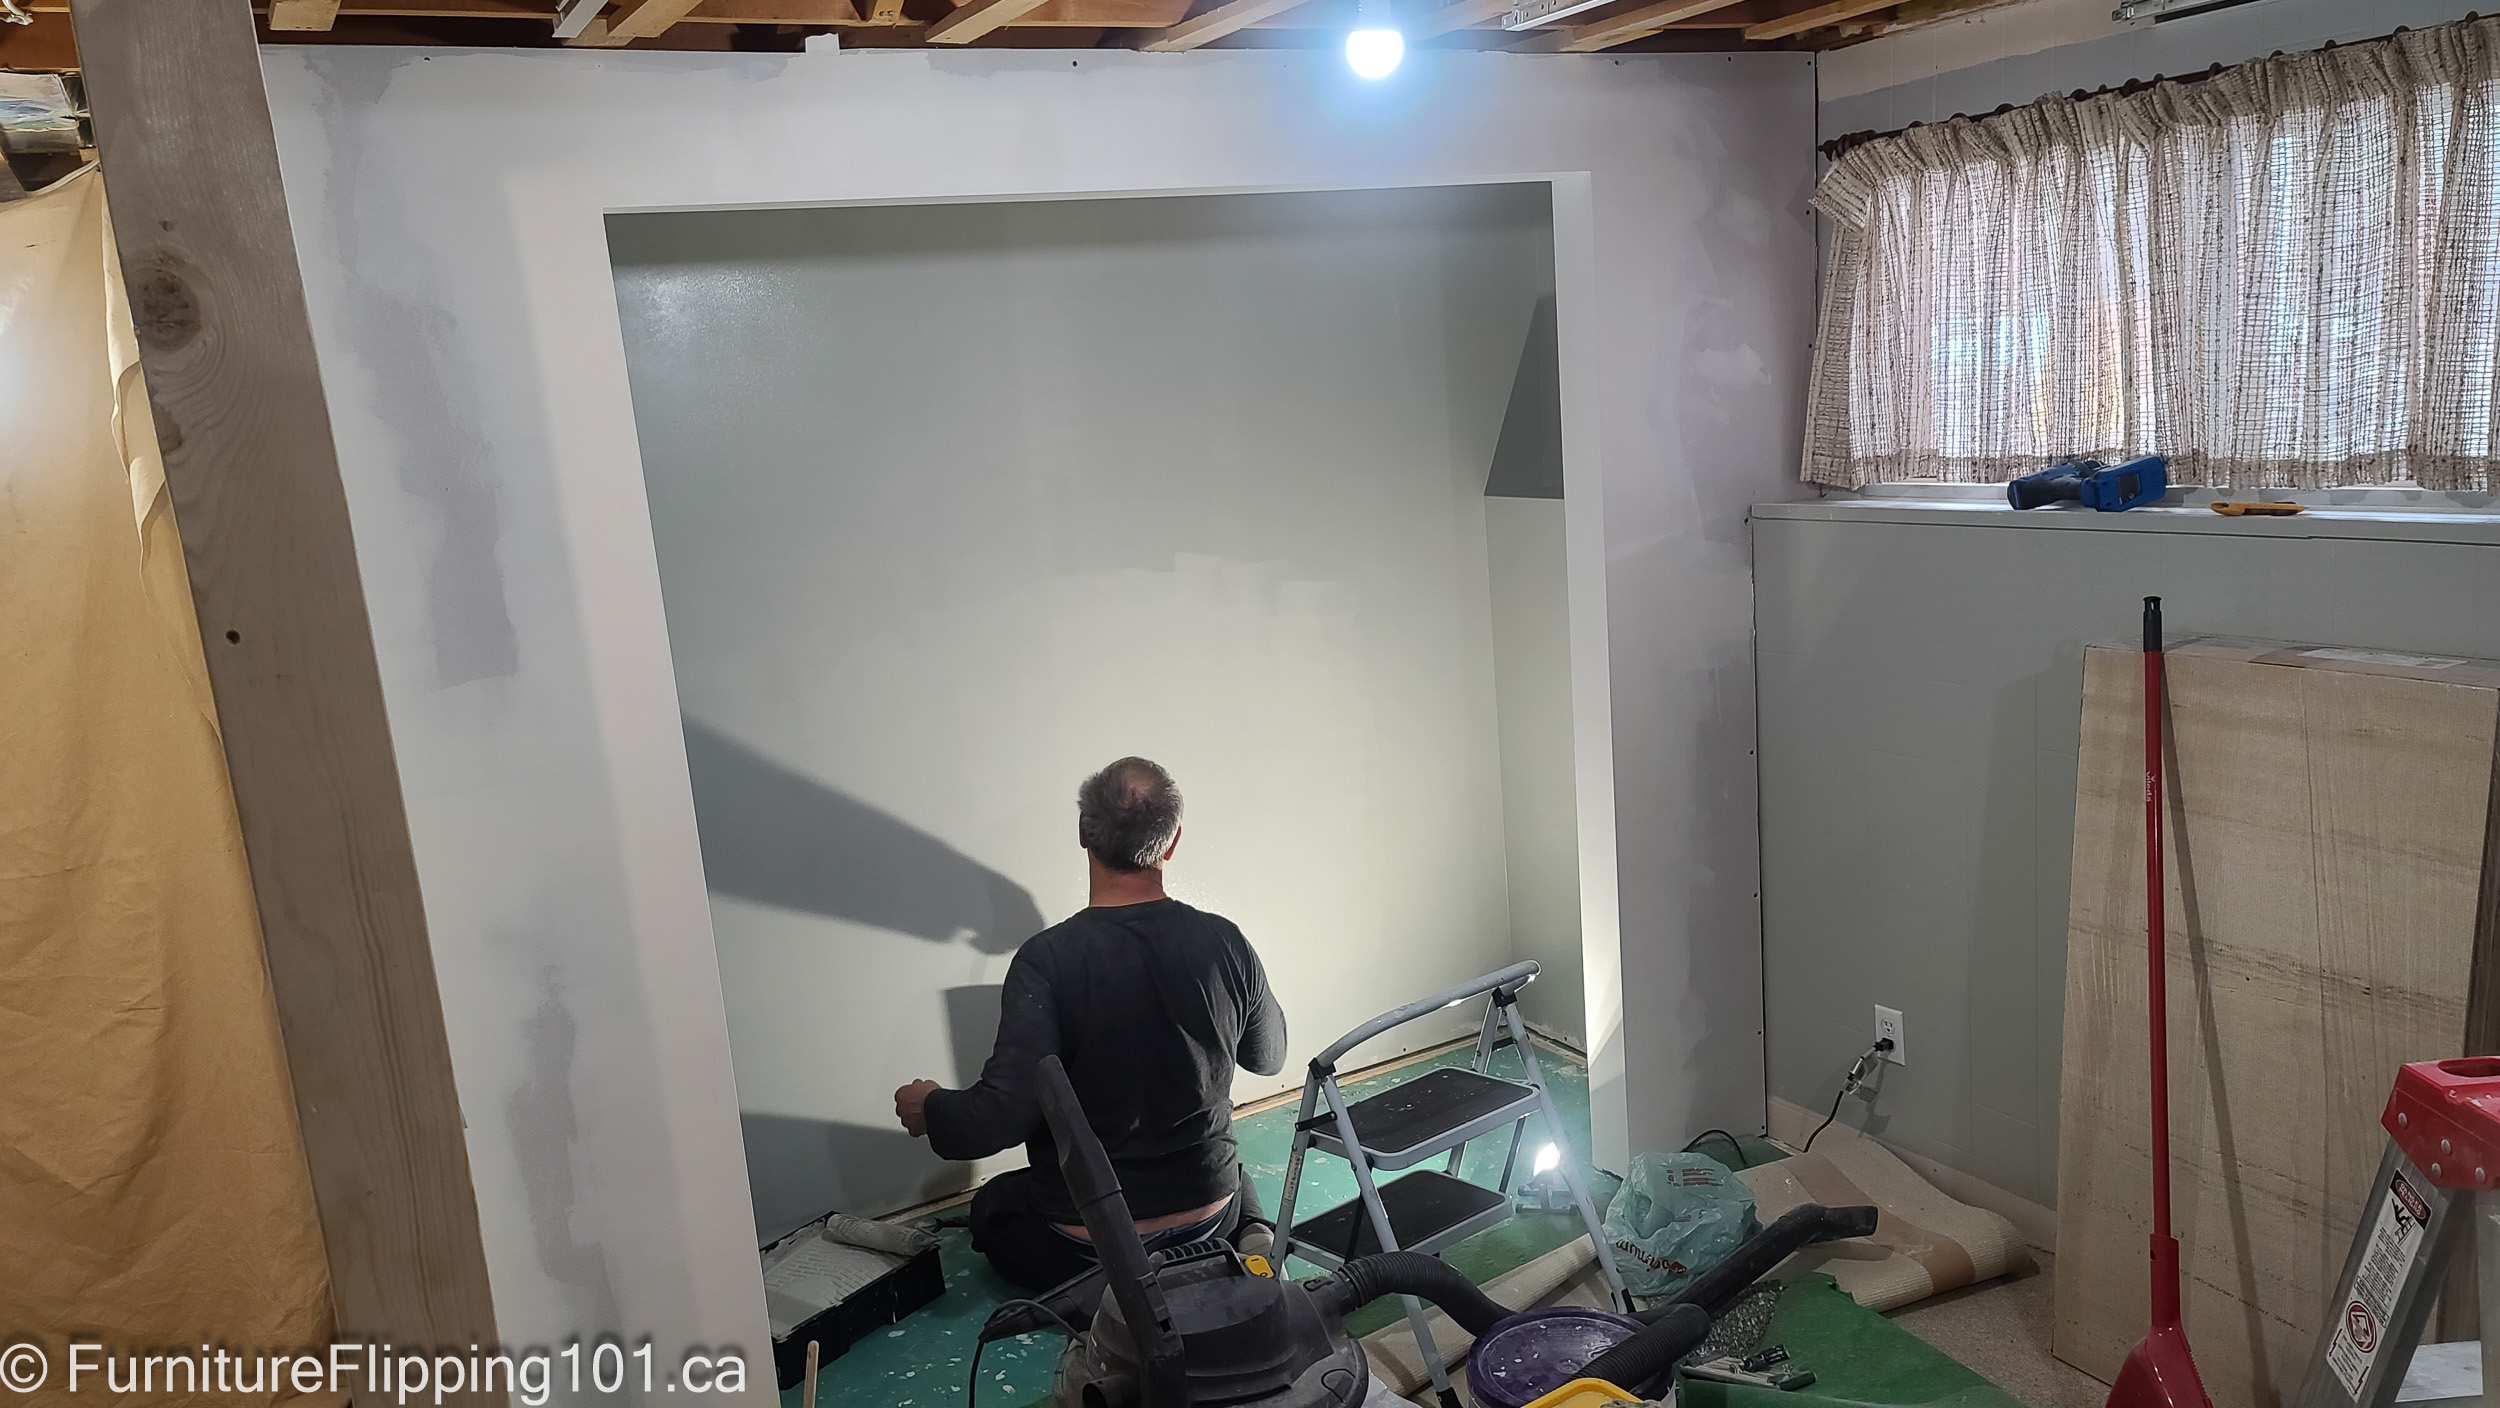
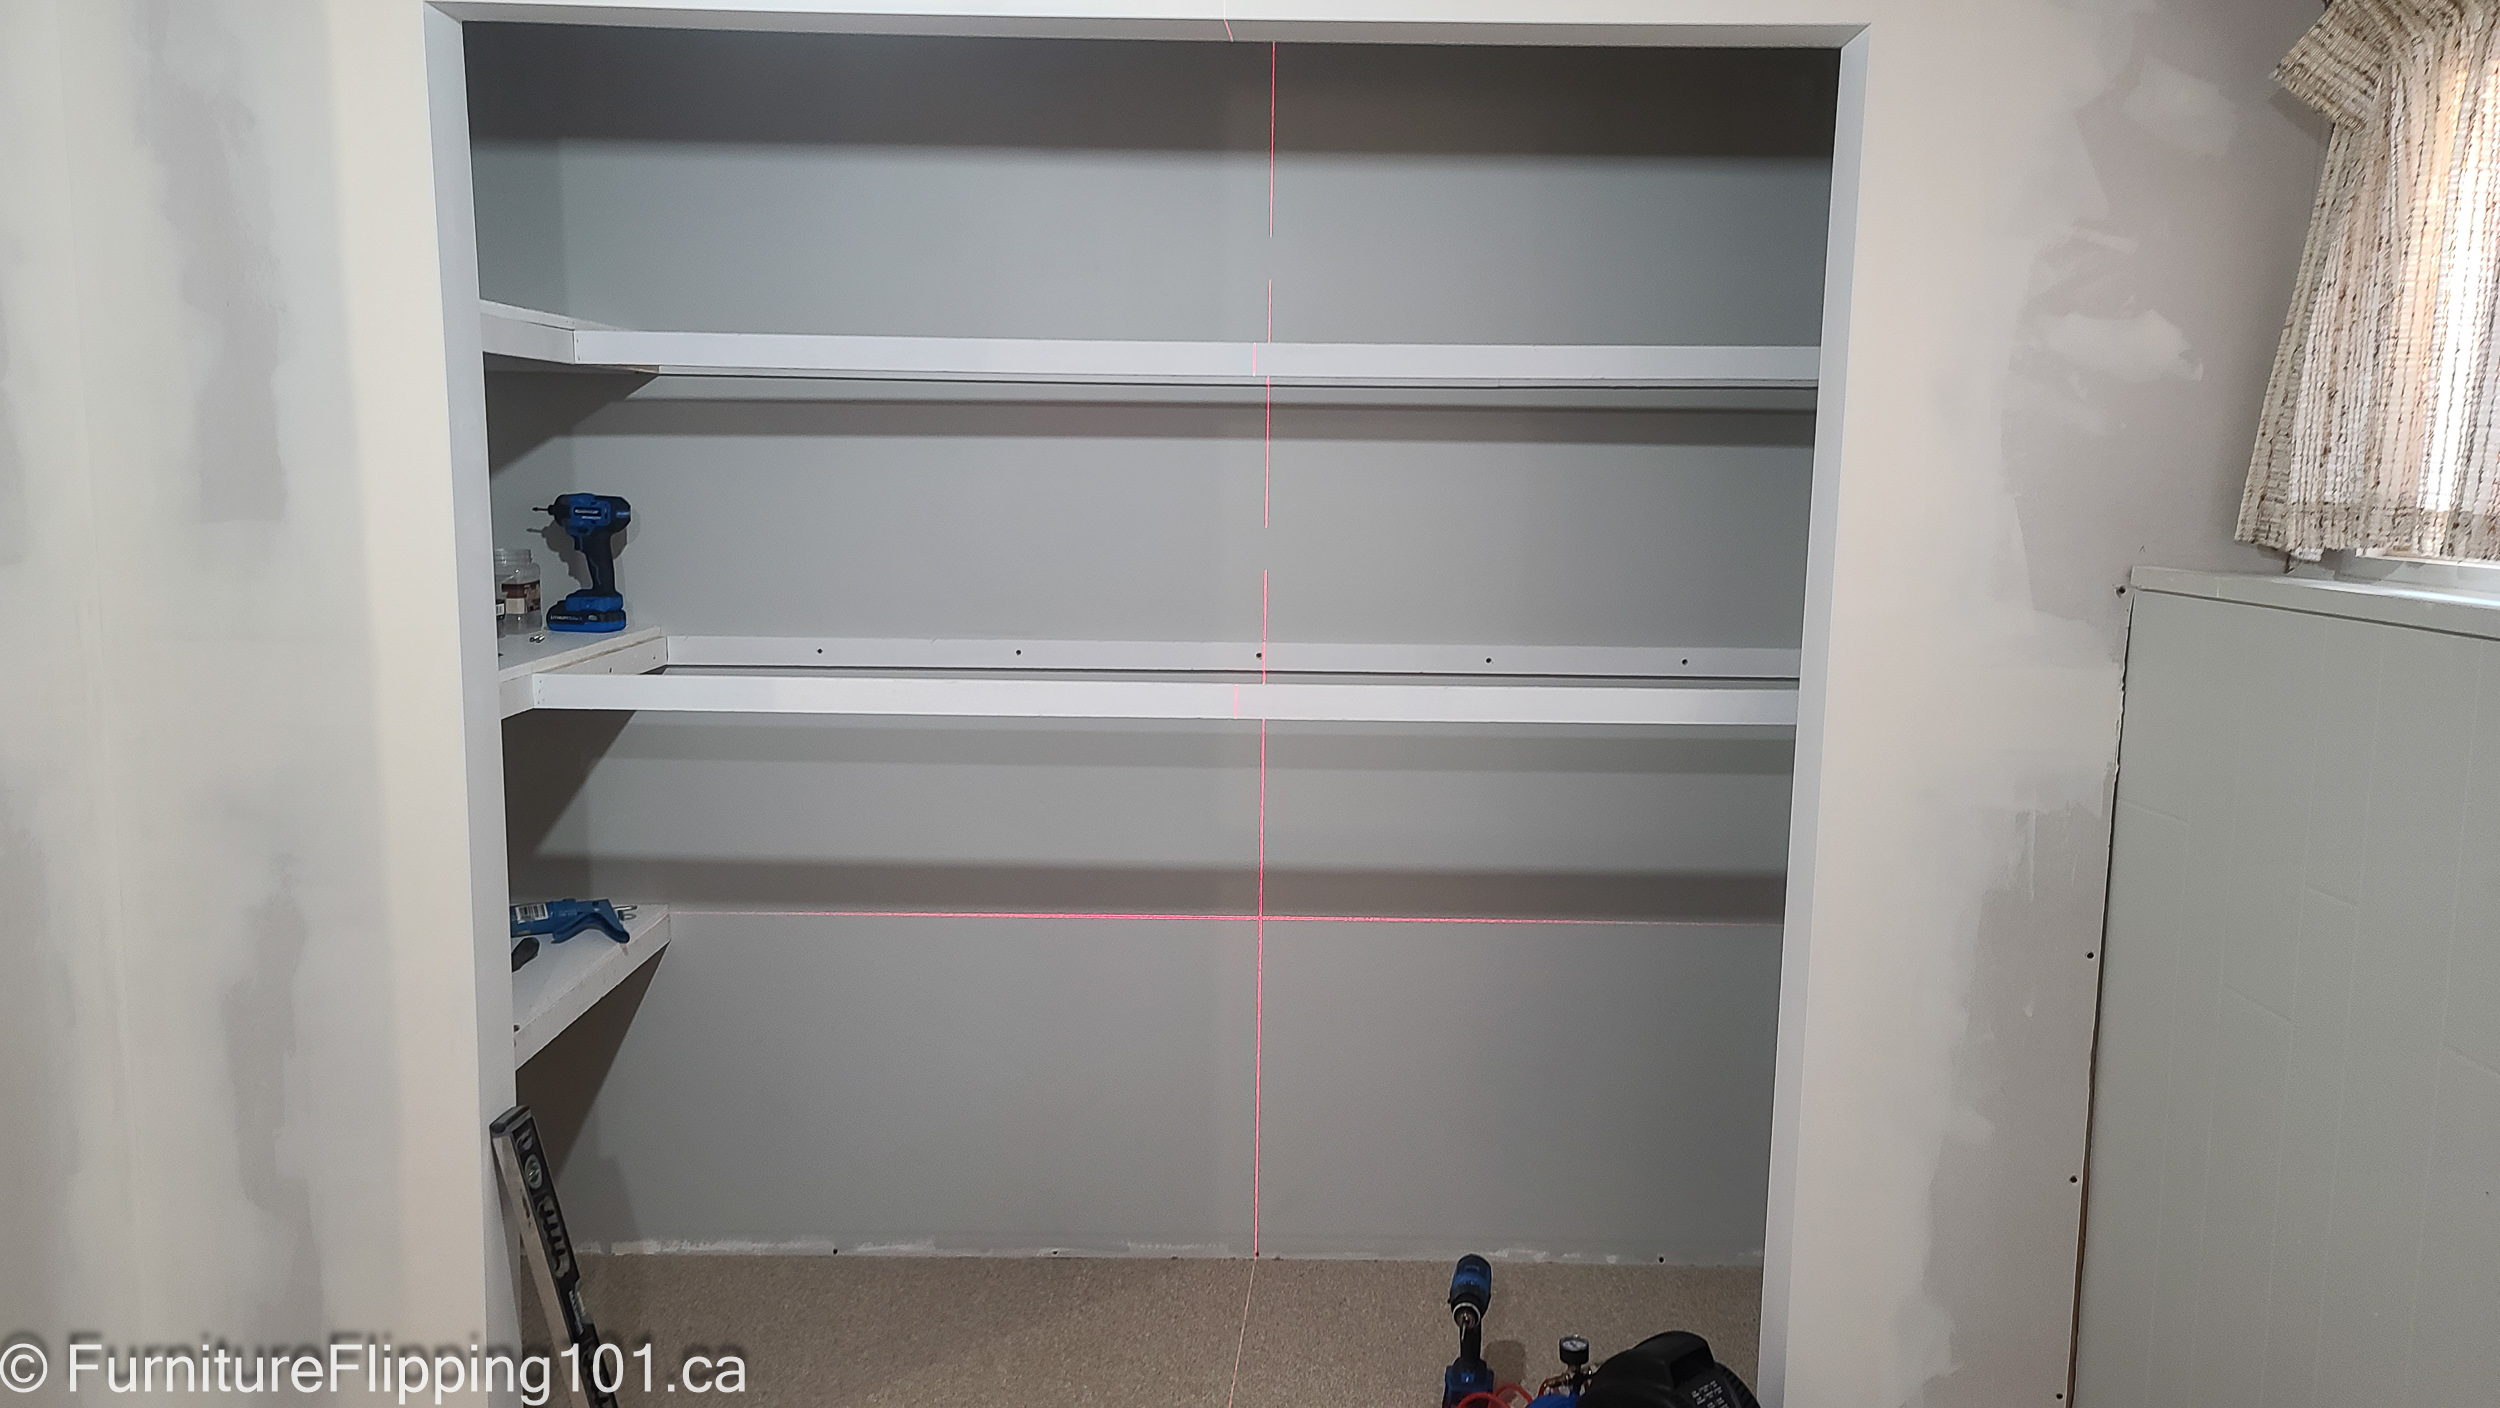
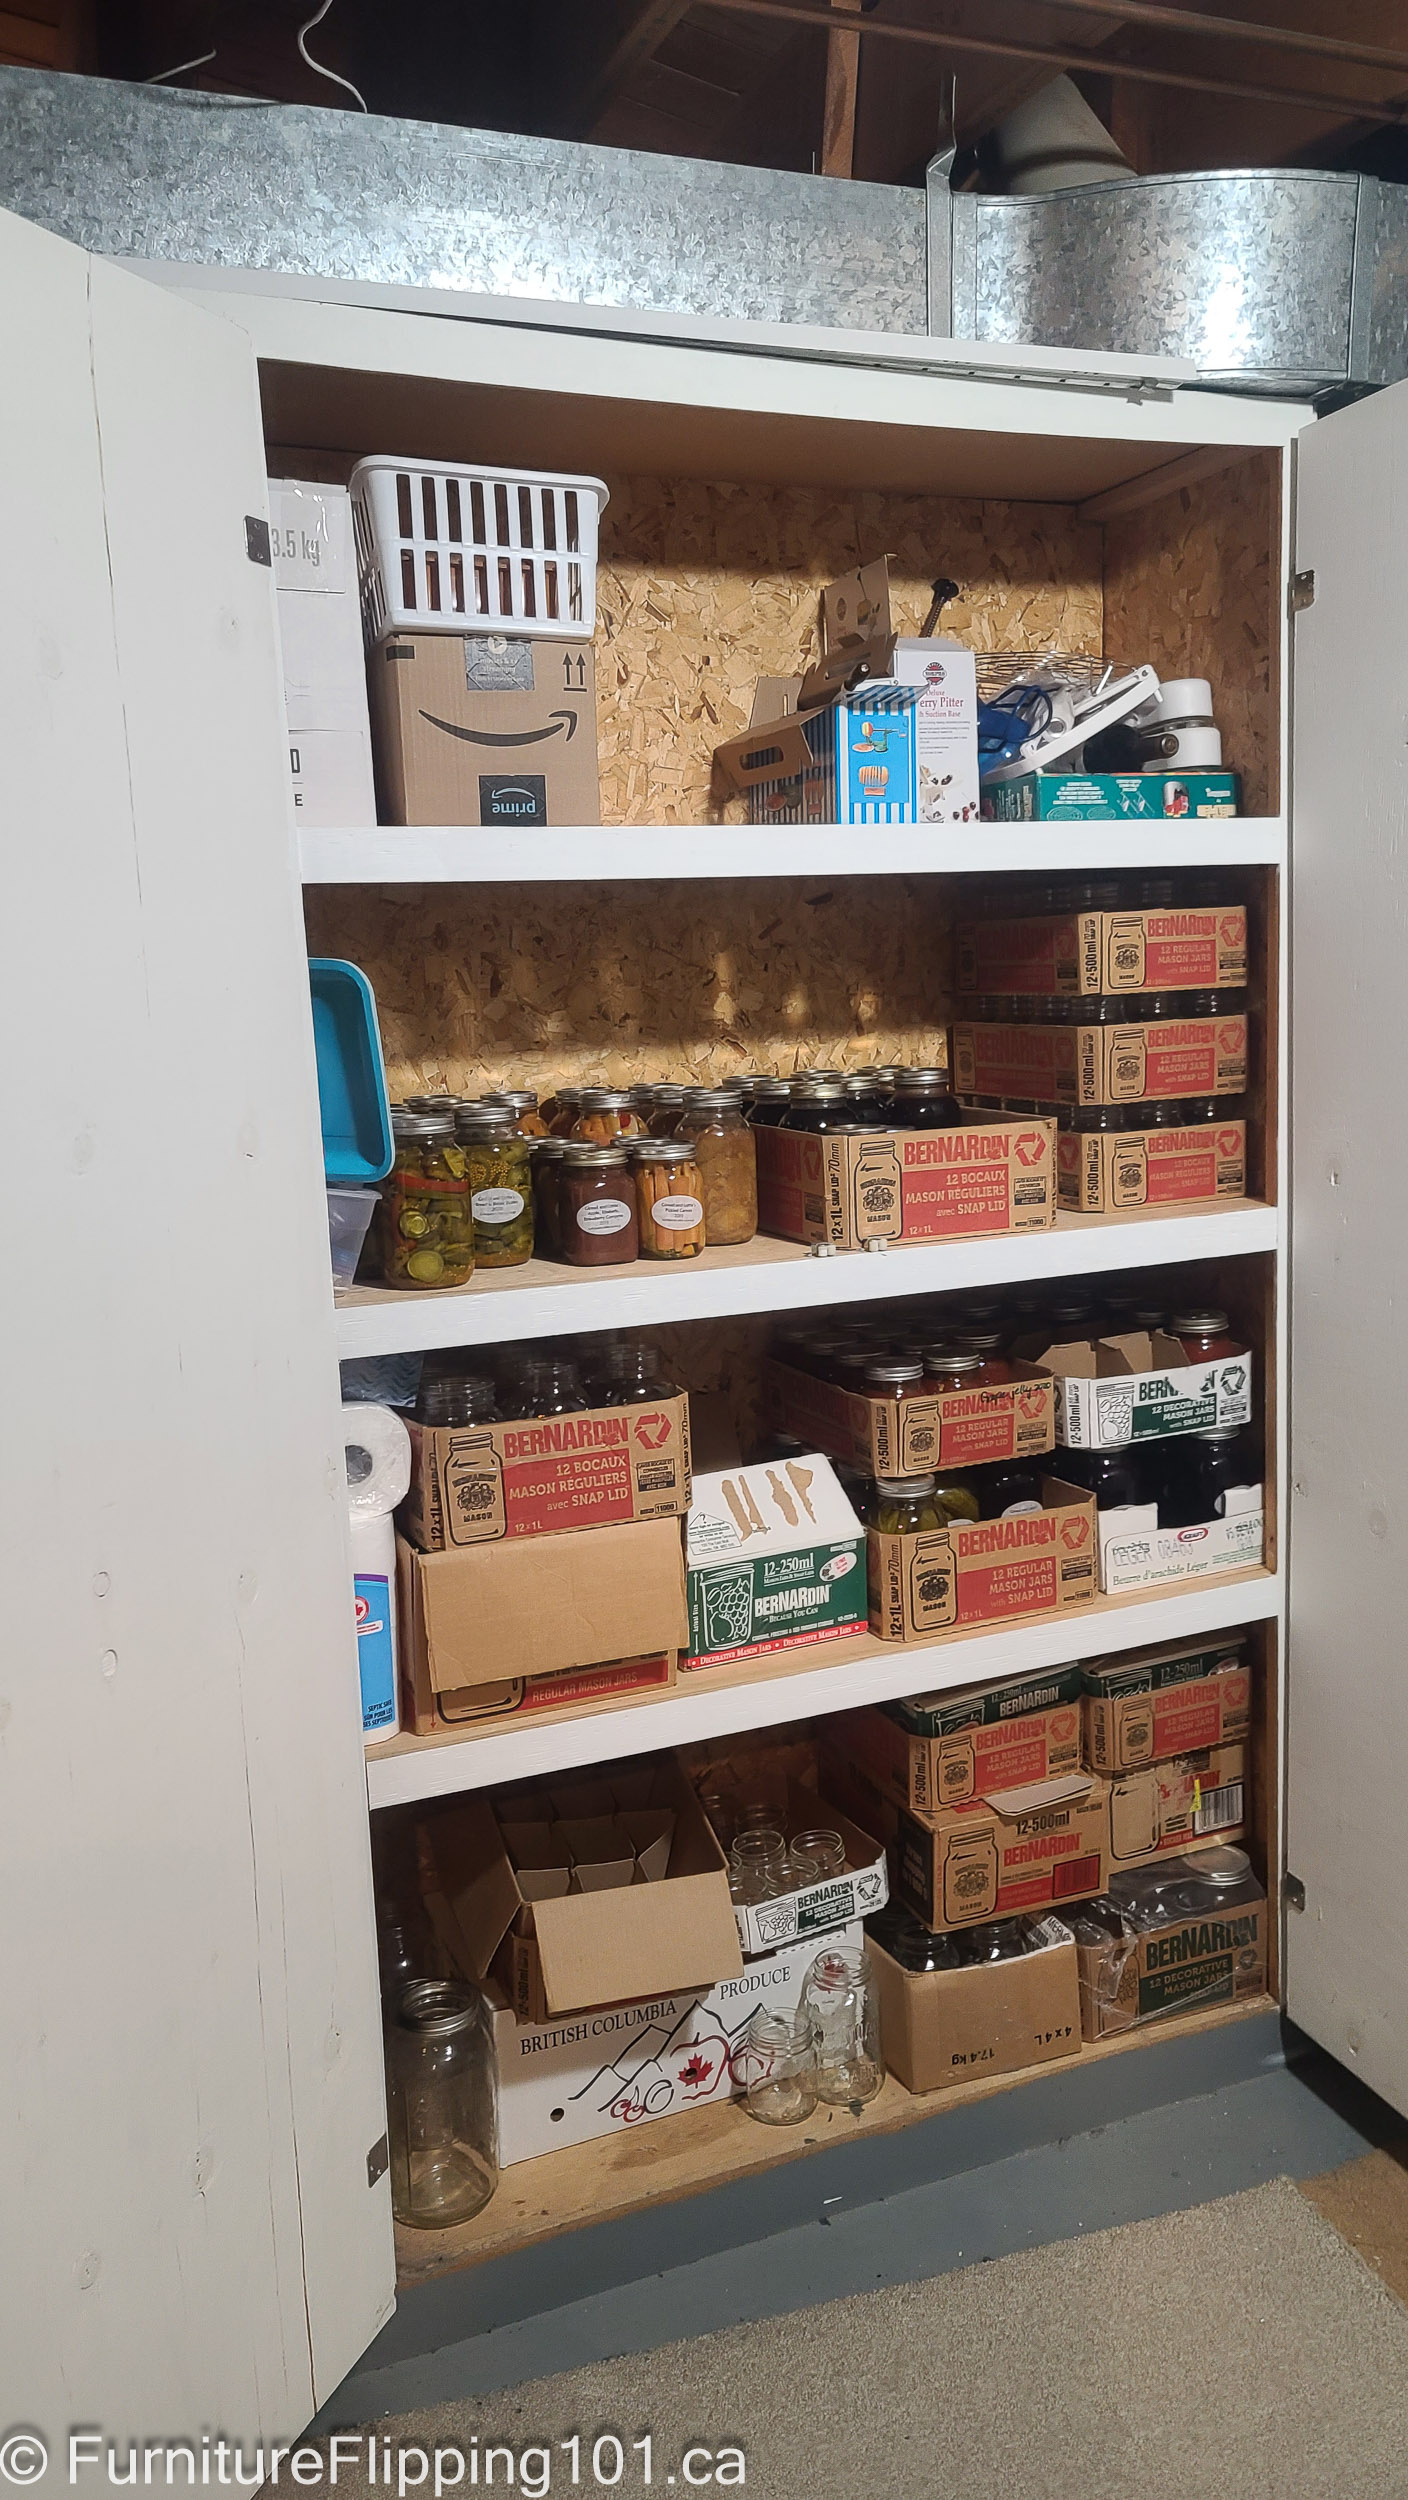
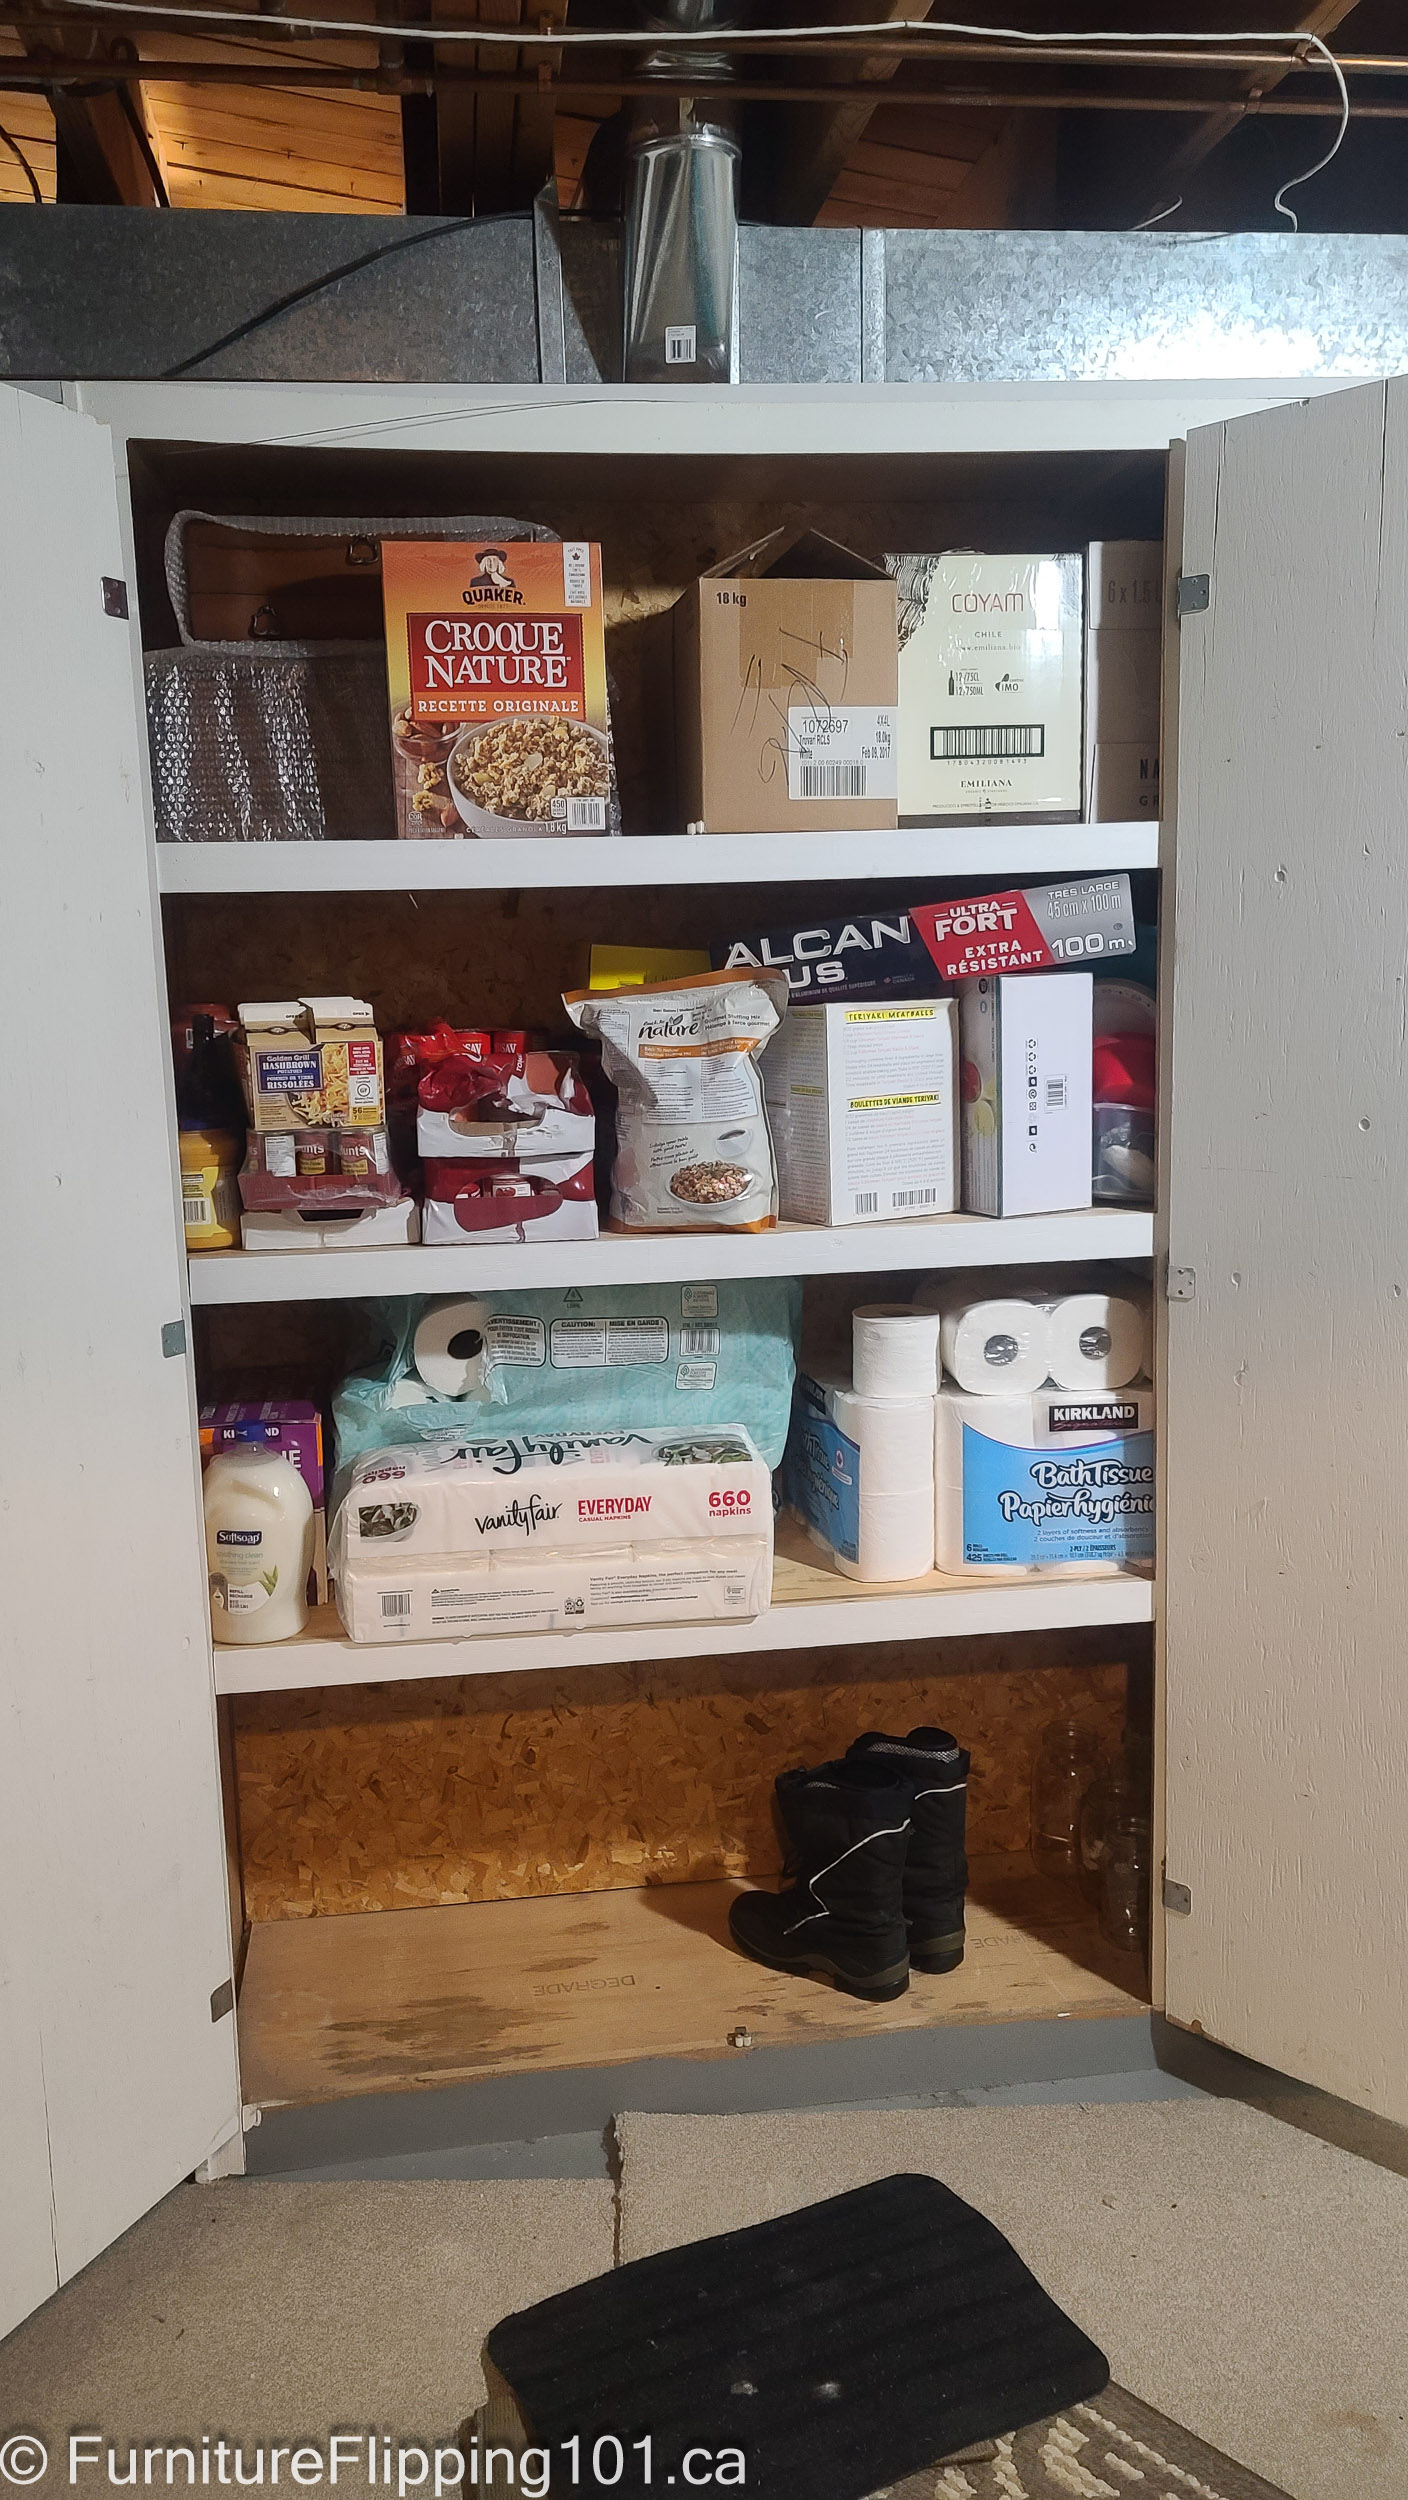
Rather than pay for shelving, we opted to make our own custom shelving. Because we made a large storage closet, we needed wide shelves. And even if we wanted to buy them, finding 24″ wide shelving is nearly impossible – most are 12-16″.

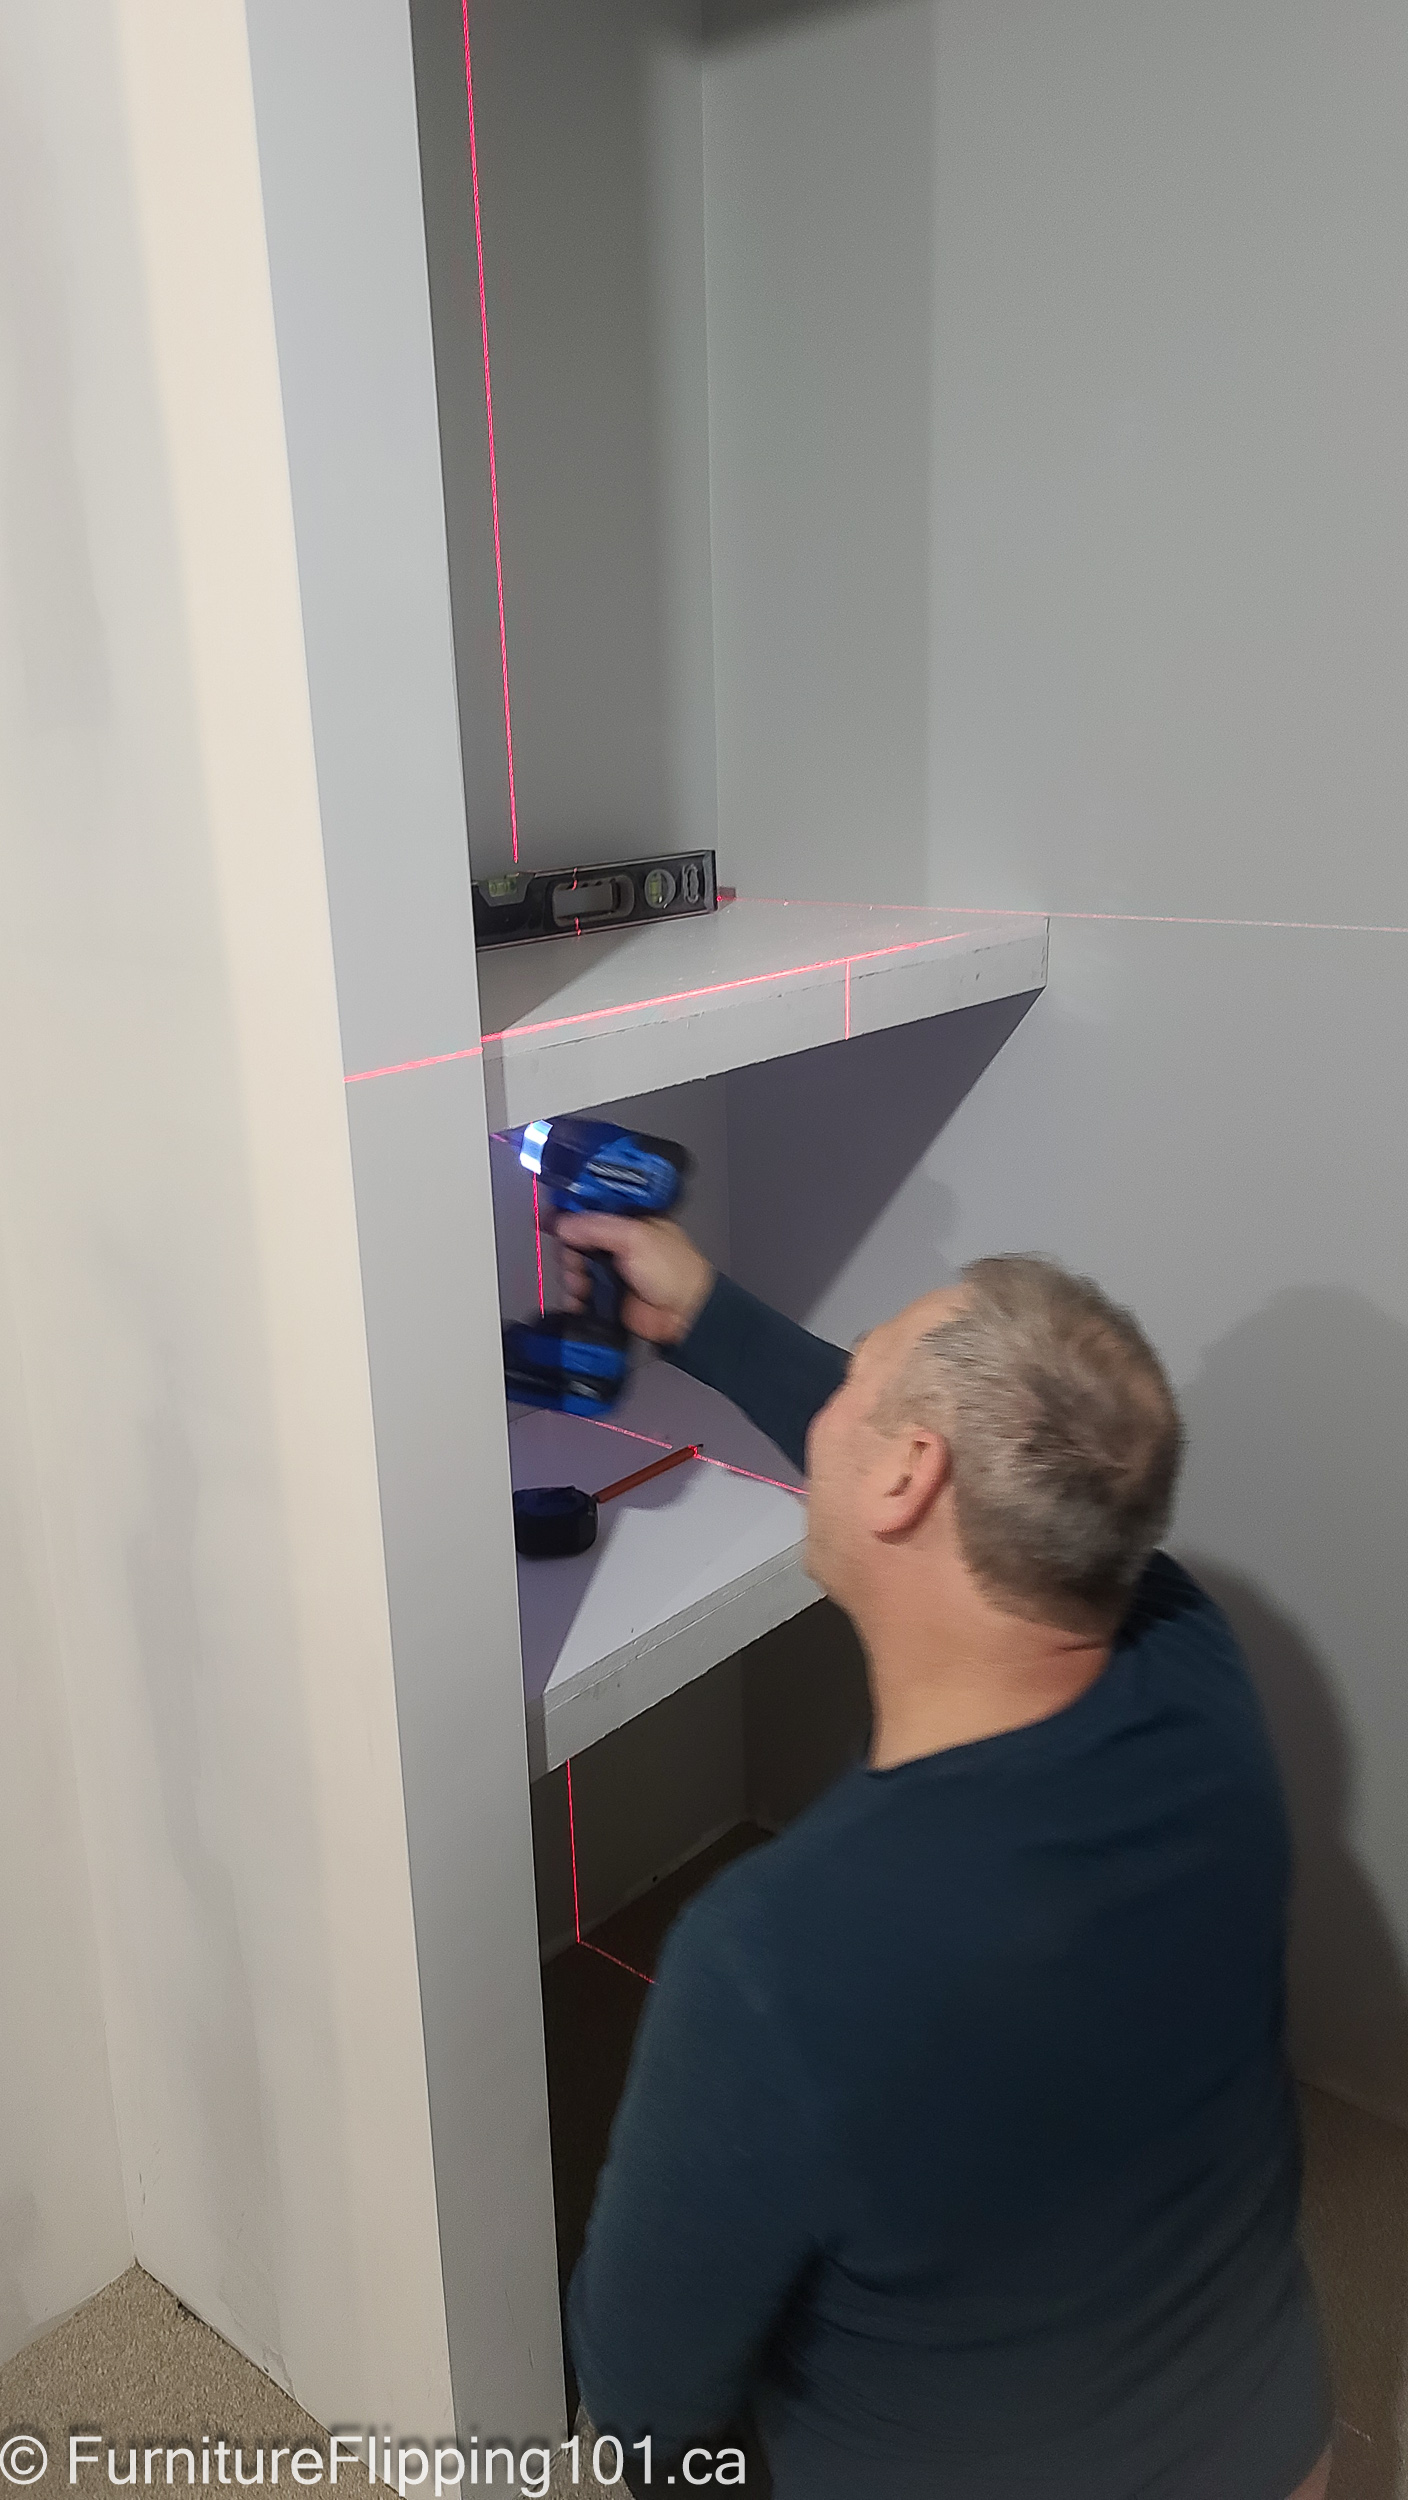
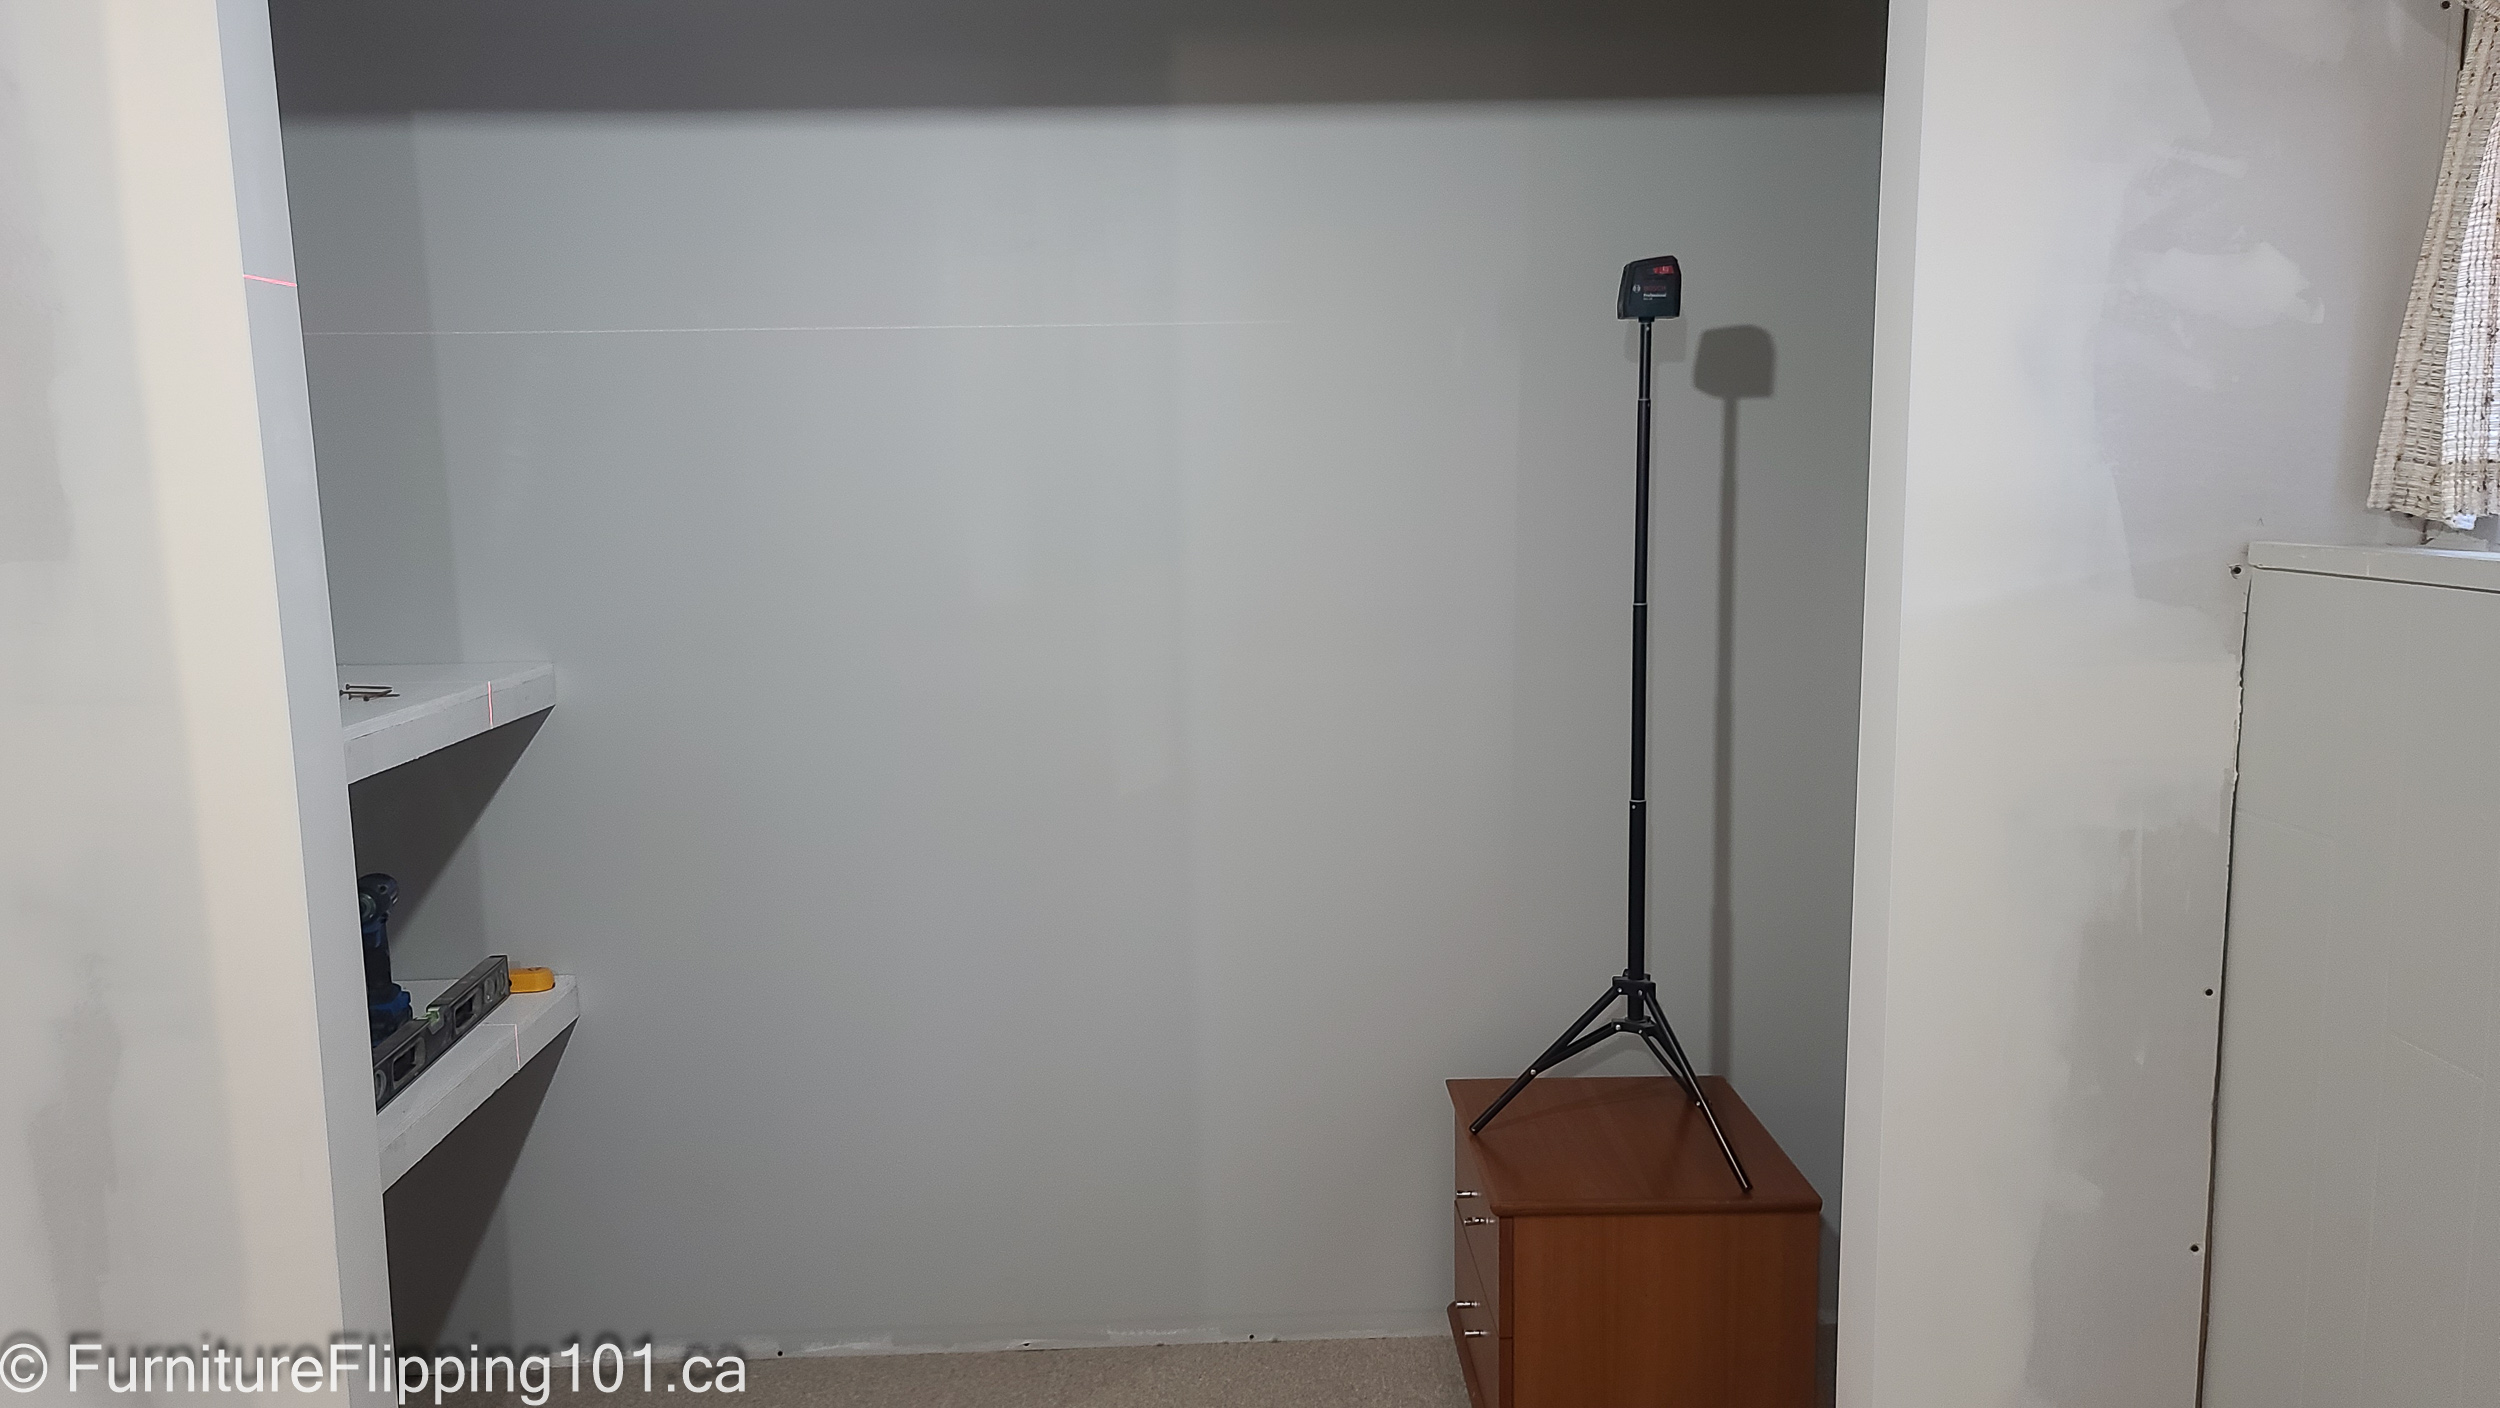
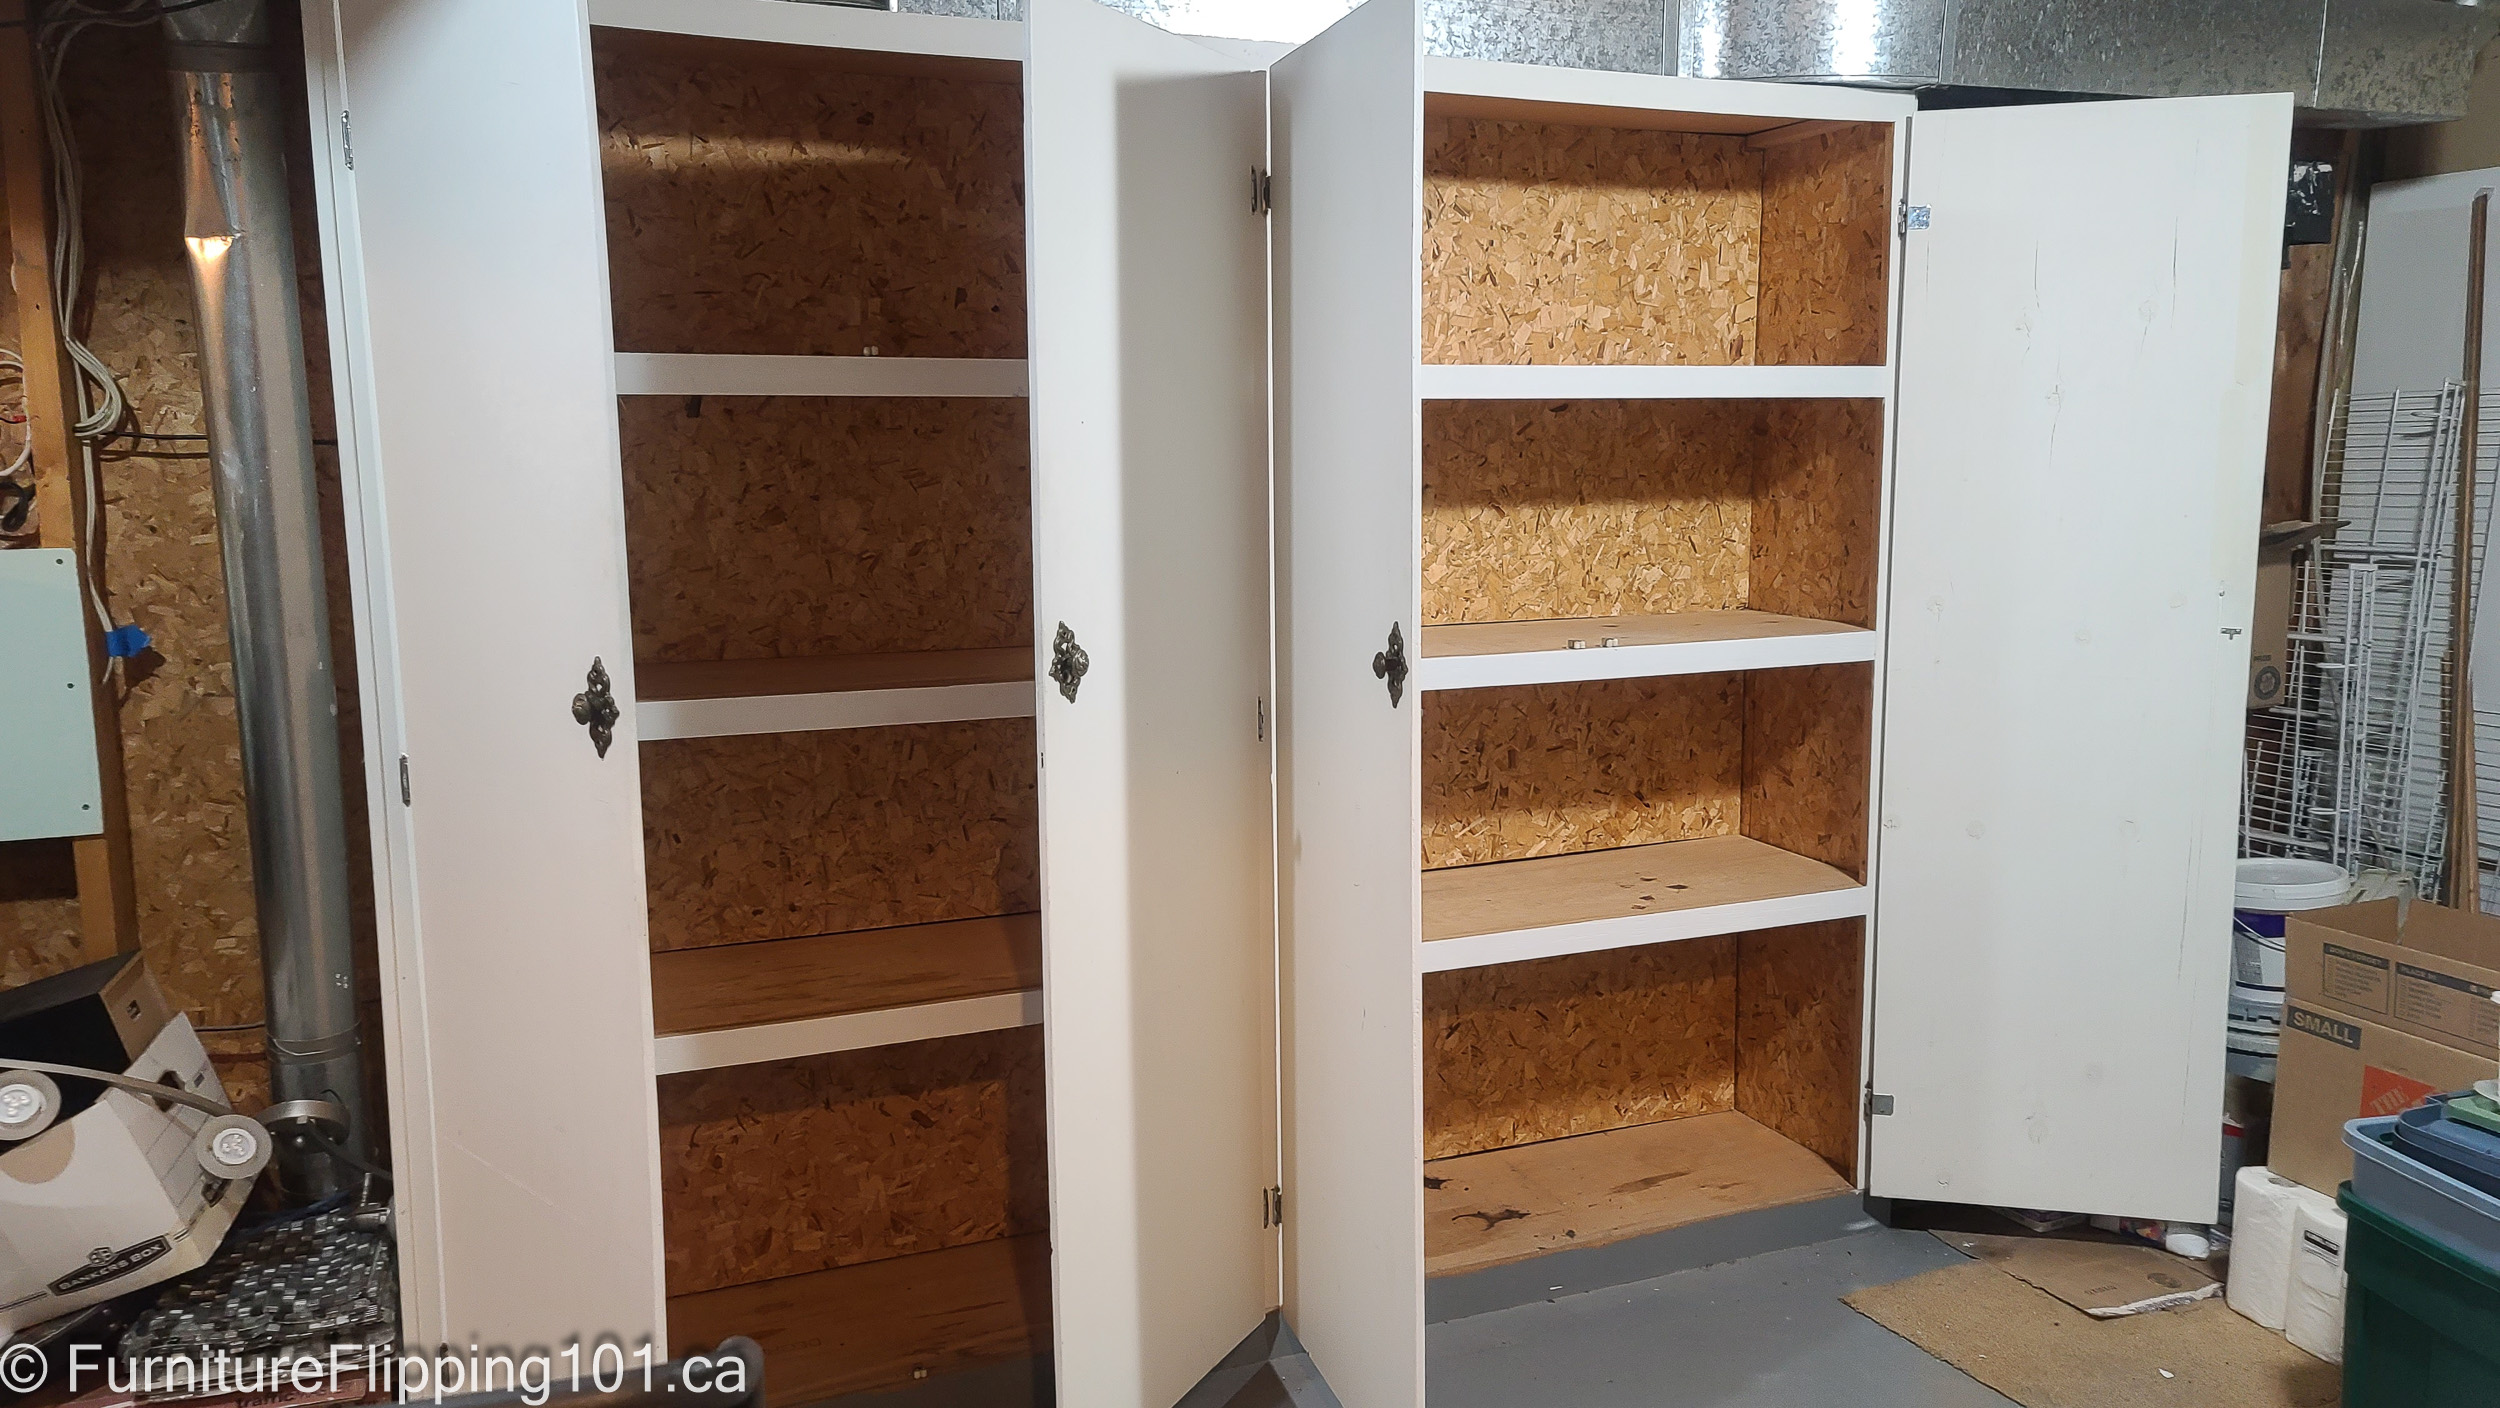
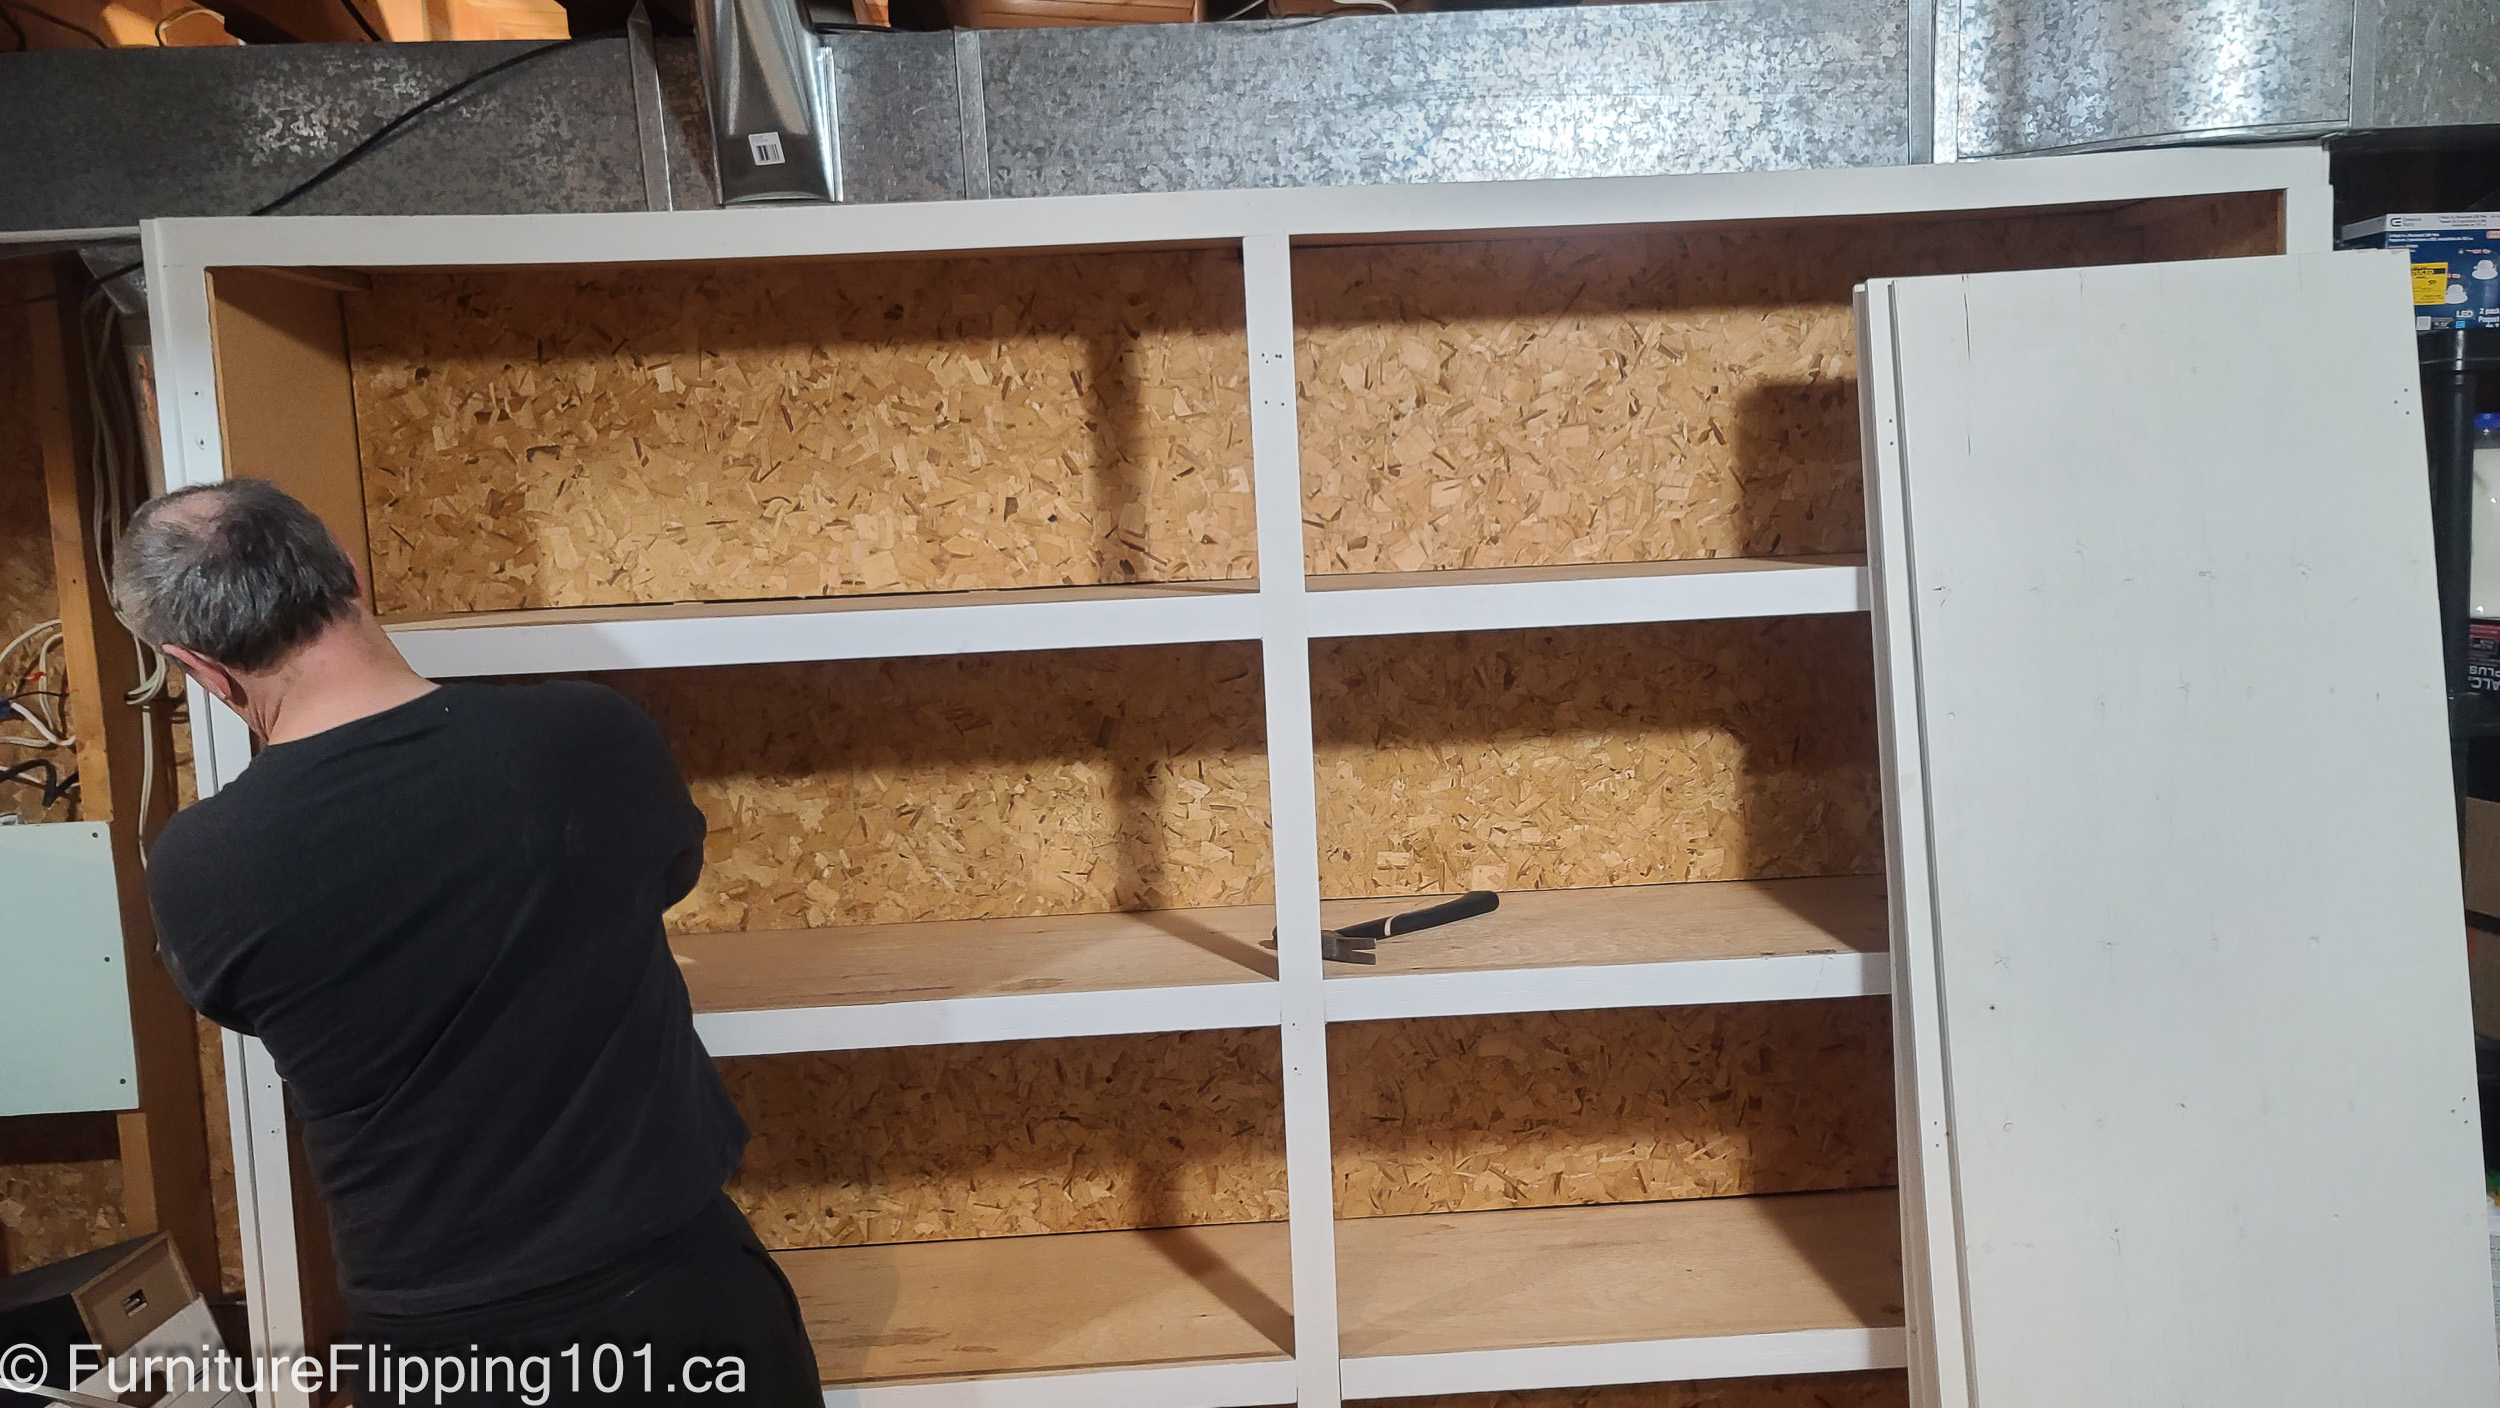
We found a ½” 4×8 sheet of plywood in the clearance bin at Home Depot for half price, so around $50. We cut that into 24″ shelves for the bottom two shelves and bought a 16″ laminated pine board for the top shelf. We kept the top shelf narrower so it would be easier to put things on it. The closet was longer than 8′, so we made end shelves and secured those well since they support the long shelf’s end.

You might not get as lucky as we were to find a 4×8 sheet of plywood in the clearance bin, but check the Marketplace for people giving away plywood or other shelving units. With some ingenuity and luck, you will find inexpensive materials to make shelves.

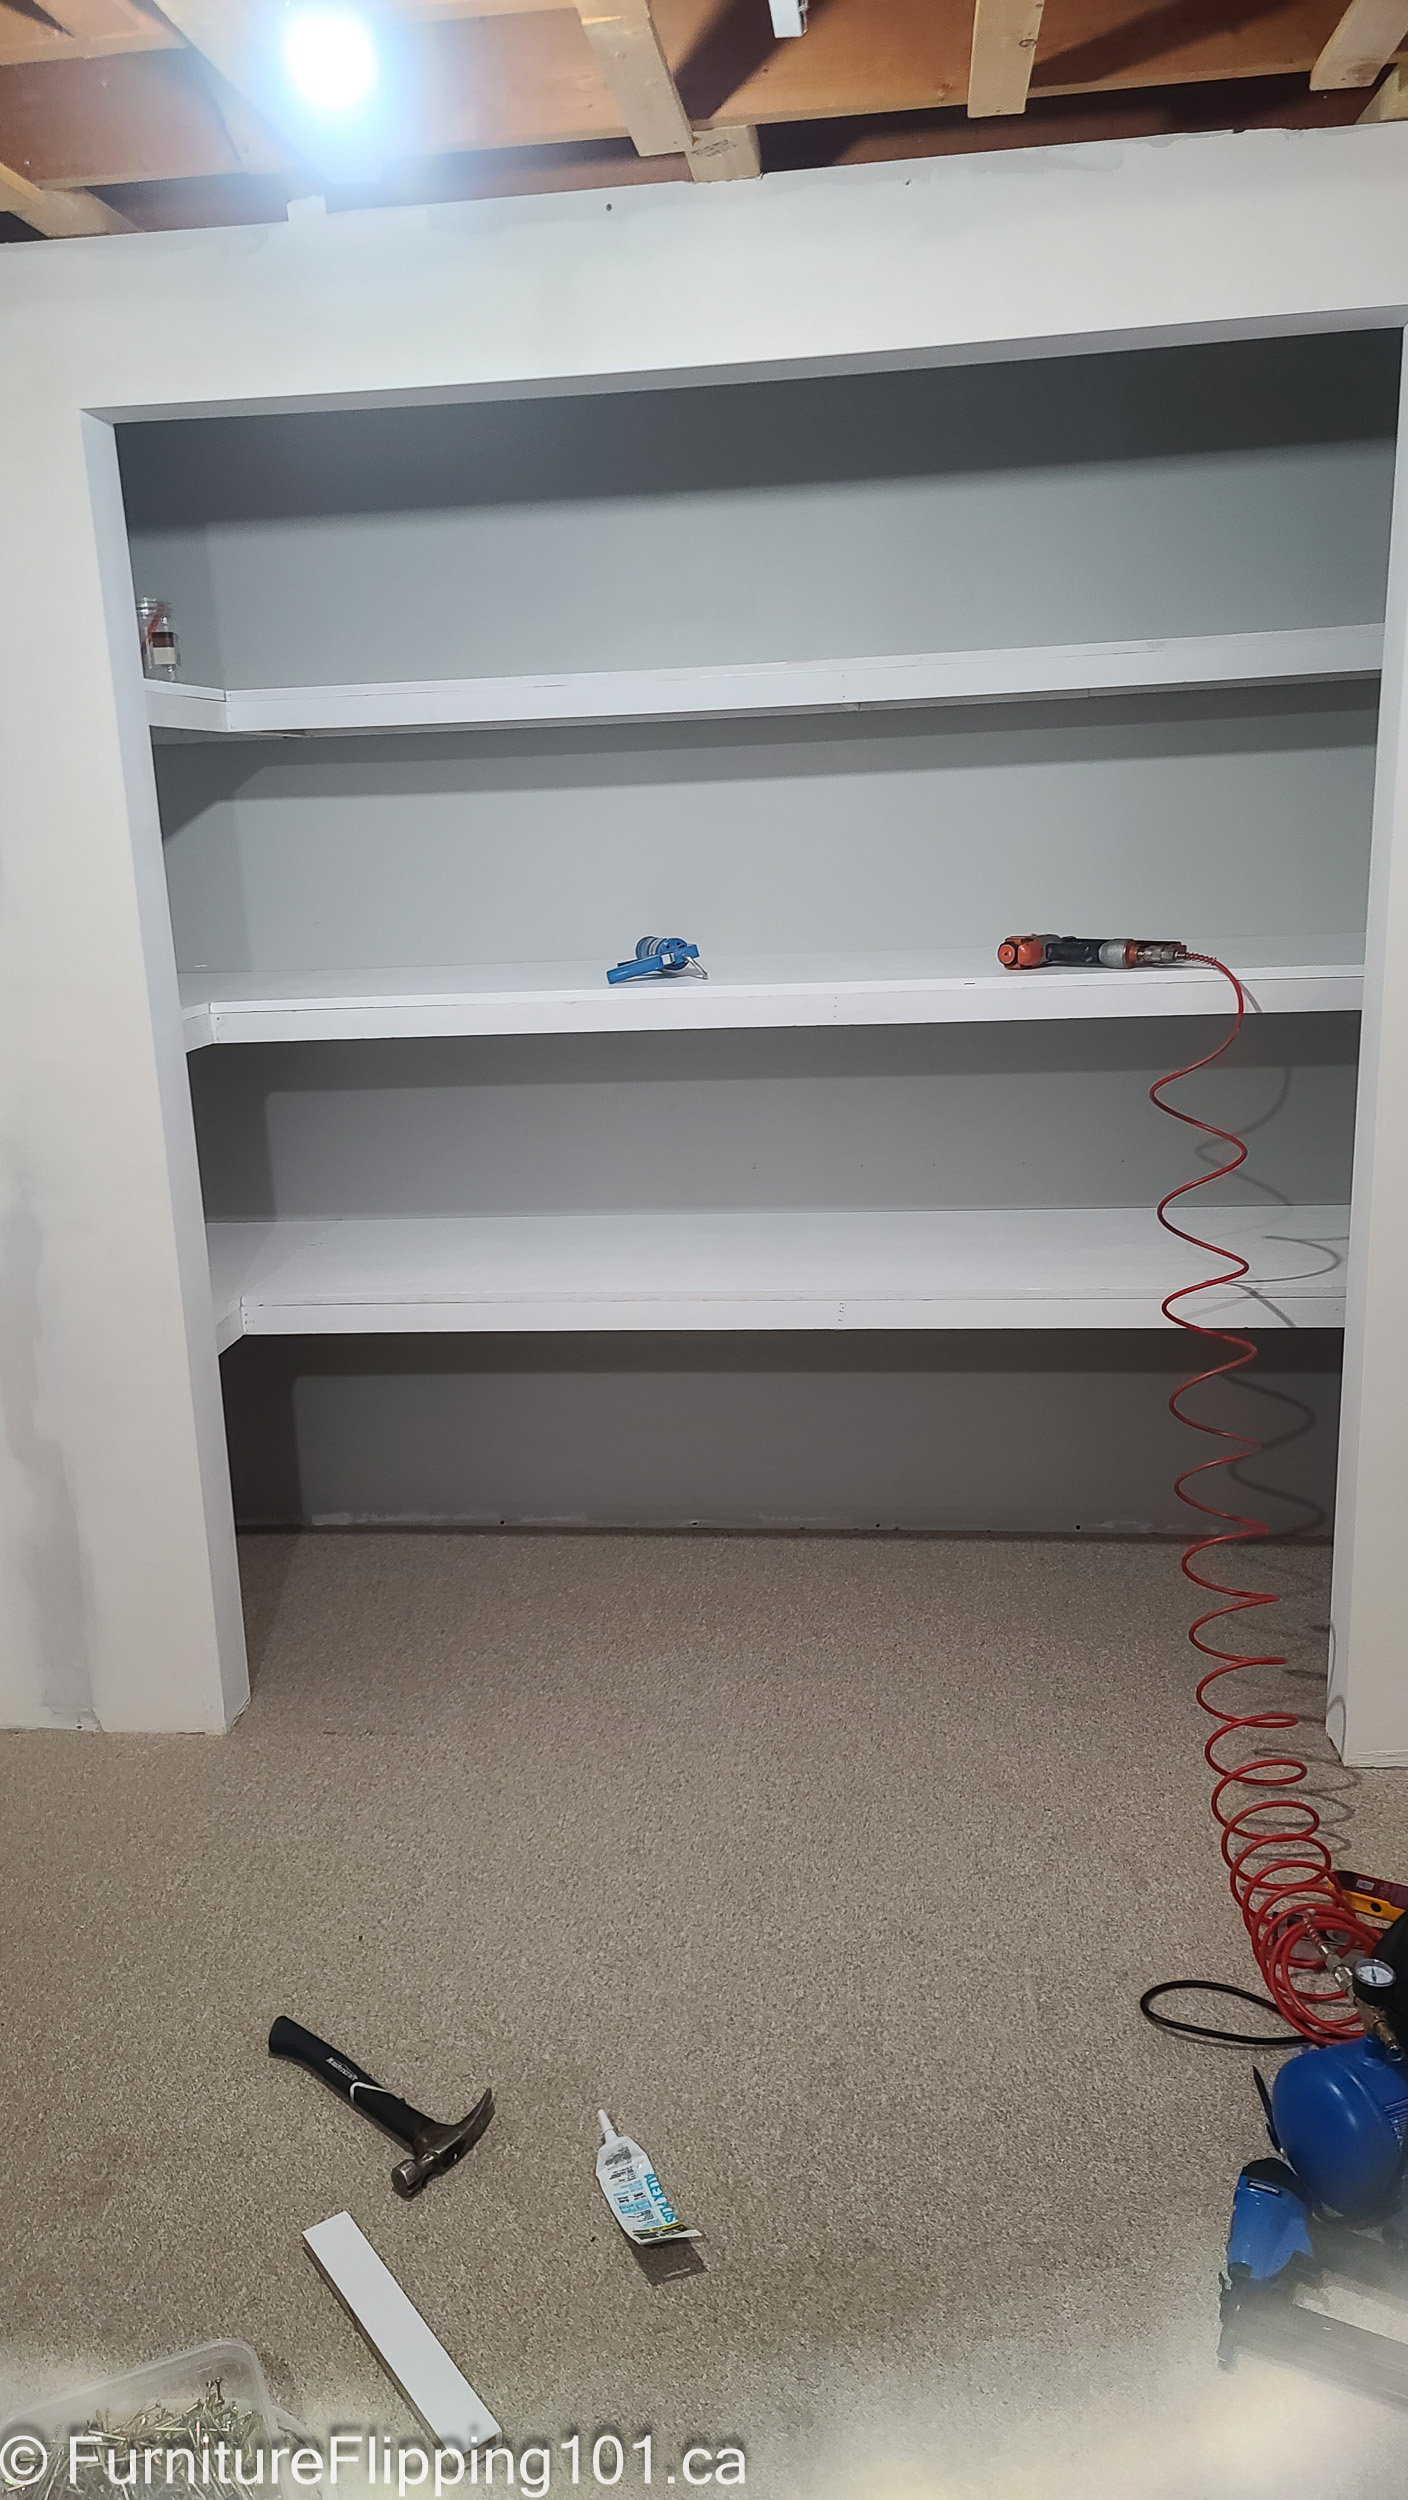
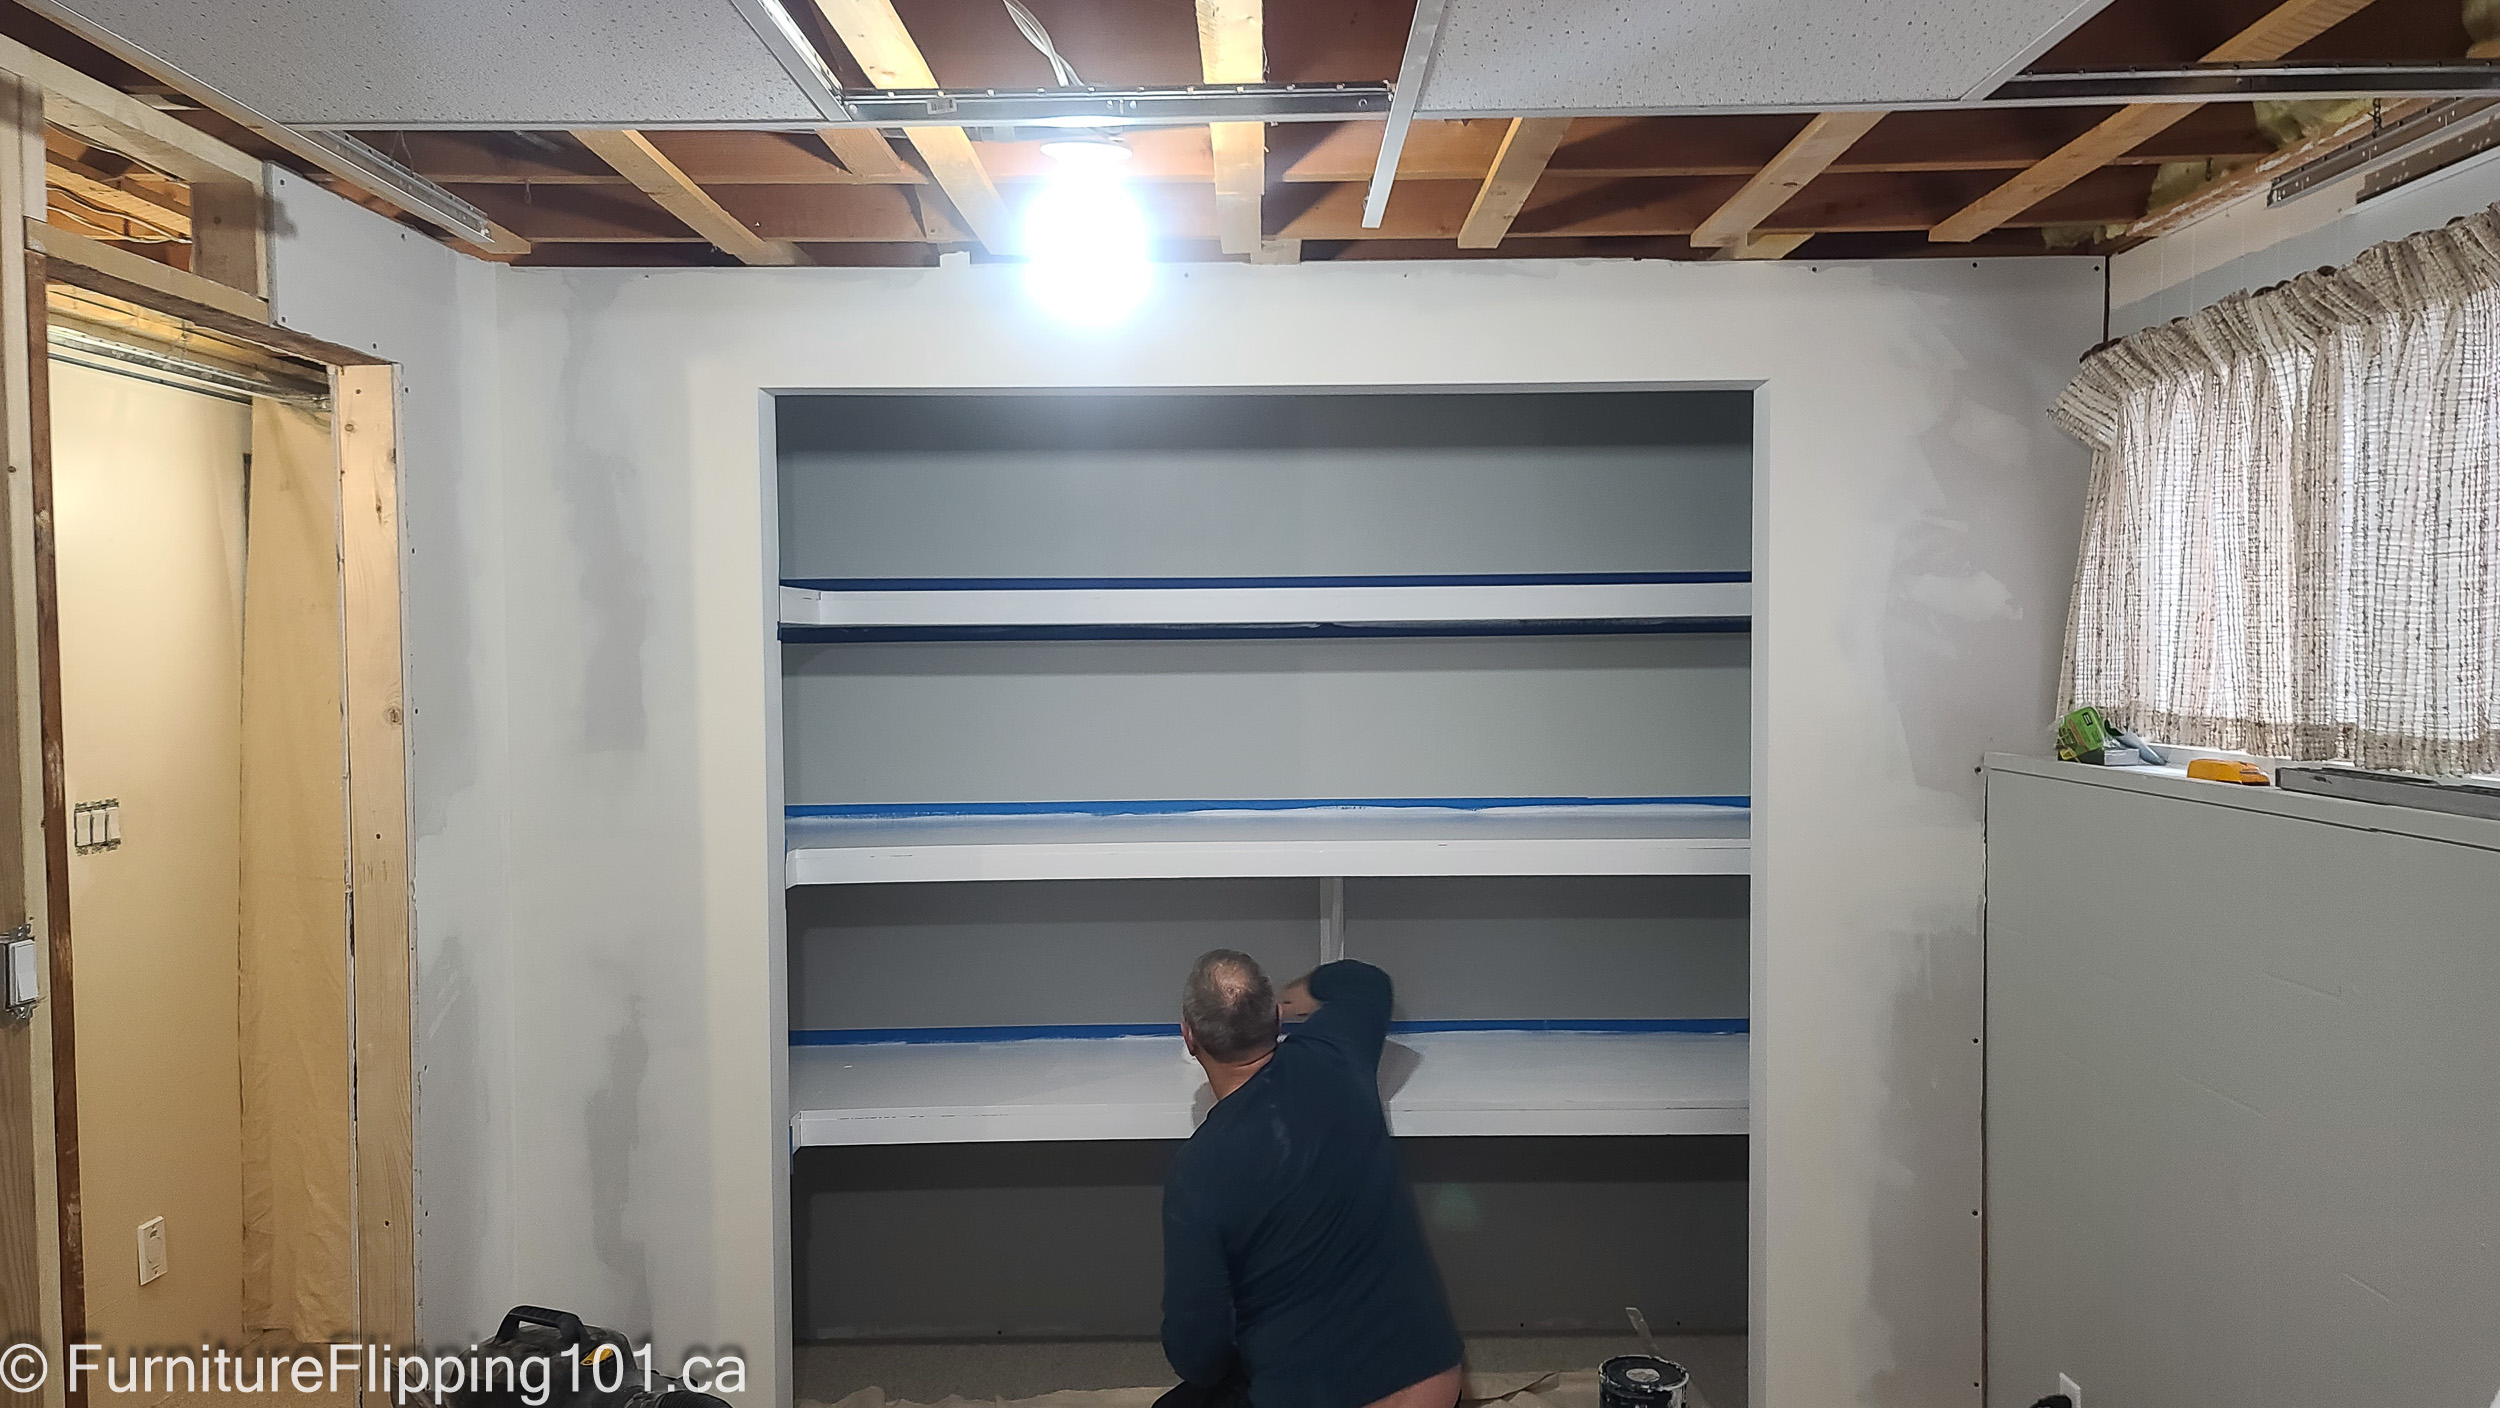
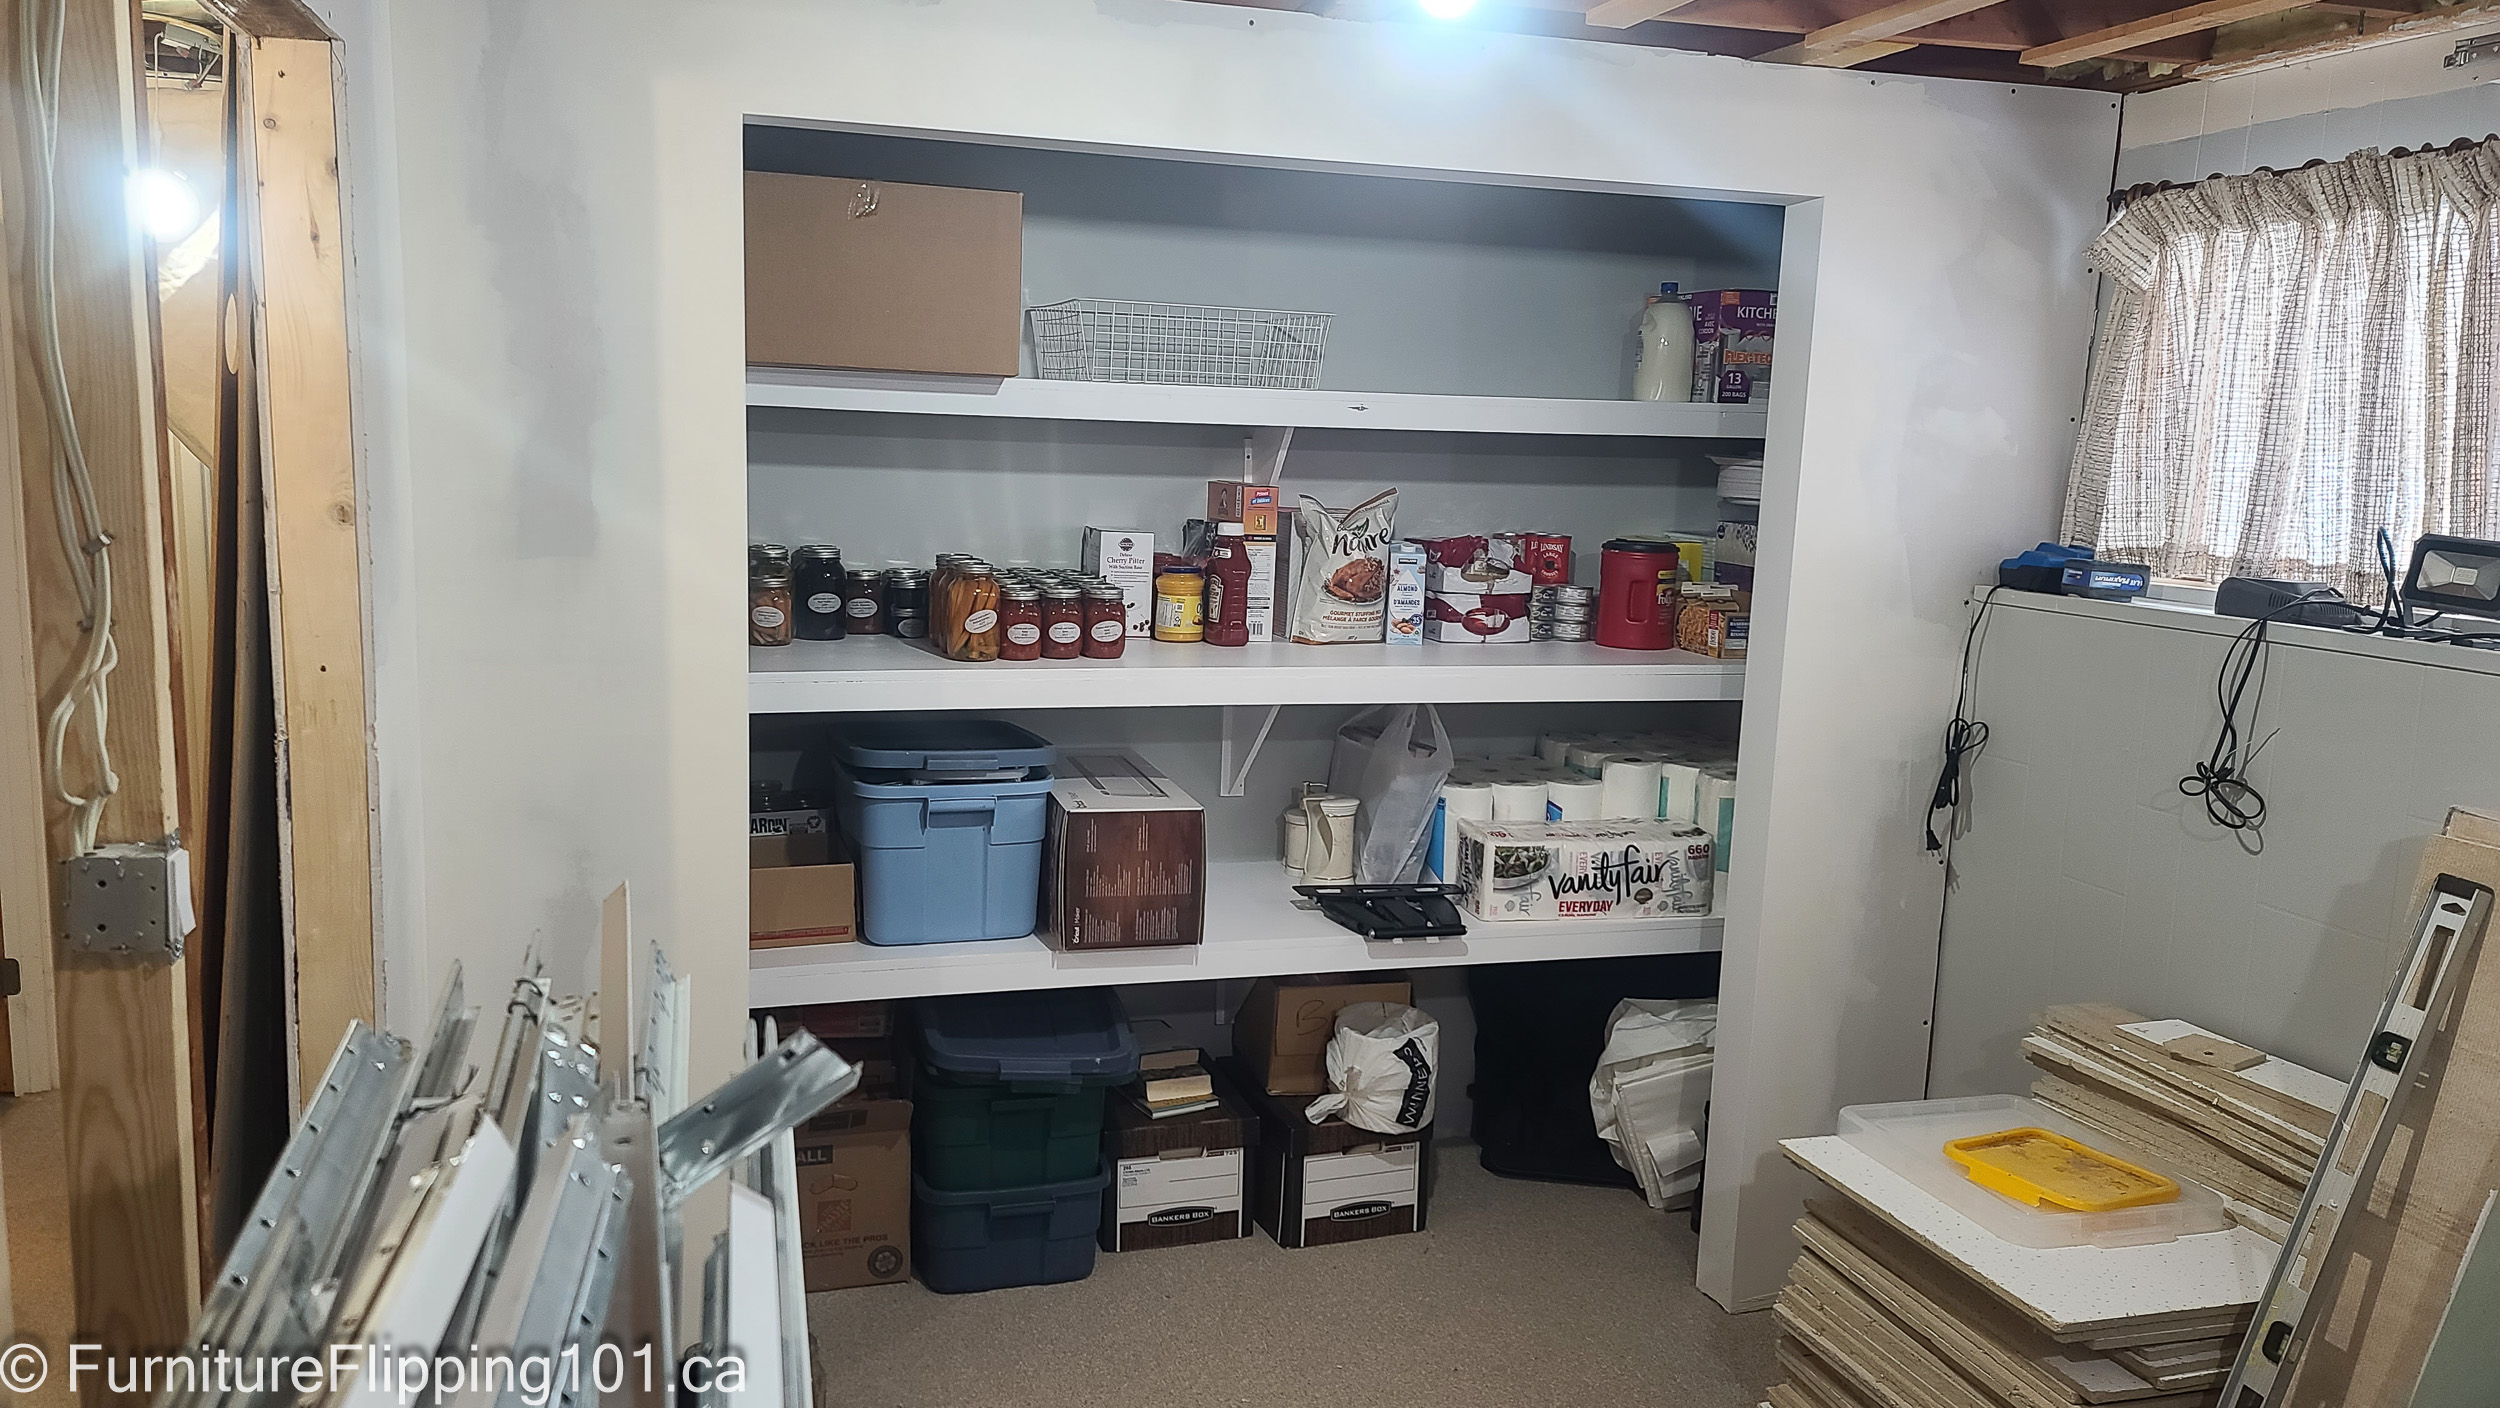
While a ½” plywood is strong, it needs to handle a lot of weight – canning can be very heavy. To help prevent any sagging, we reinforced the shelves. To do this, we framed the shelves with a ½” x 2″ board and added some angle braces to the middle of the long shelves. We had another piece of plywood that we had picked up at a steep discount due to some damage, and we cut it into strips. You can use an air nailer to assemble the shelves quickly.

We planned to reuse the old pantry shelves, but they were too narrow,  and the doors were too thin to use as shelving. So we will save those for another project or sell the wood on Marketplace.

Dismantling the Old Basement Storage Pantry

While the new basement storage closet was under construction, I boxed up and moved the existing pantry items to empty the old shelves.

We dismantled the old storage closet to allow access to the wall so we could add a doorway. This doorway will provide access from the front of the house to the back since we are closing in the utility room that currently provides that access. You can see the difference in paint colours on the floor where the old storage closet stood. The door will go through the middle of the wall space shown in the last photo.

Up next, cutting and framing a doorway in a supporting wall.

Looking for more? Check out these articles.

Thank you! Your responses have been received.